Building a Terraced Garden
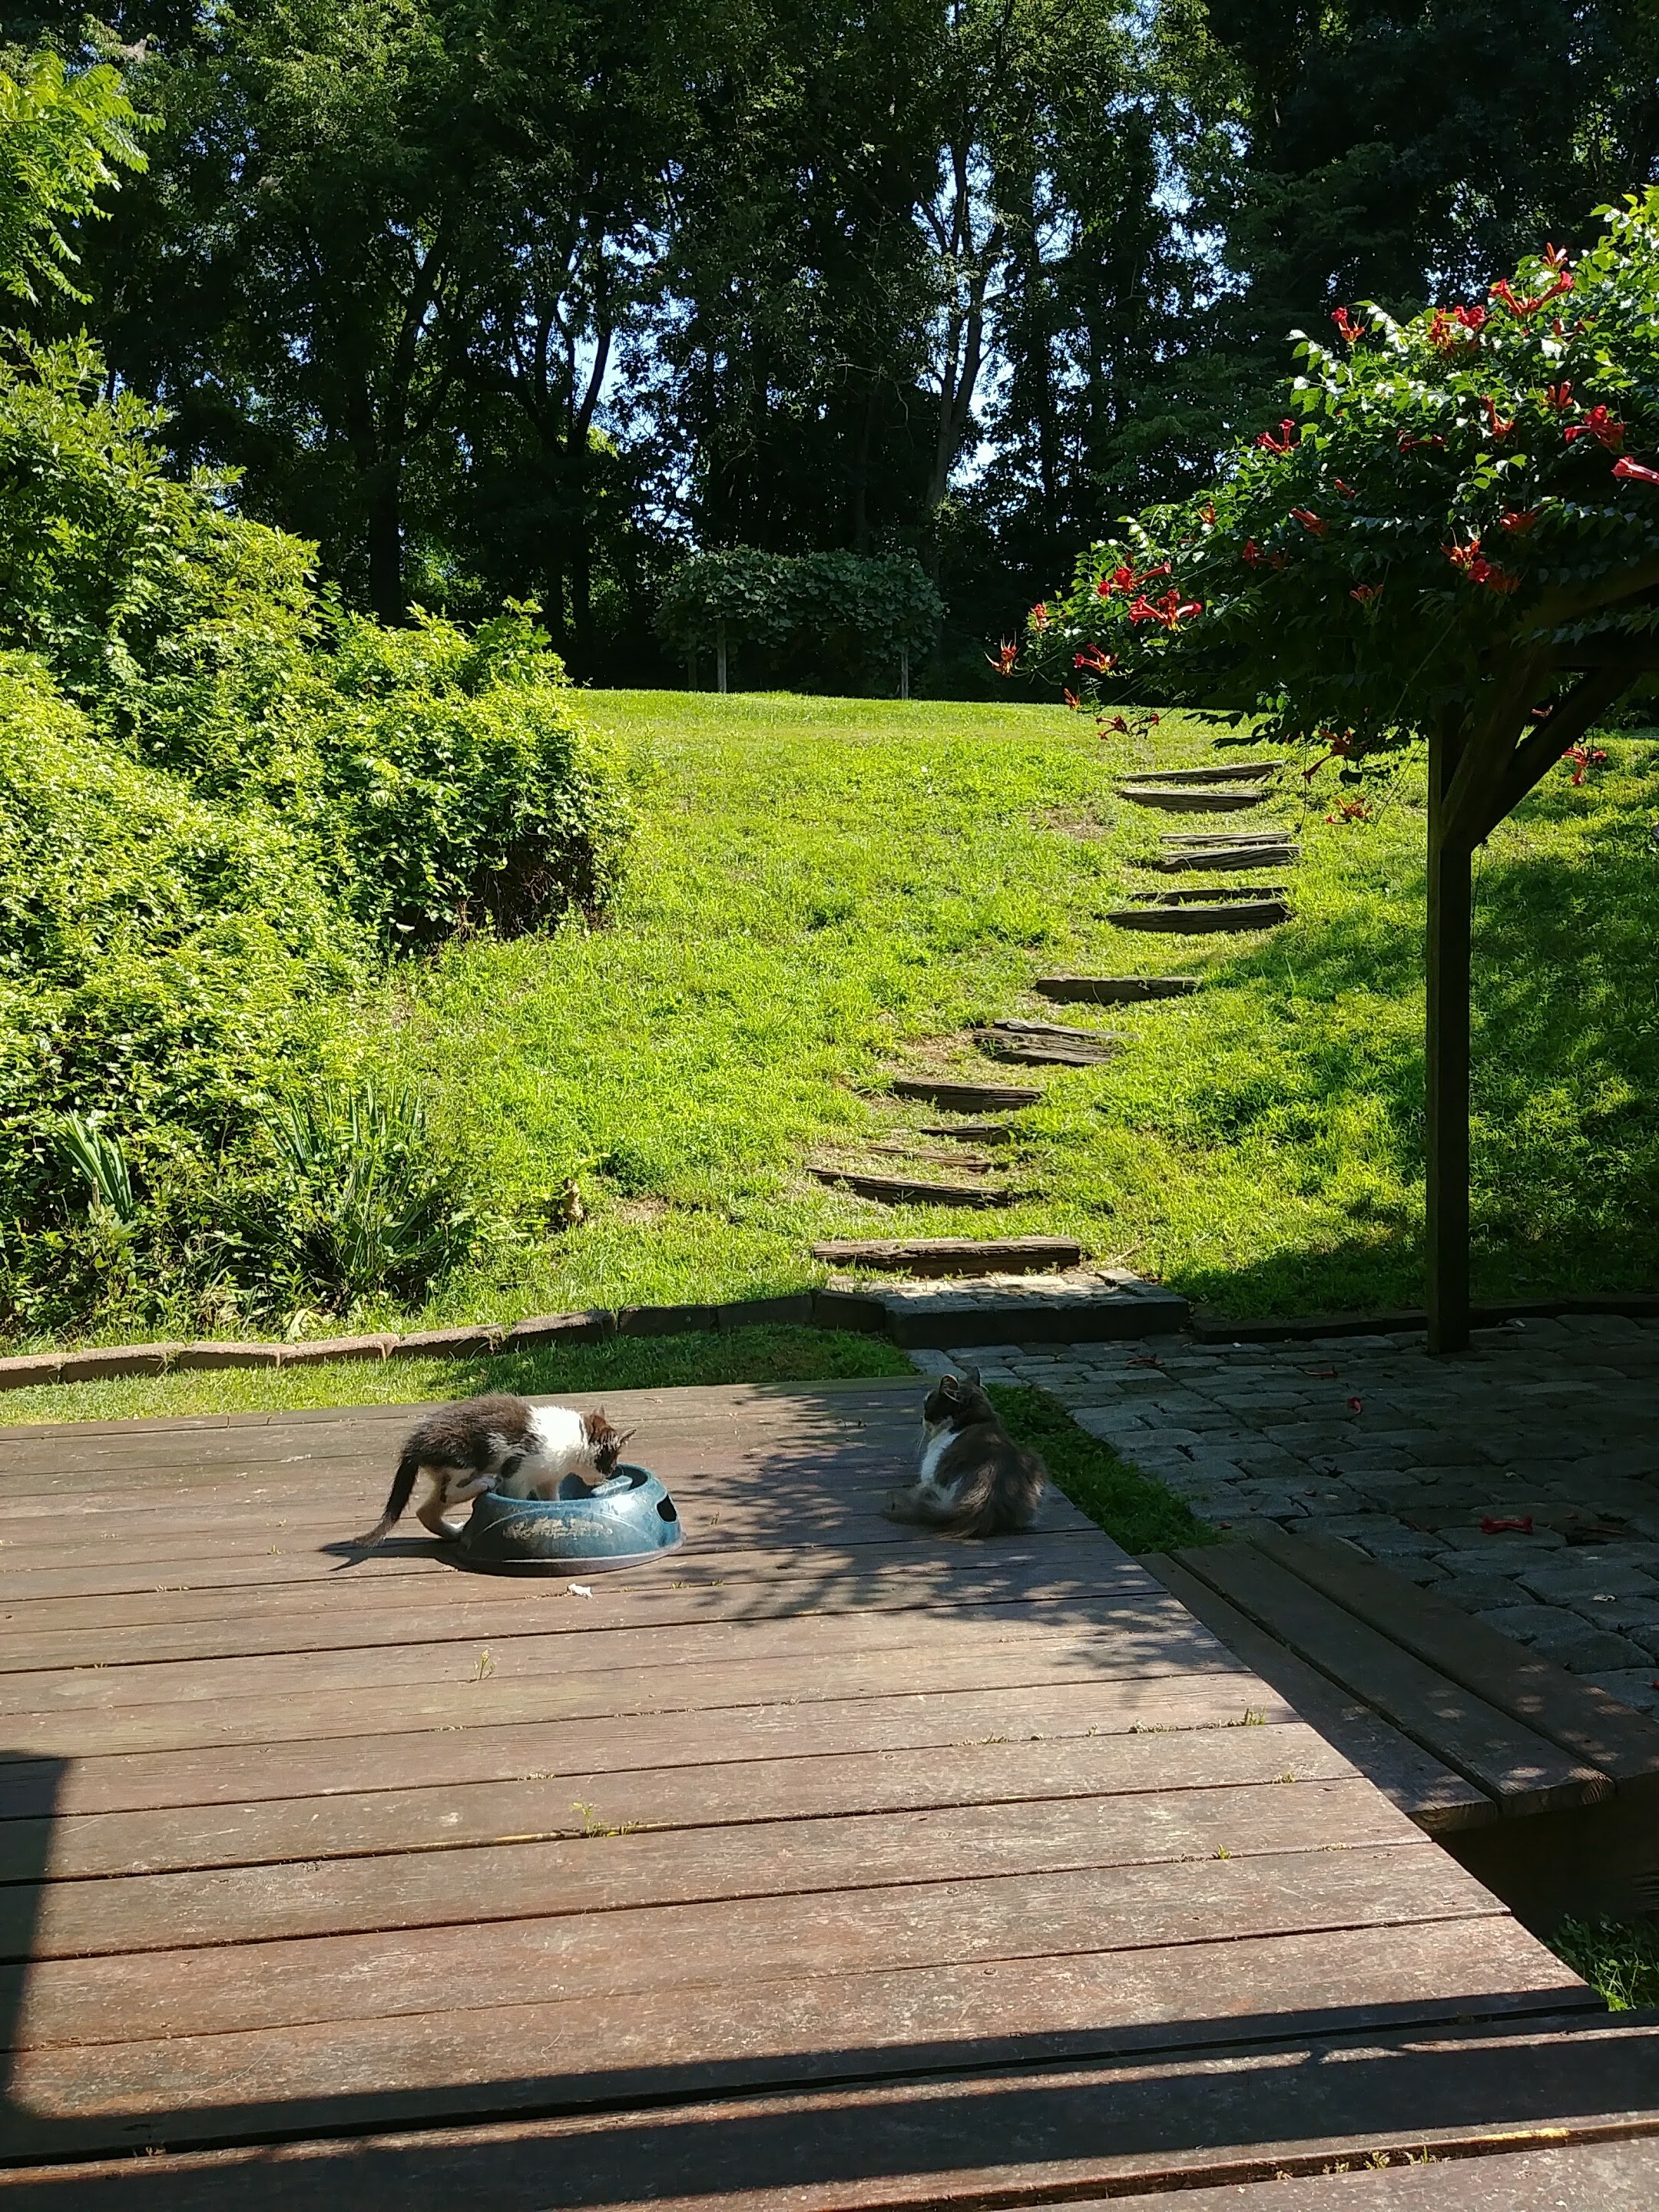
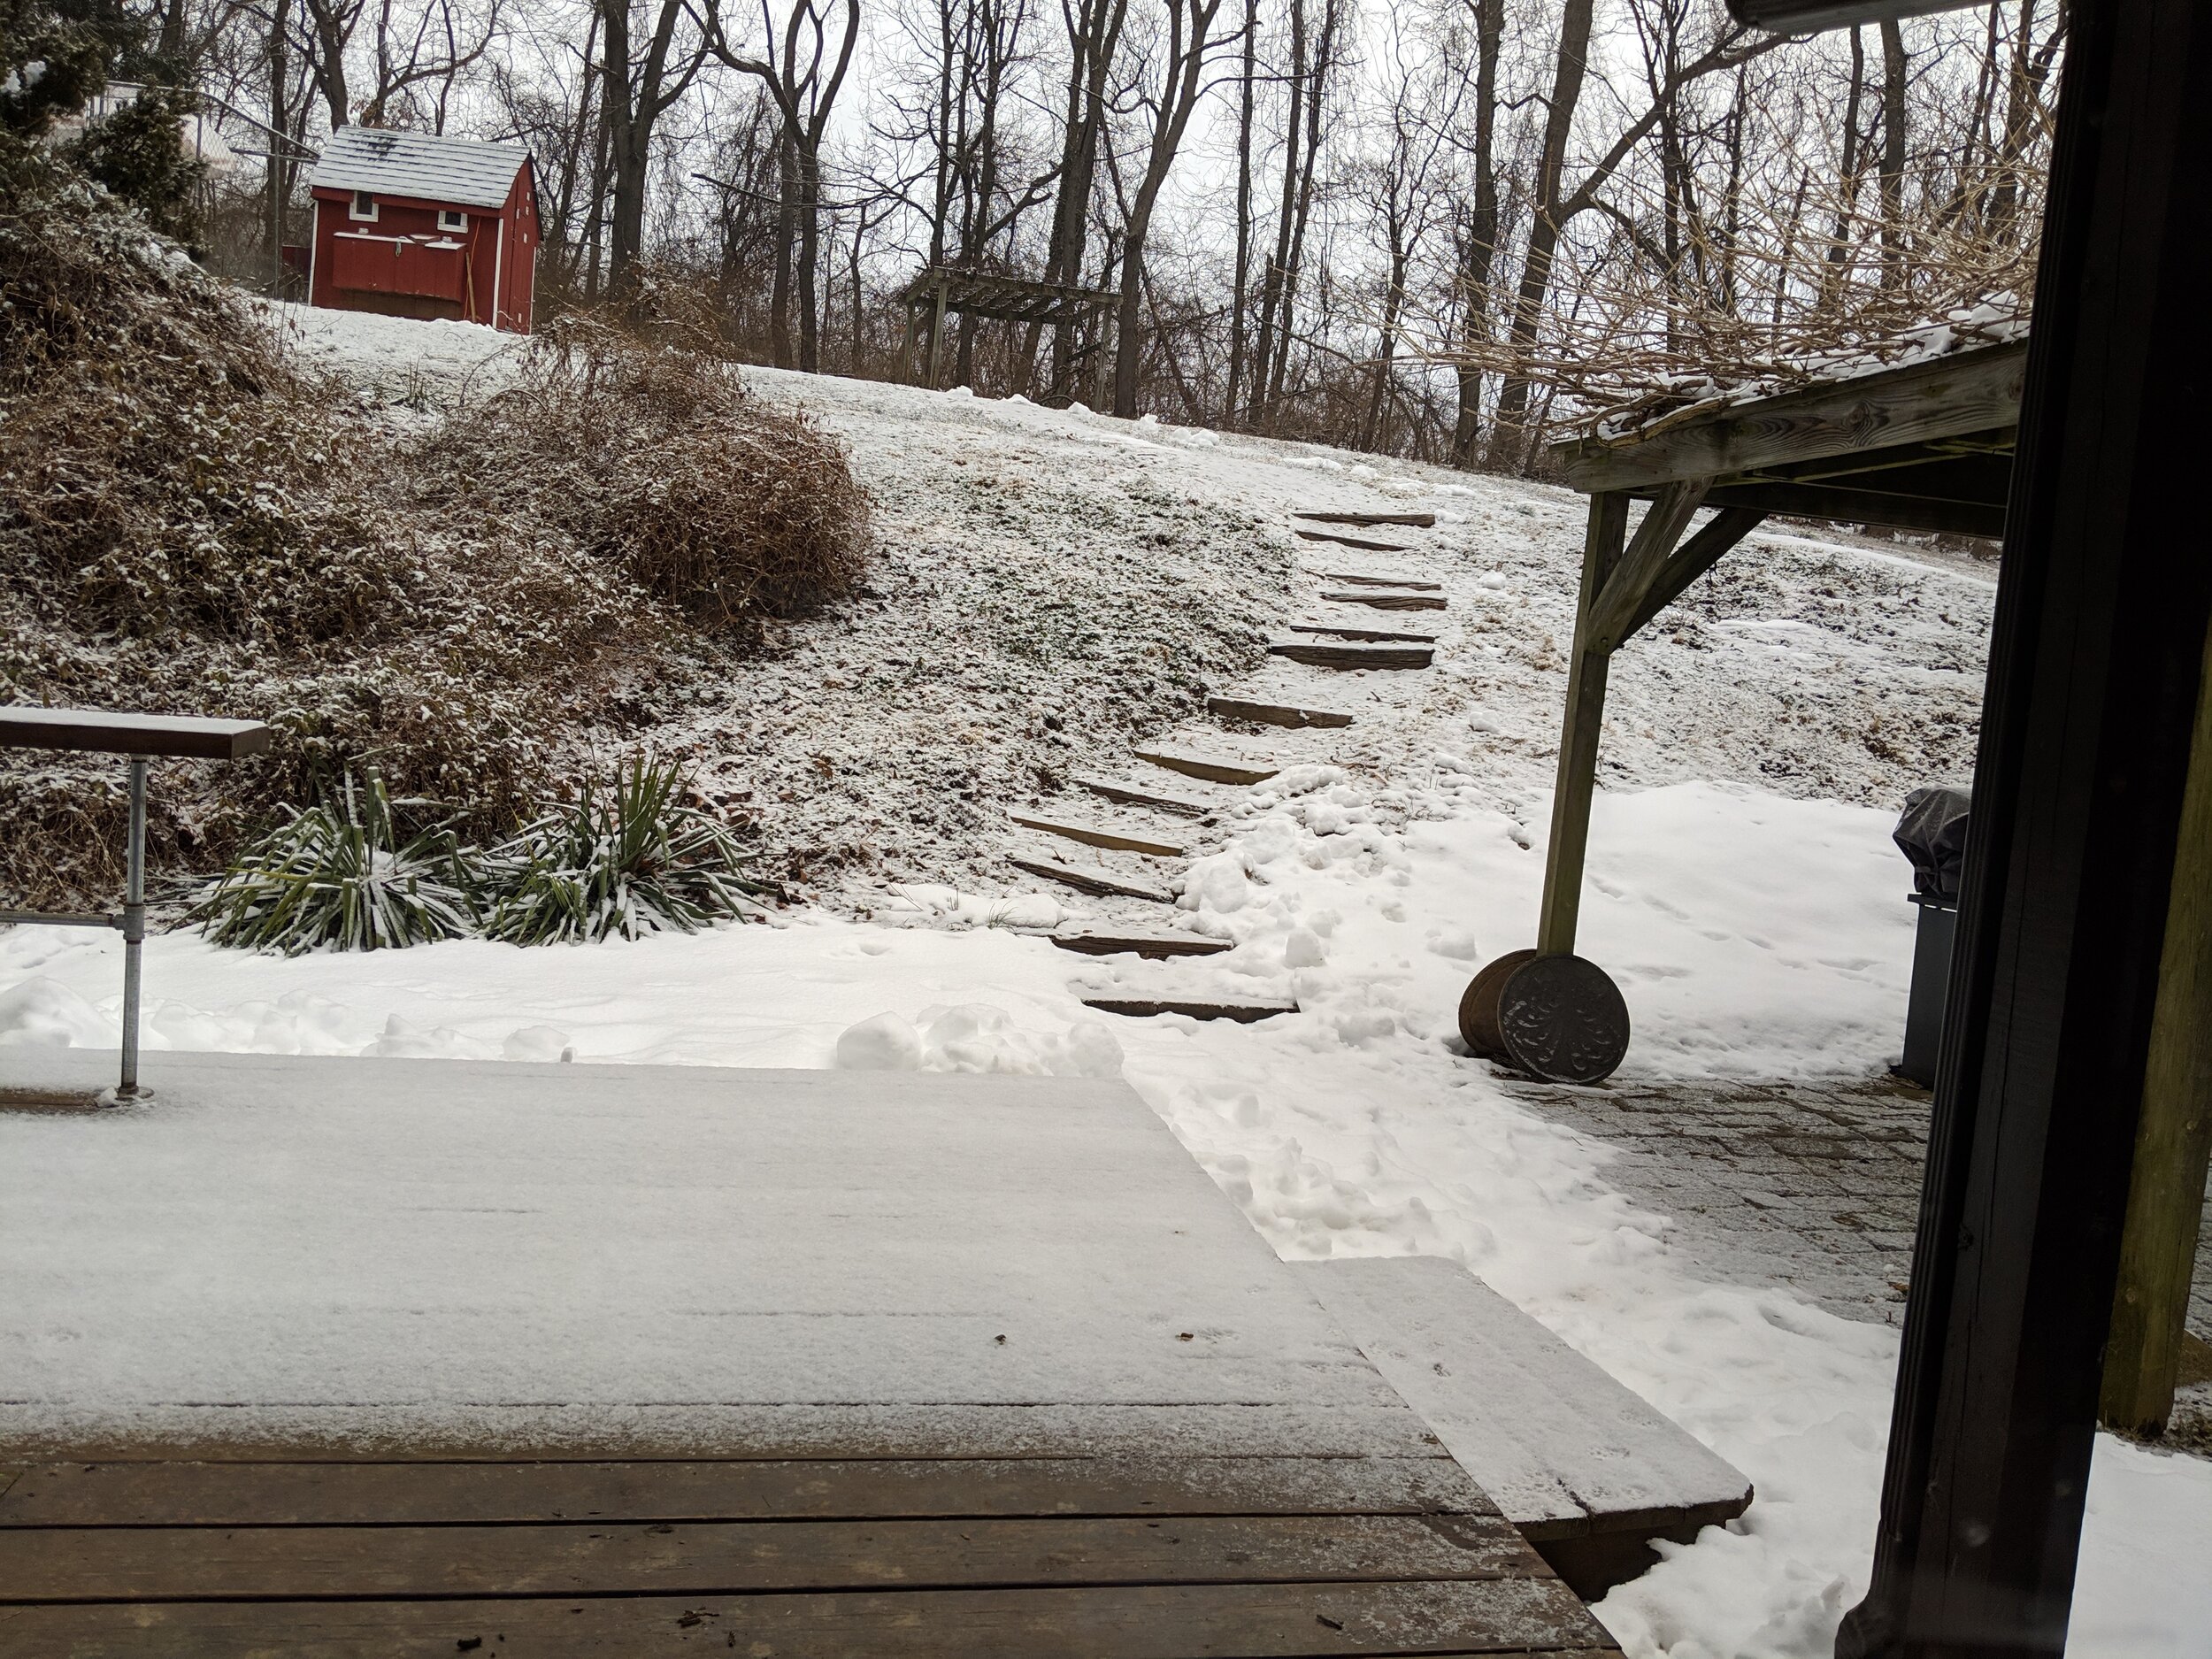
We had this slope that was something like 20 feet from the bottom of the hill to the top. The previous owners had laid some railroad ties for steps that had started to rot and now housed wasps.
So, you know how when you need to do one project, you turn it into another, bigger, more exhausting (and expensive) project? We needed to replace the steps but also this space was quite unuseable and after some online searches, we figured a terraced garden would check all the boxes.
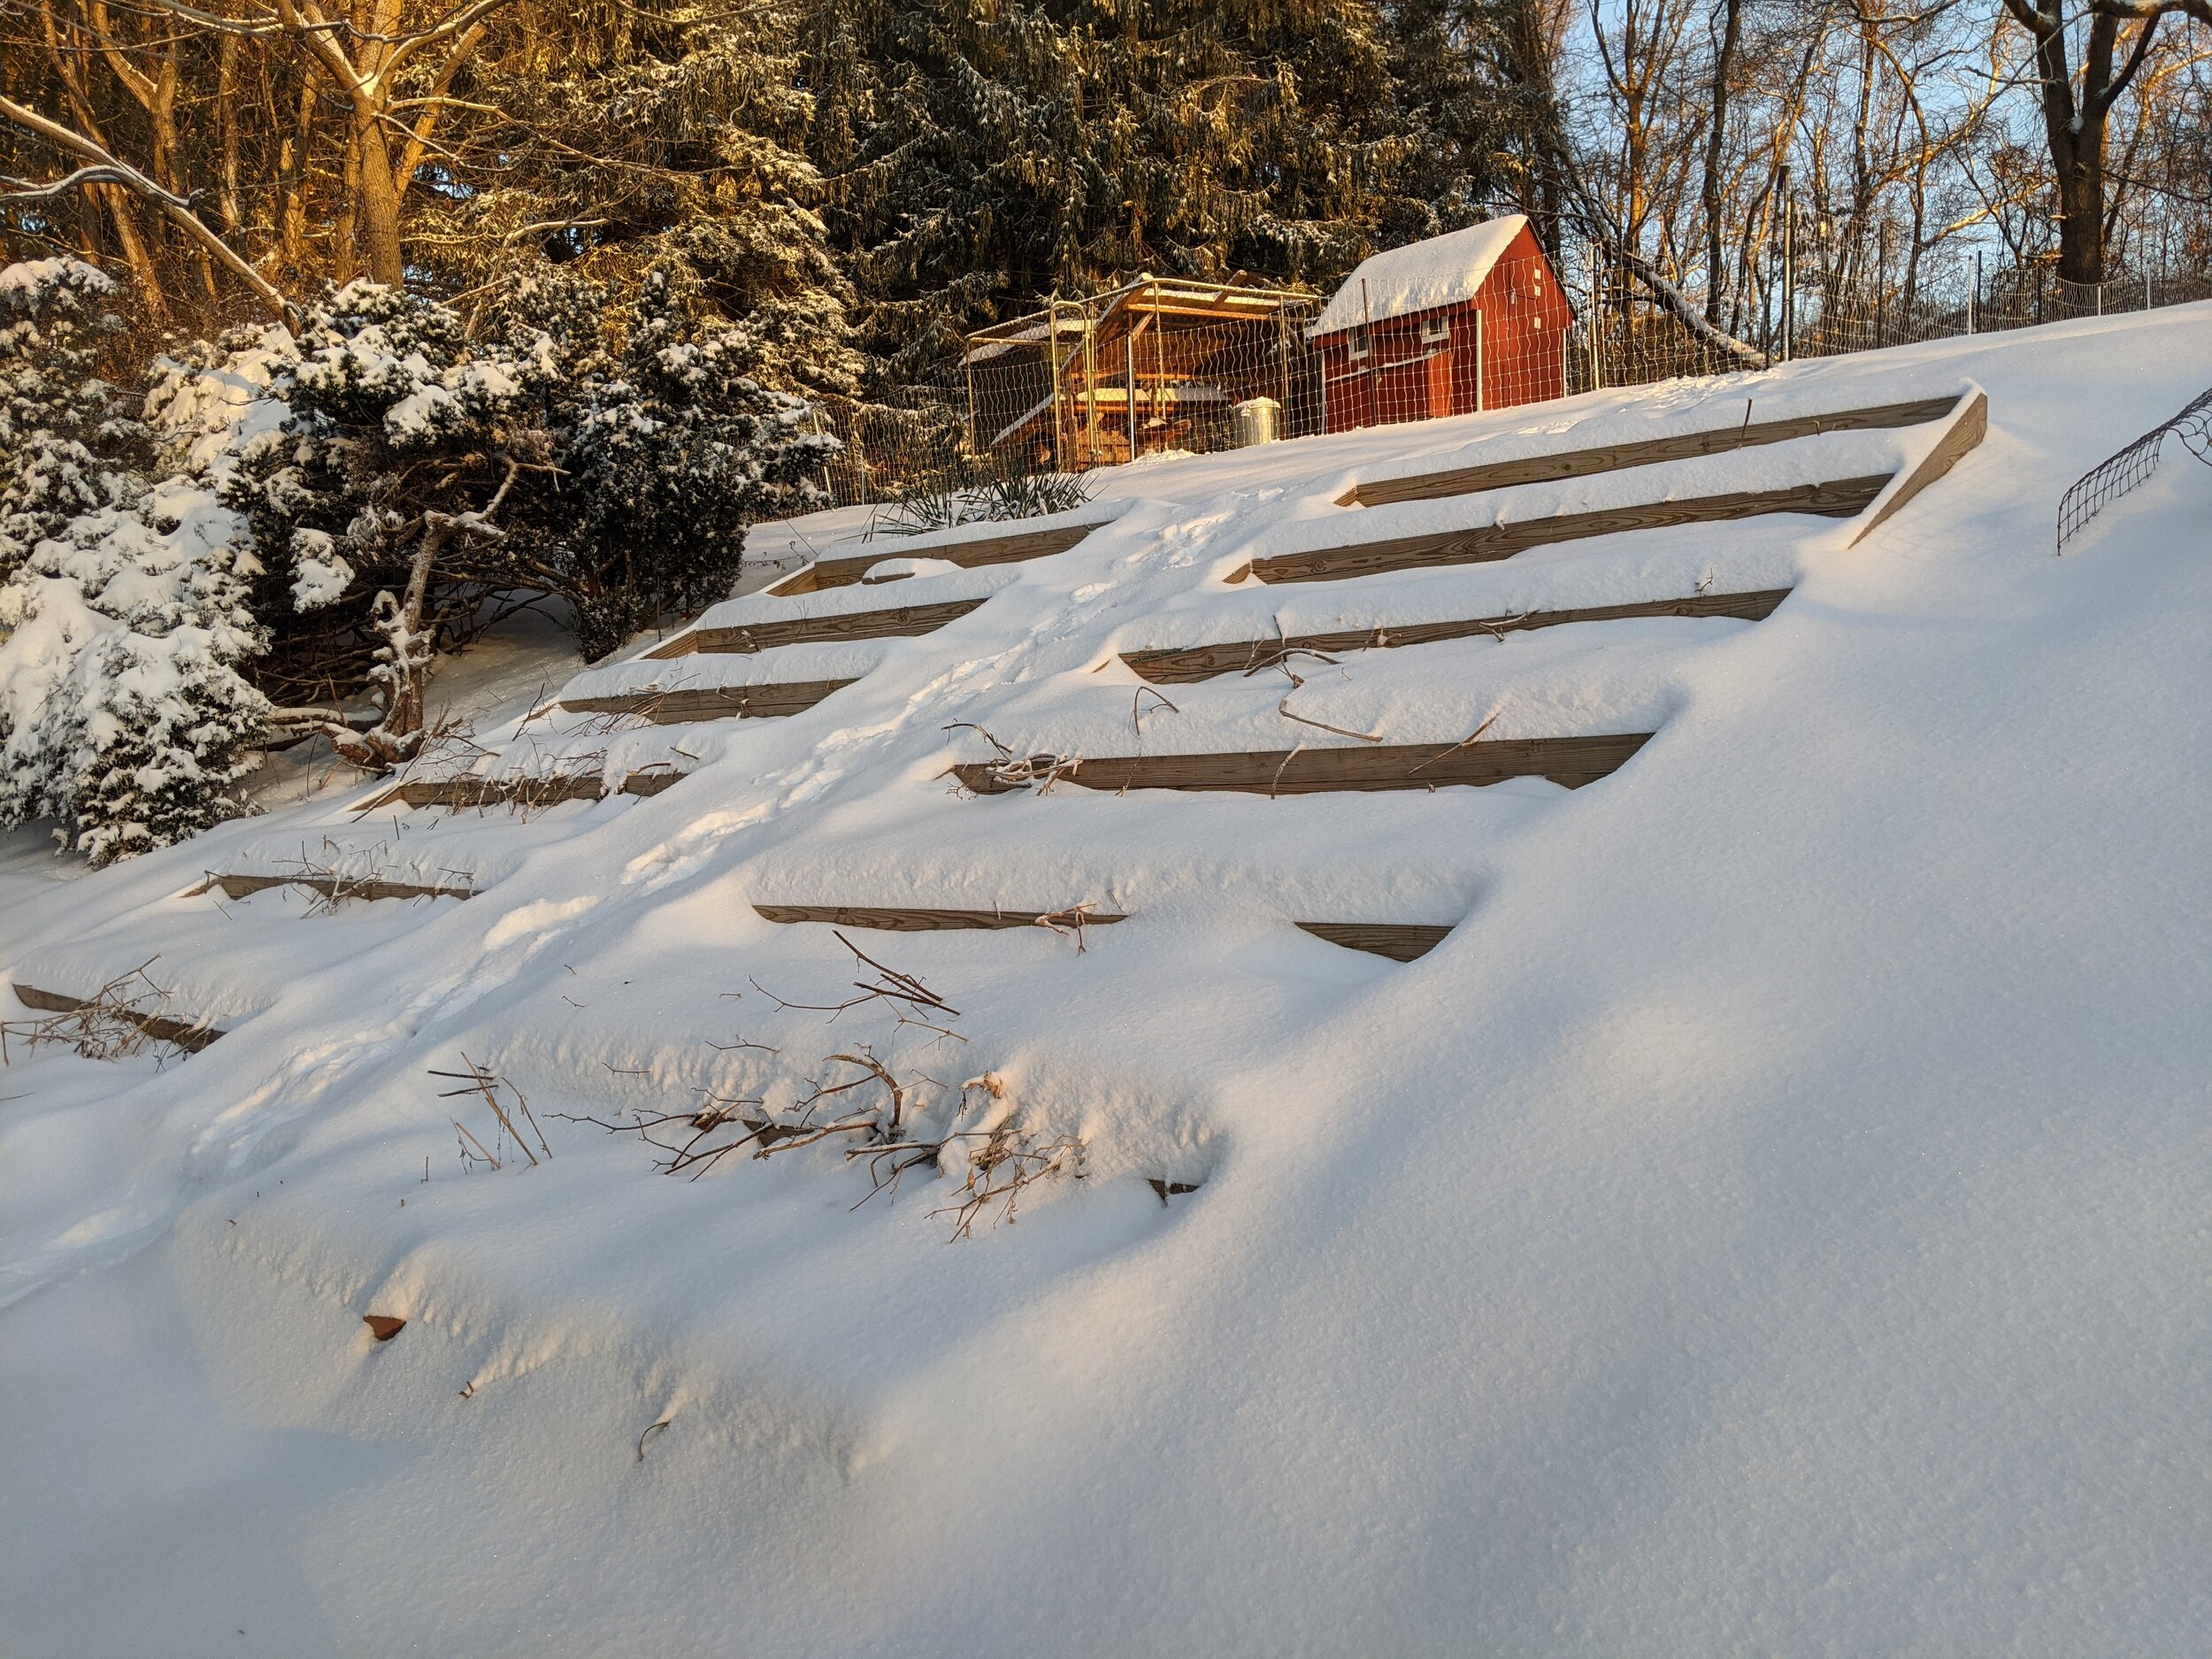
The spot is right out the back door, perfect for a kitchen garden, grab things before dinner or a quick snack as you walk to the chicken coop. It also has access to the water hose spigot, since rain seems to come and go as it pleases. There is direct sun, but it also has some shade from various trees.
CLEAR THE LAND
First steps were…the steps. To the burn pile with them and their little stinging friends. Our ground is quite rocky, full of slate and clay and other nonarable ground. We’d have to bring in dirt to build a garden anyway, so this is like a raised bed garden, just on a hillside.
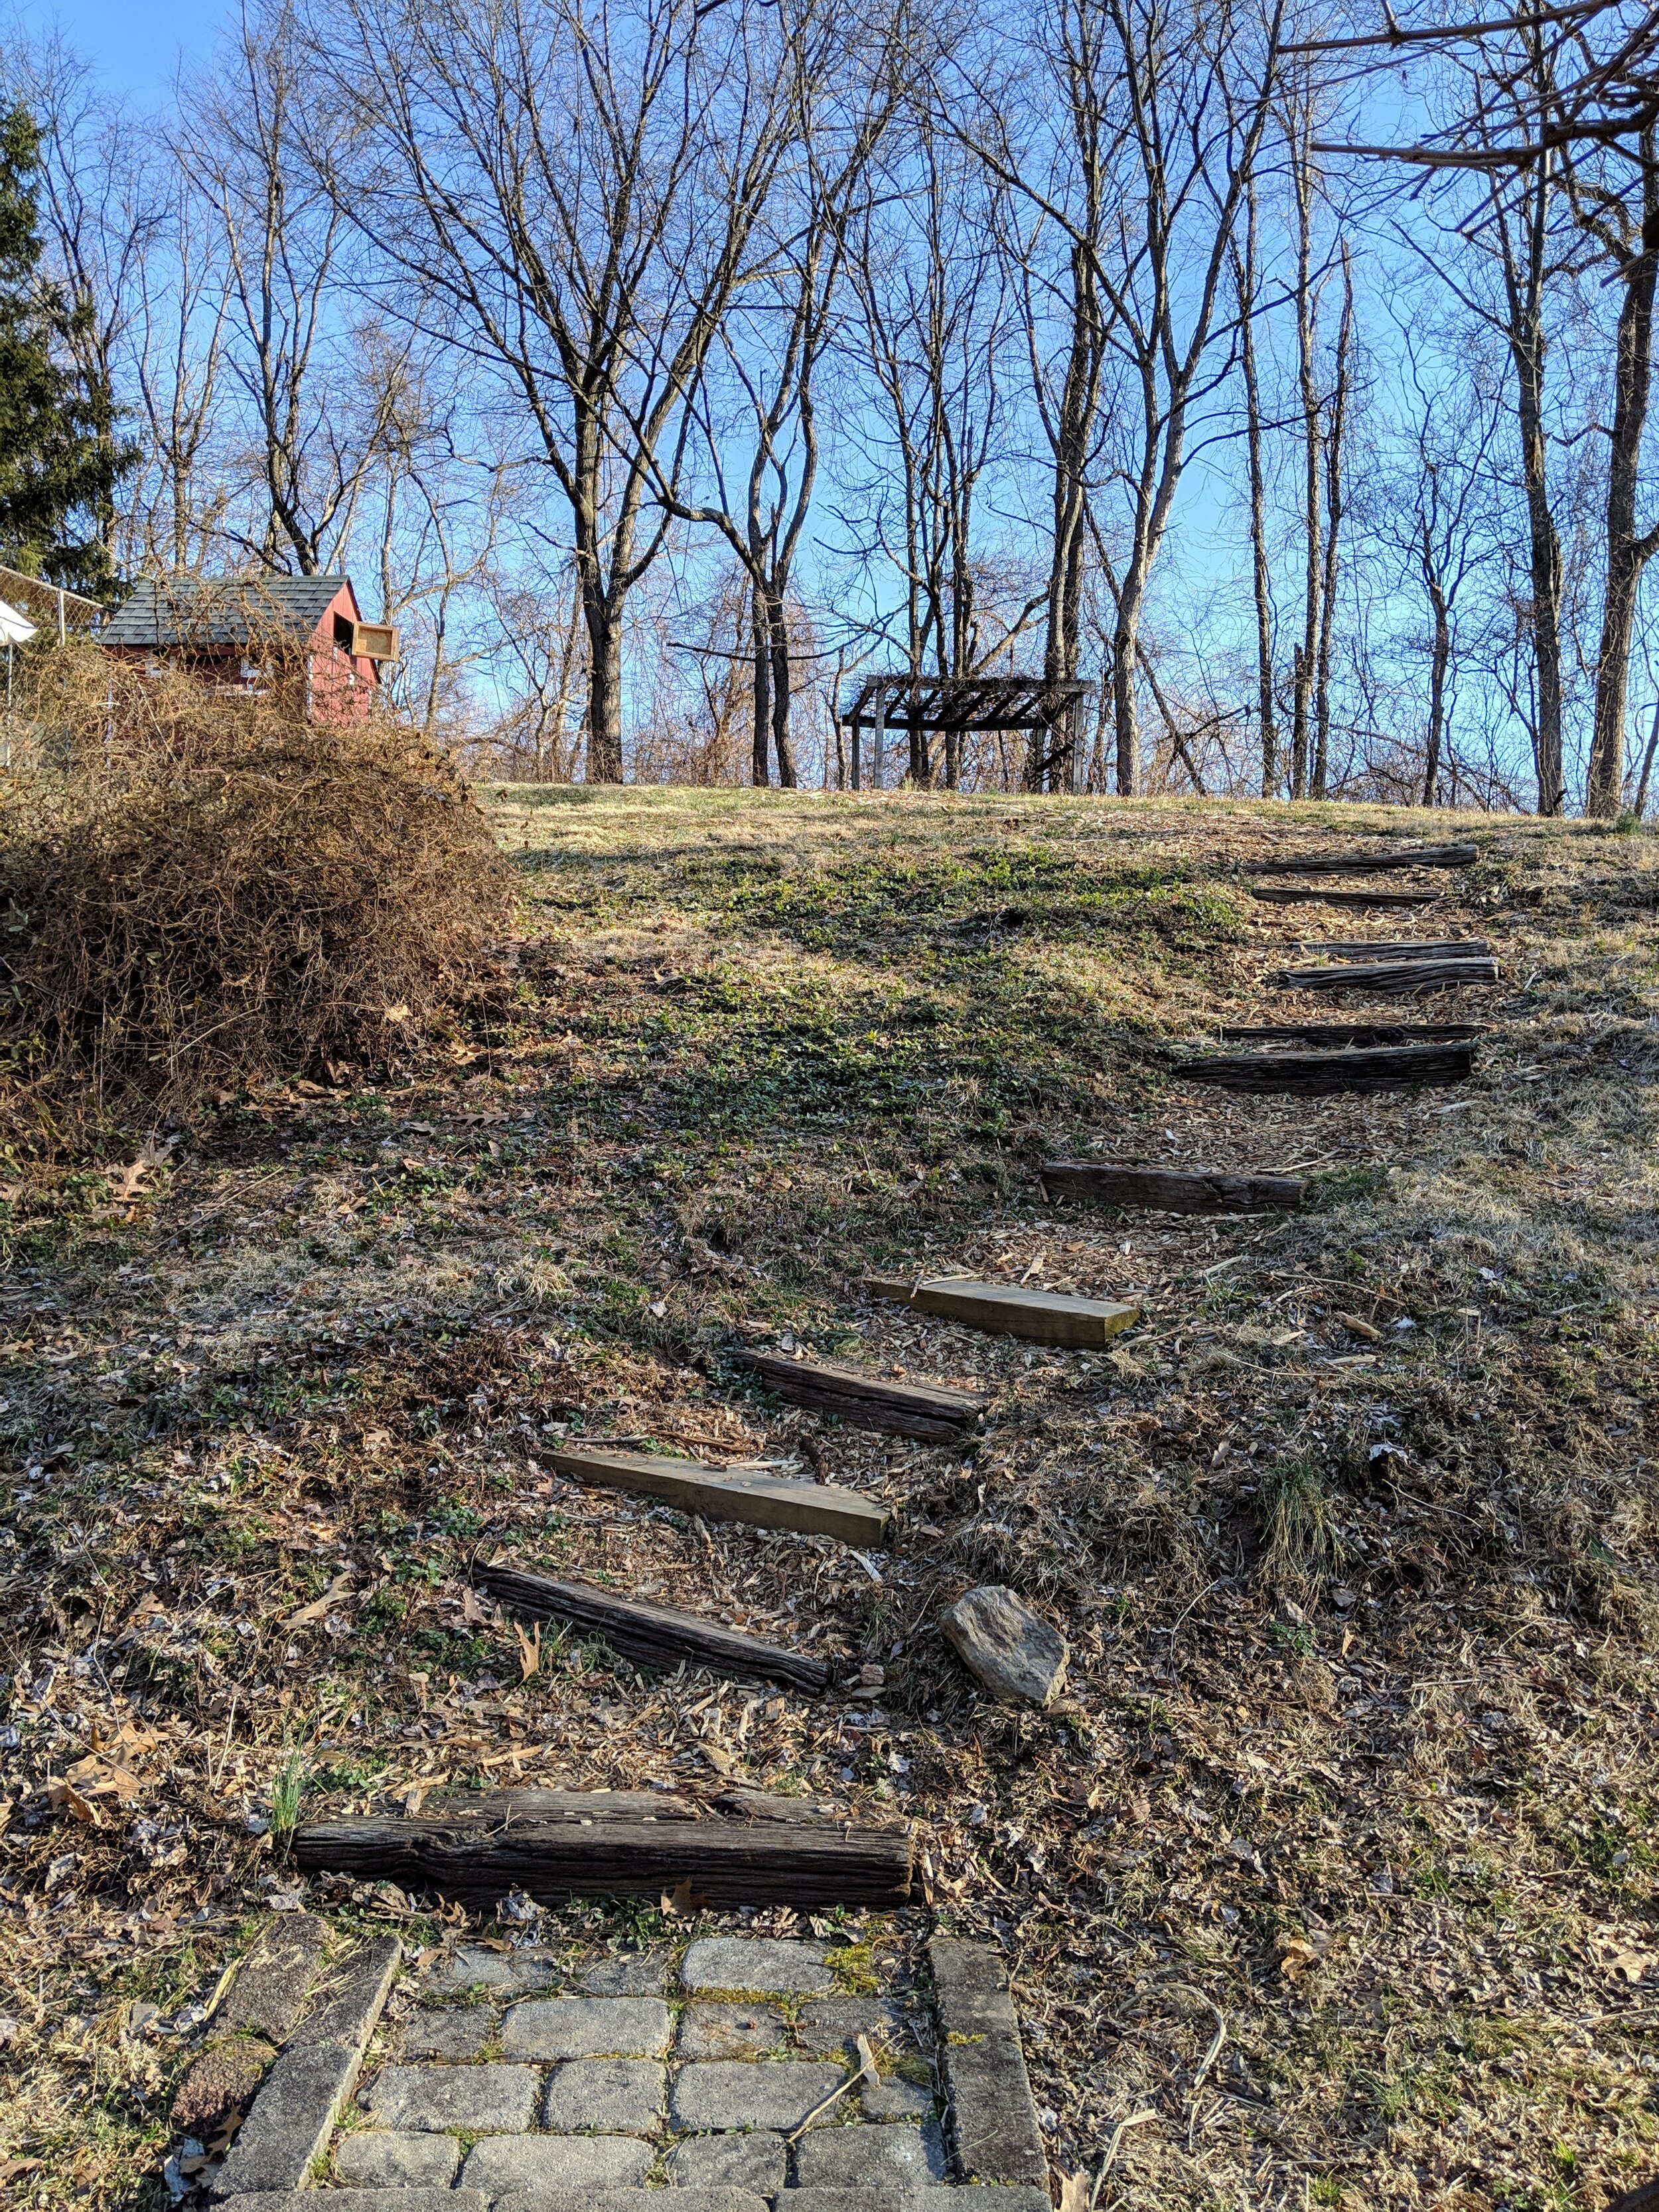

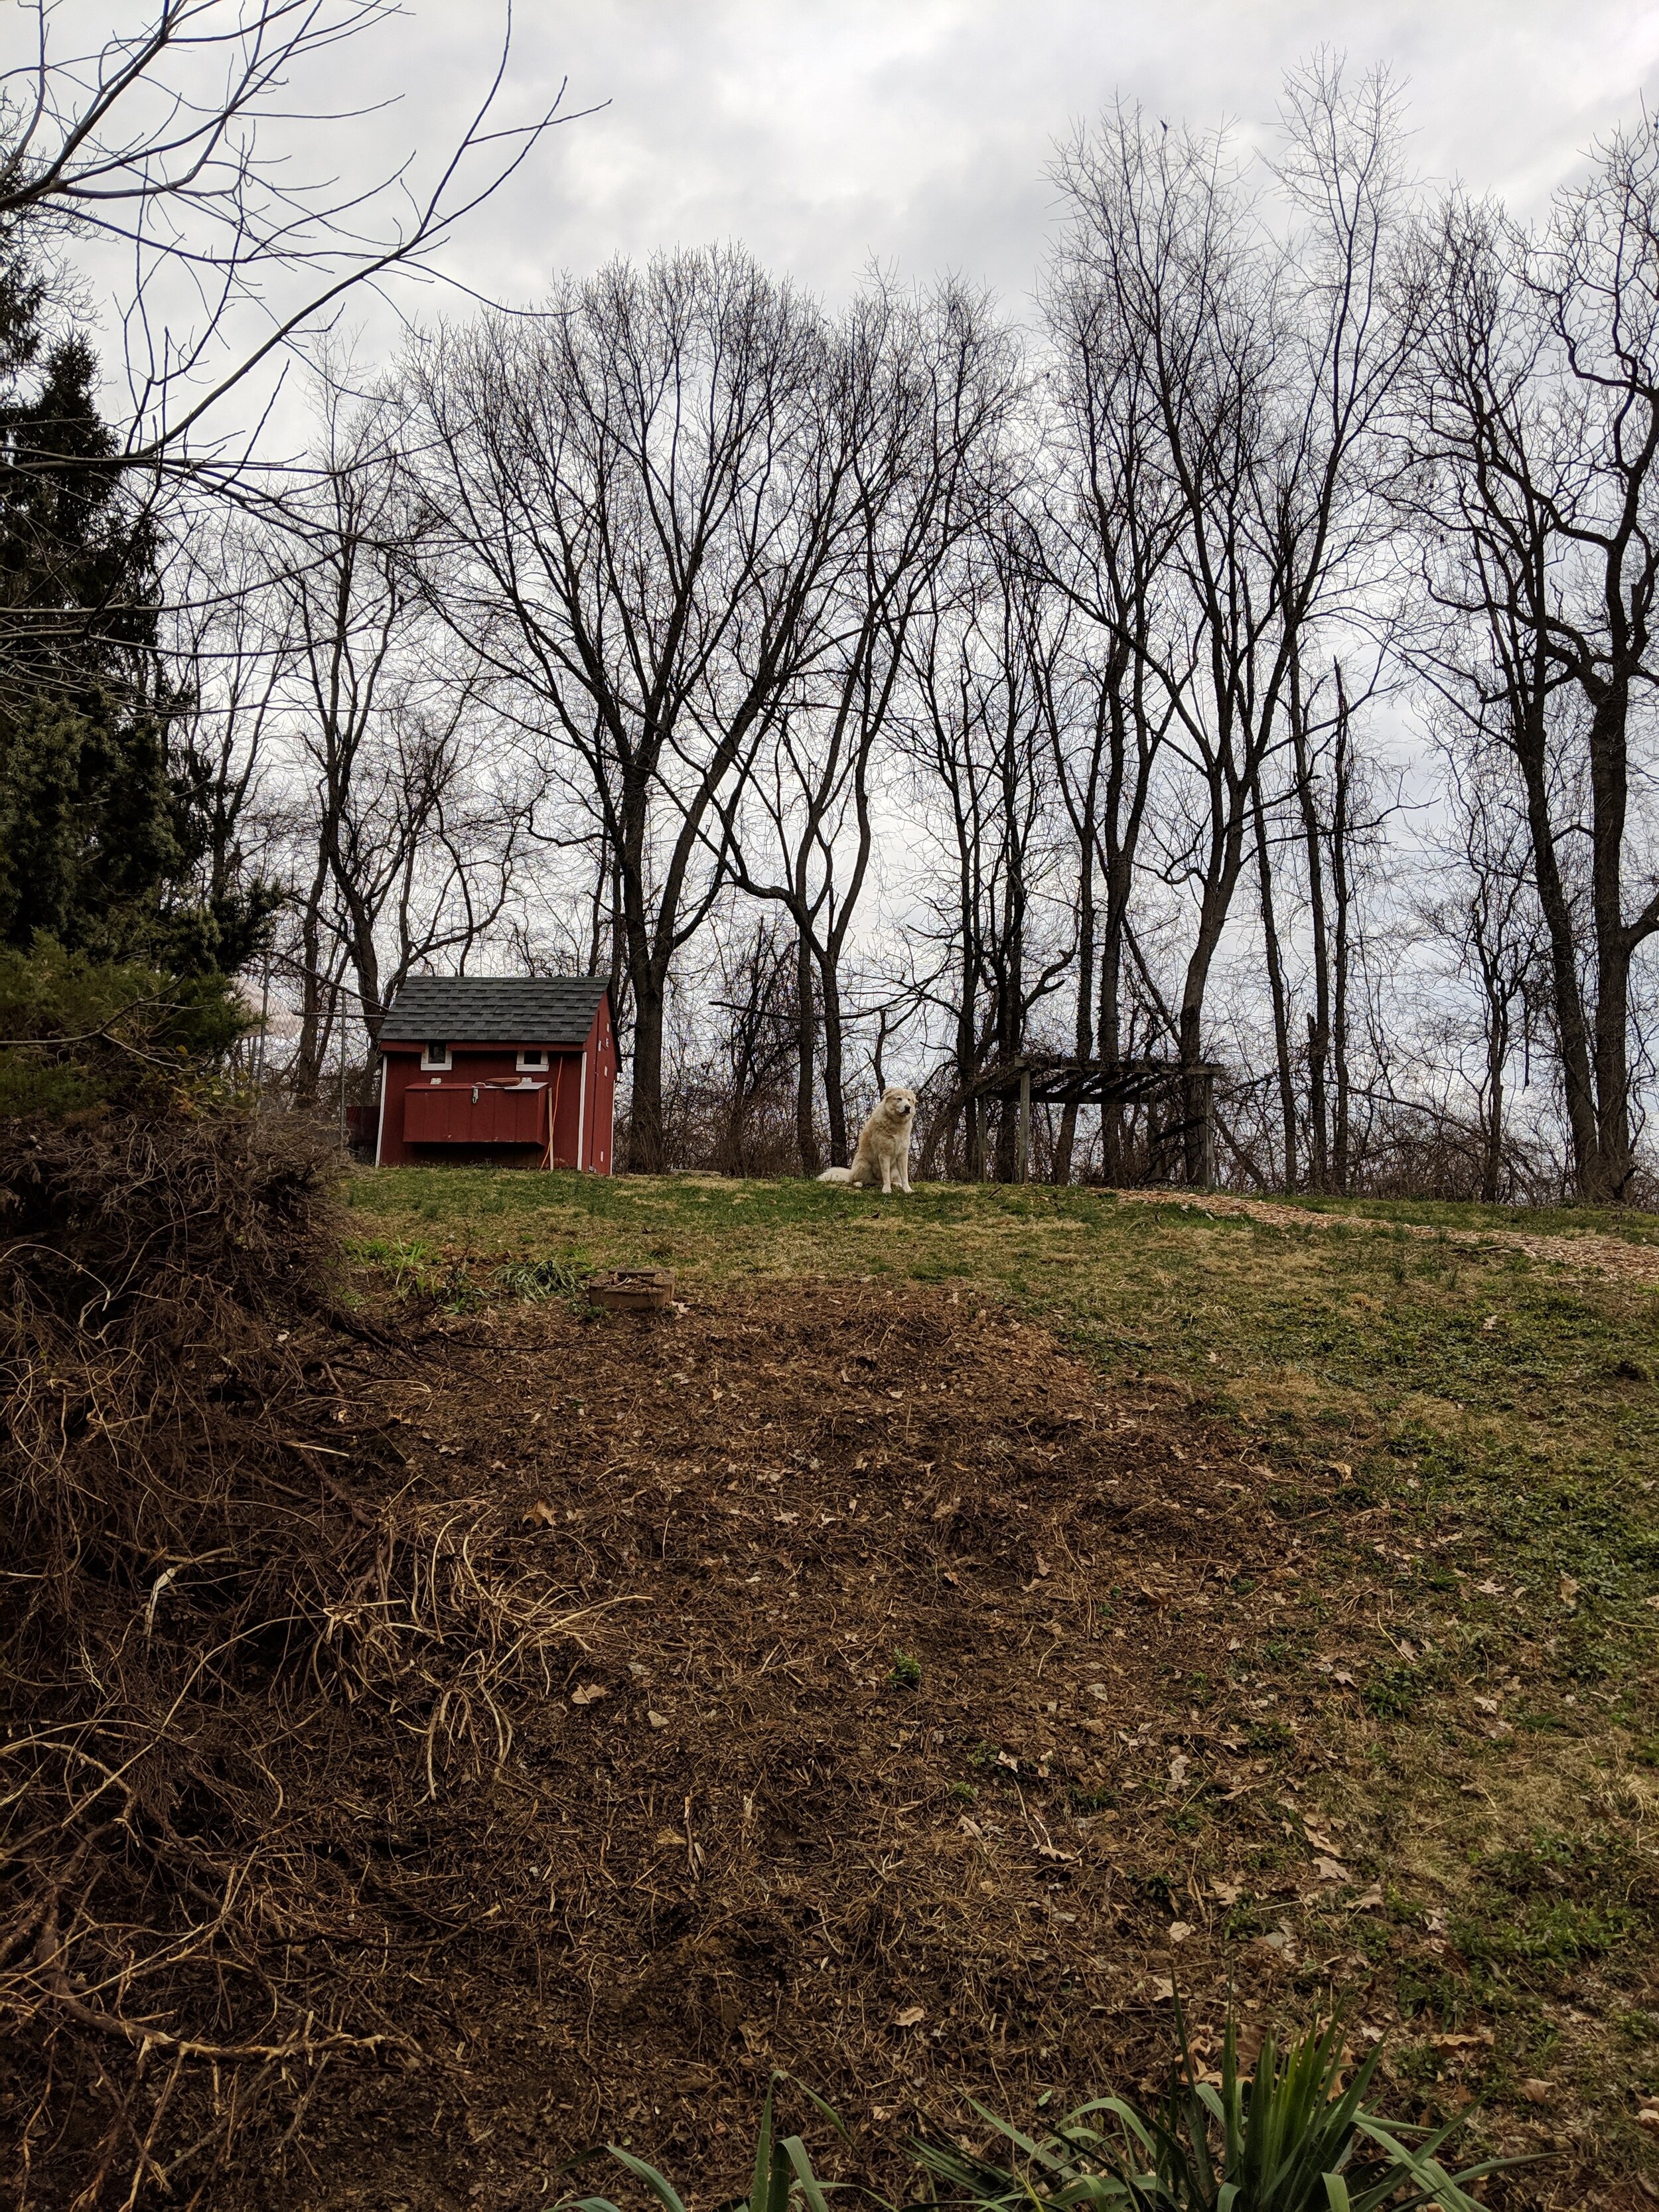
Next was clearing all the old brush that had been left to grow wild over the years. There was a dead juniper bush, lots of yucca (yuck, I hate them), and random roots to nowhere. I was really hoping for treasure as I cut and dug and scraped and sawed, but no hidden family jewels.
Plan the space
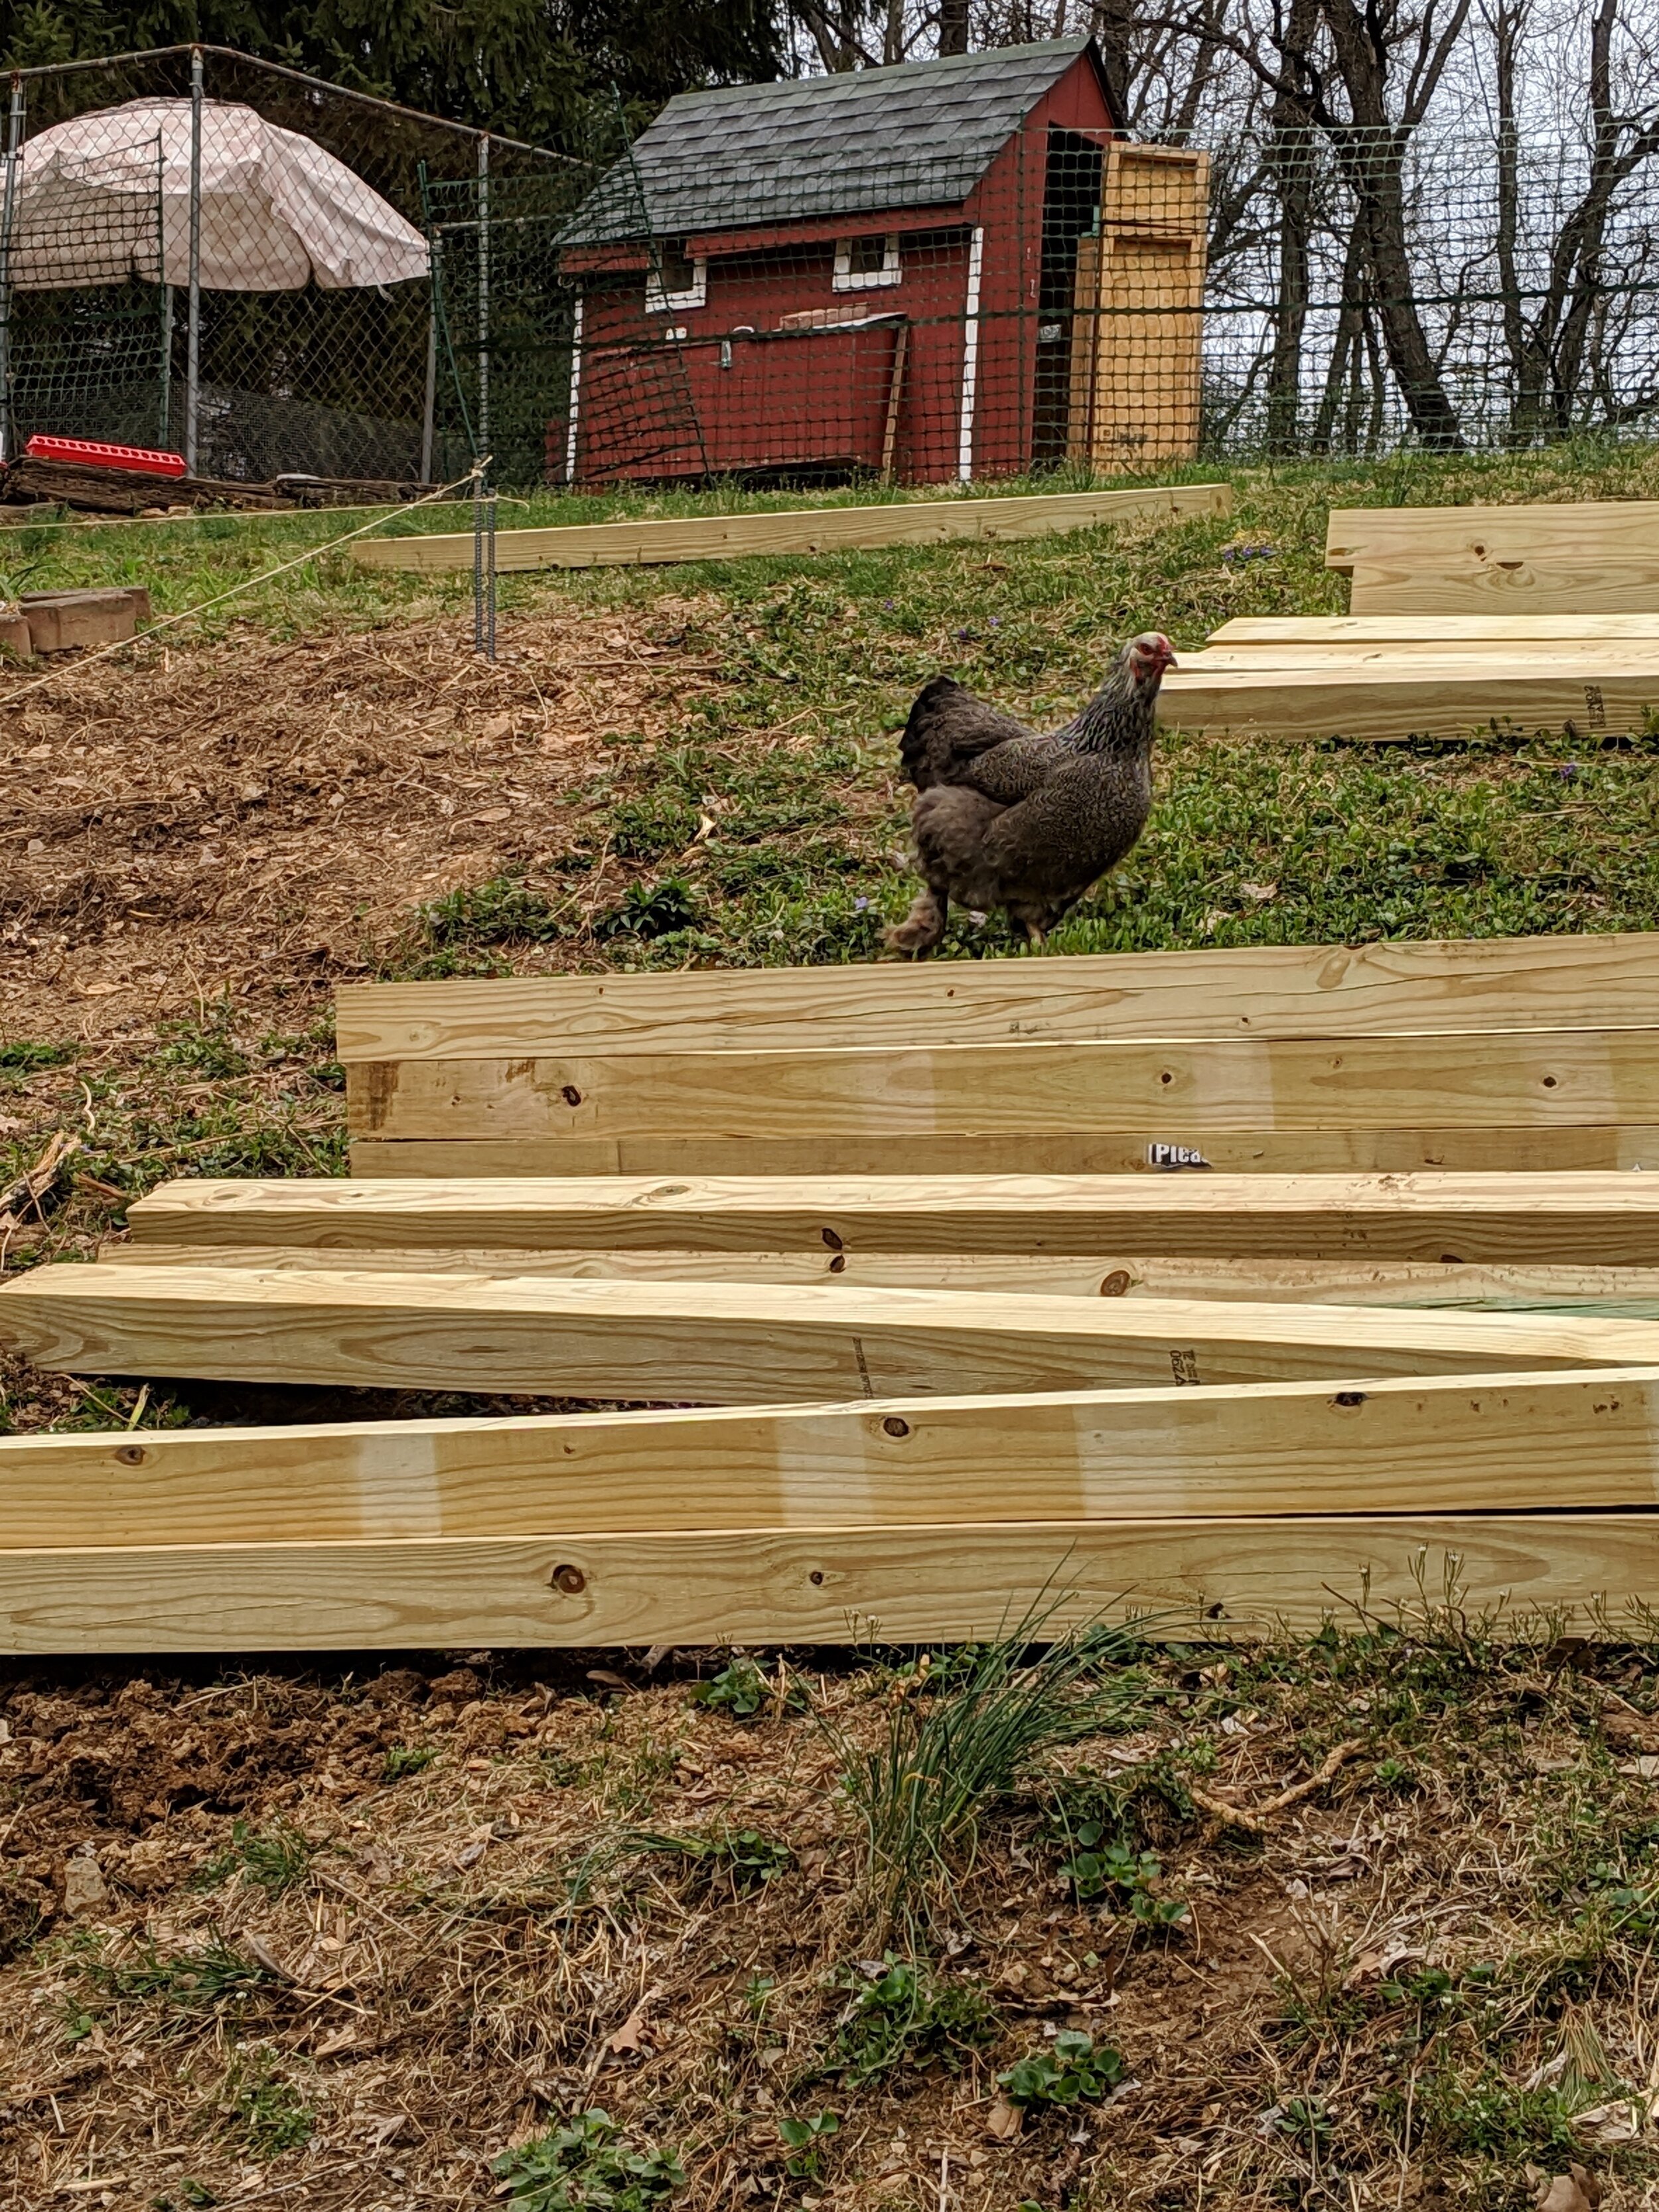
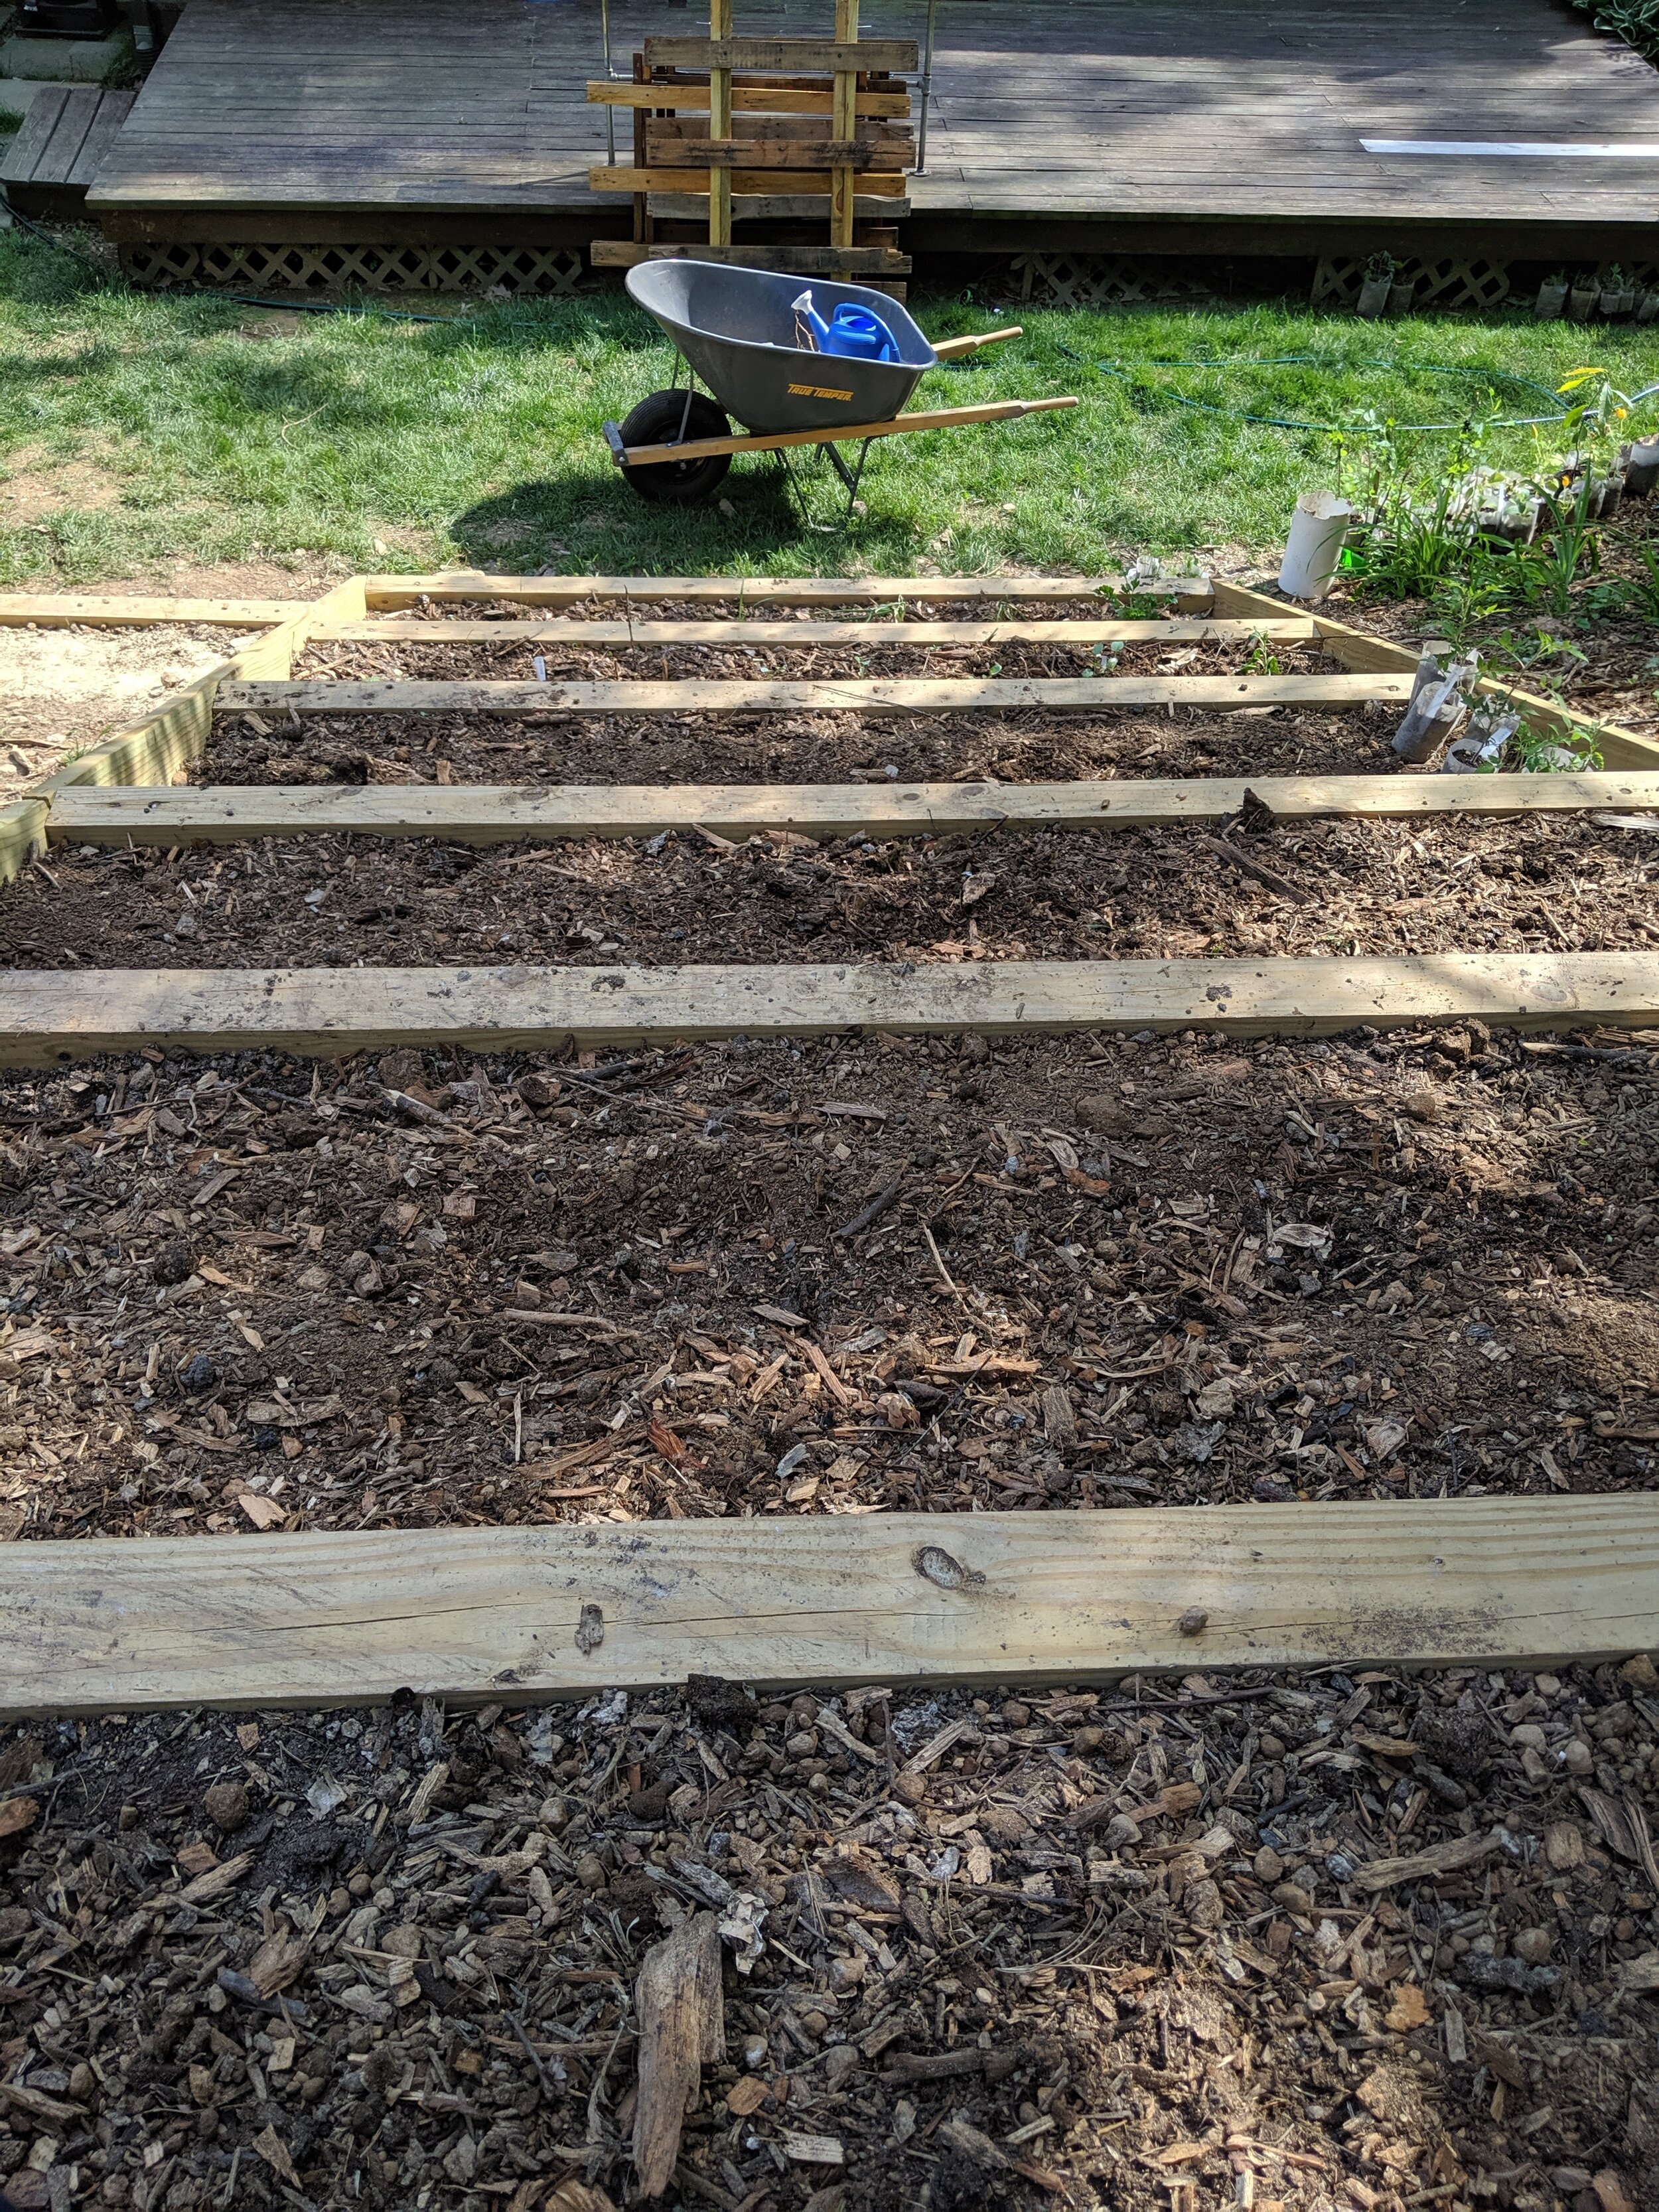
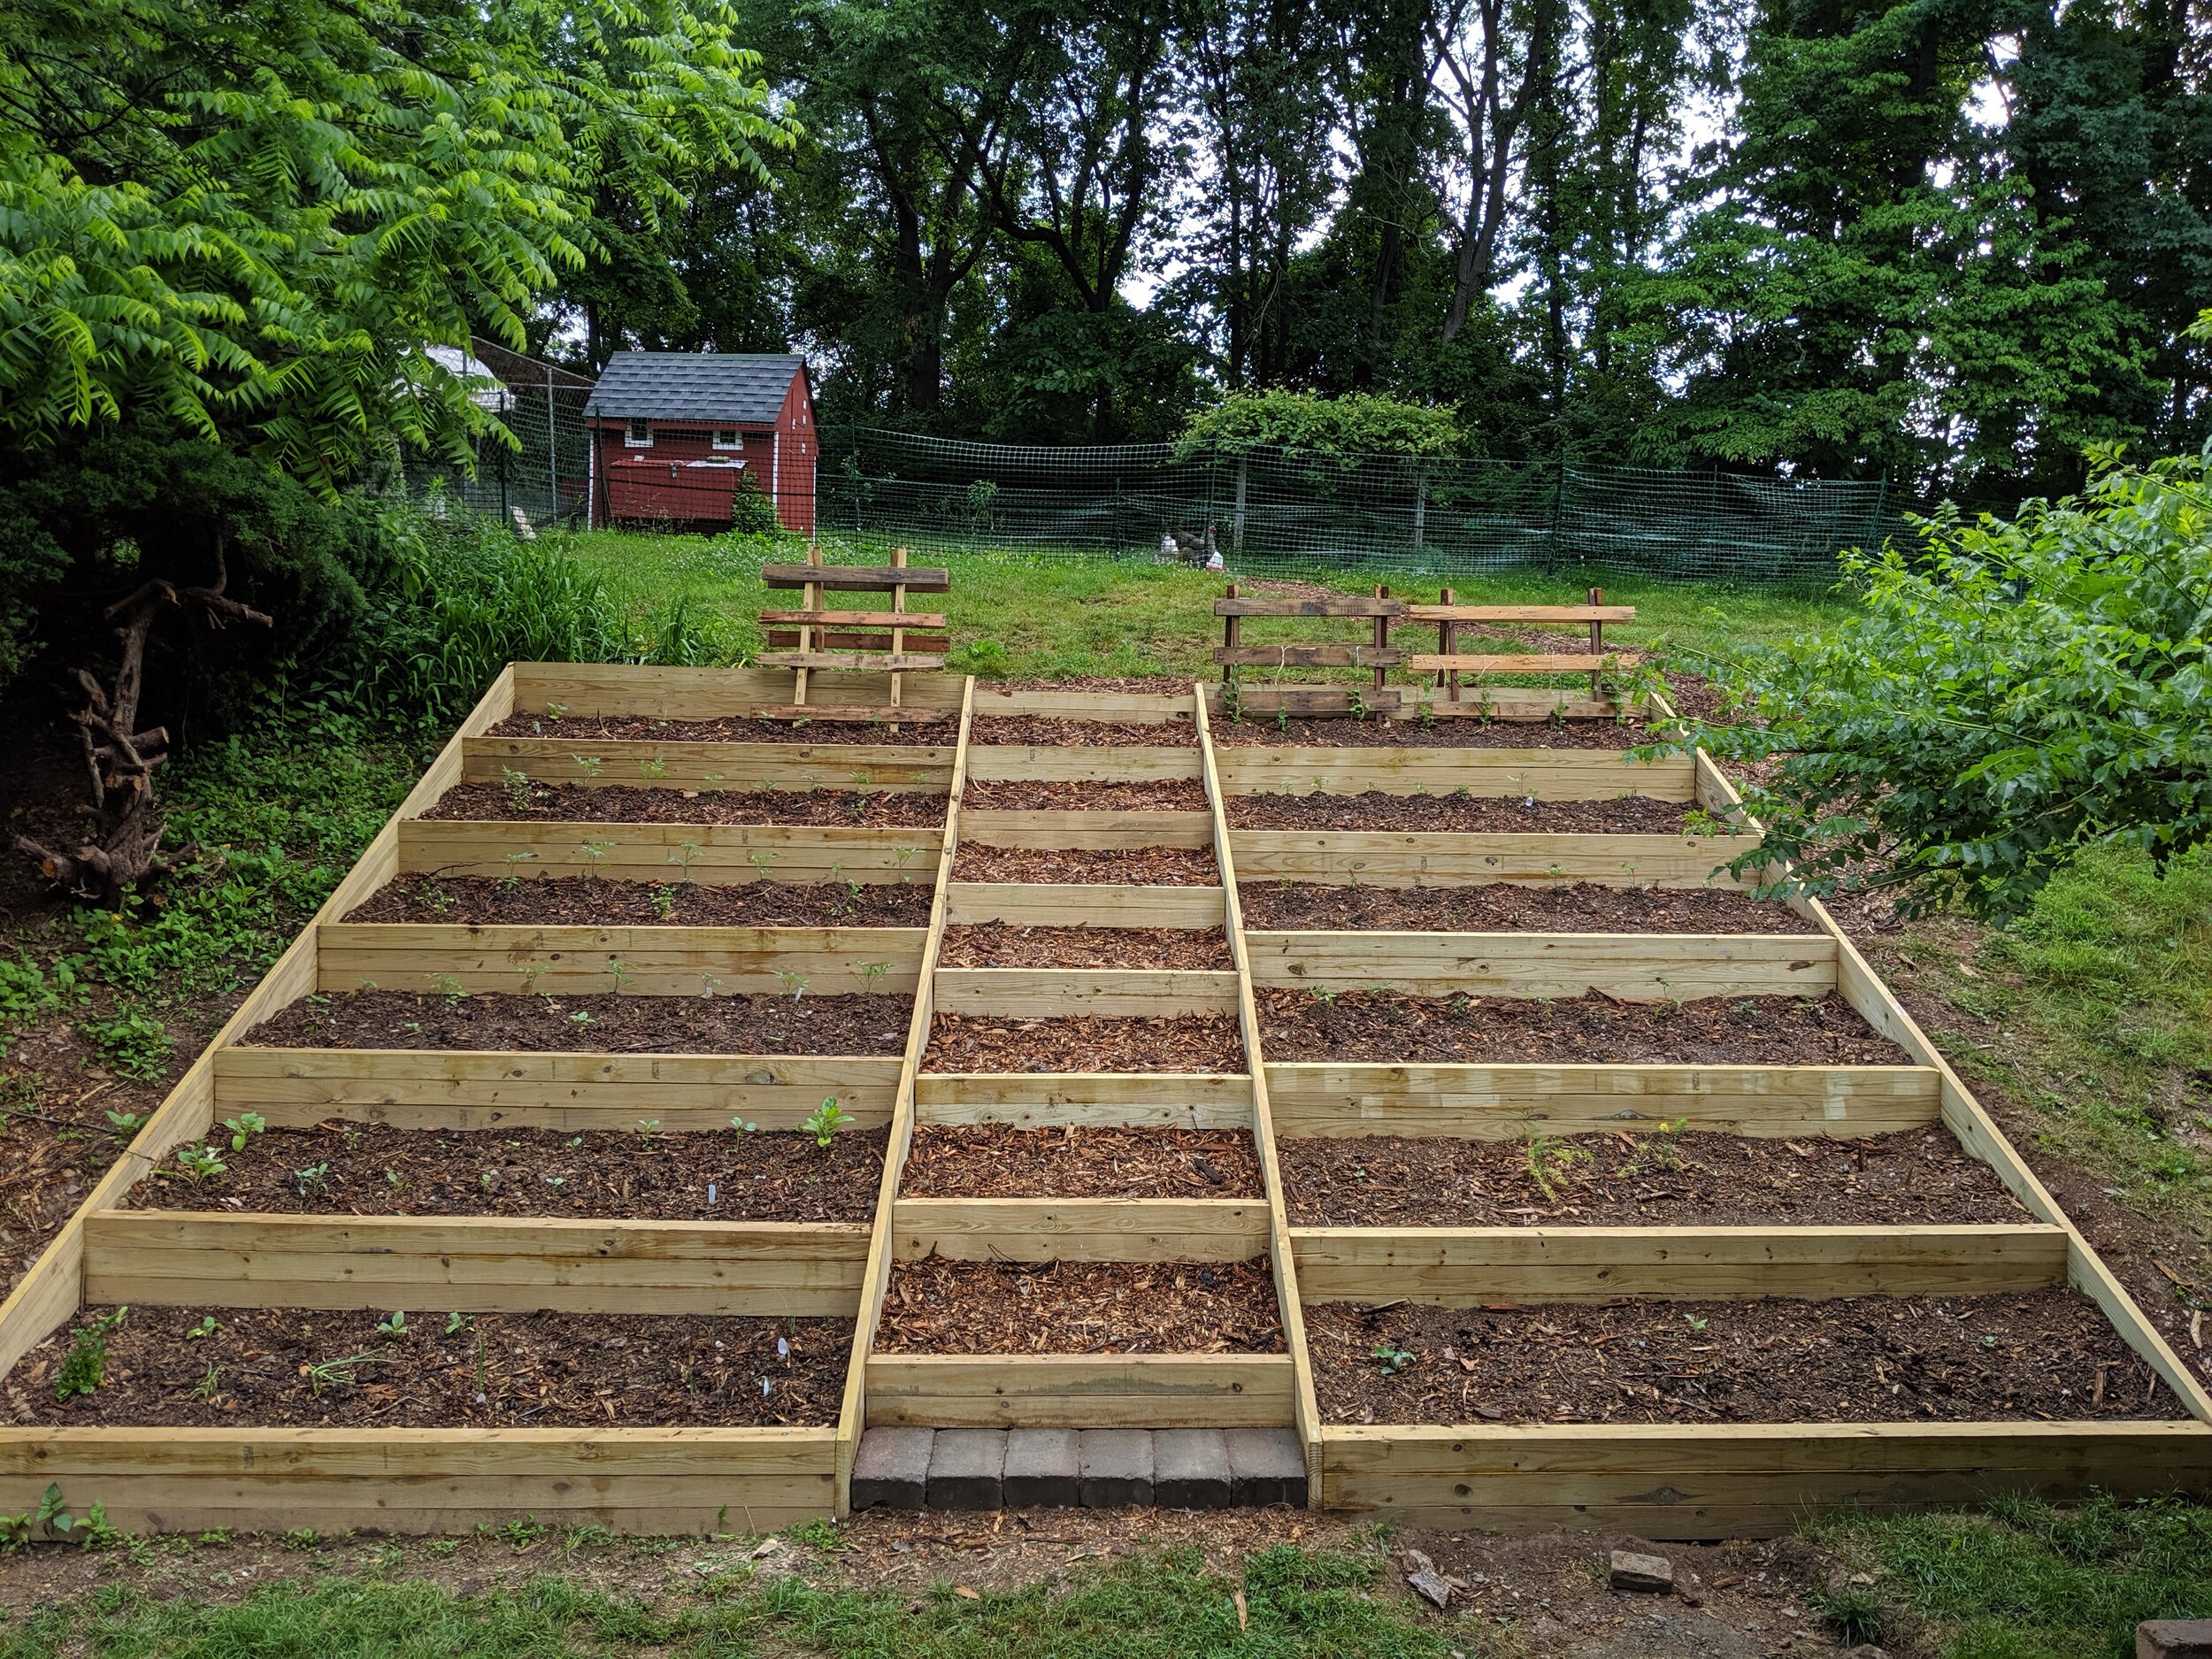
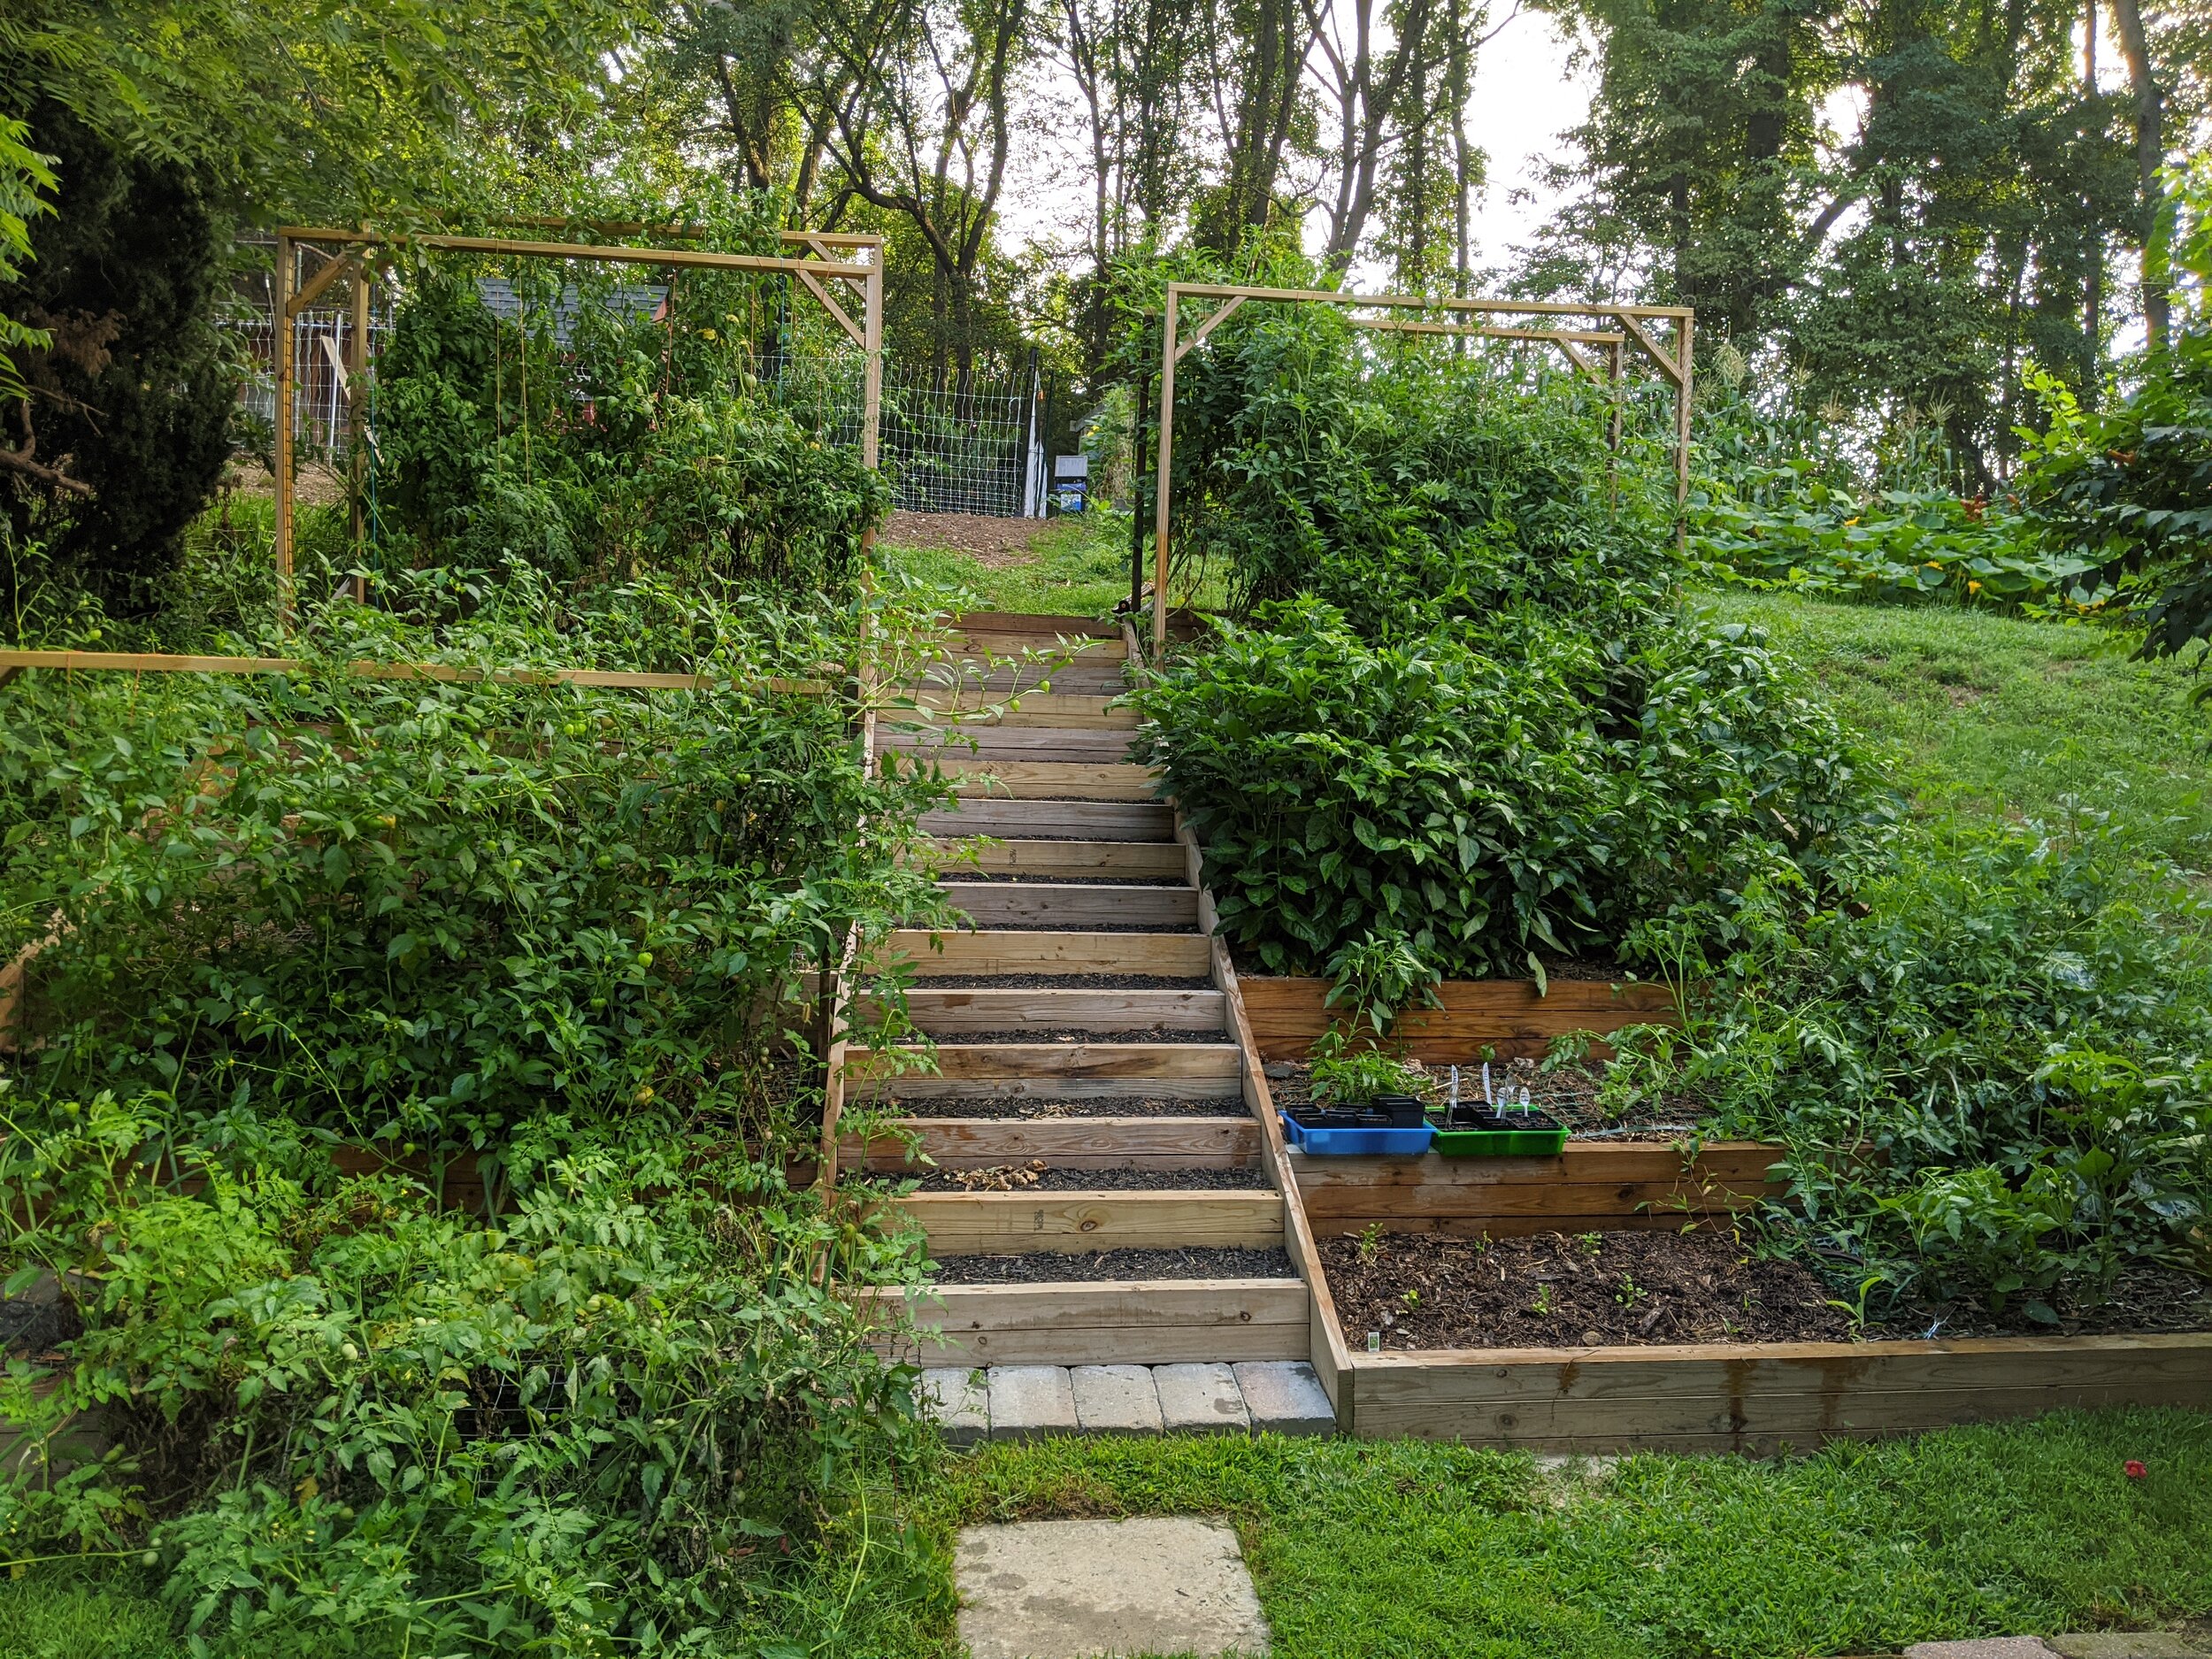
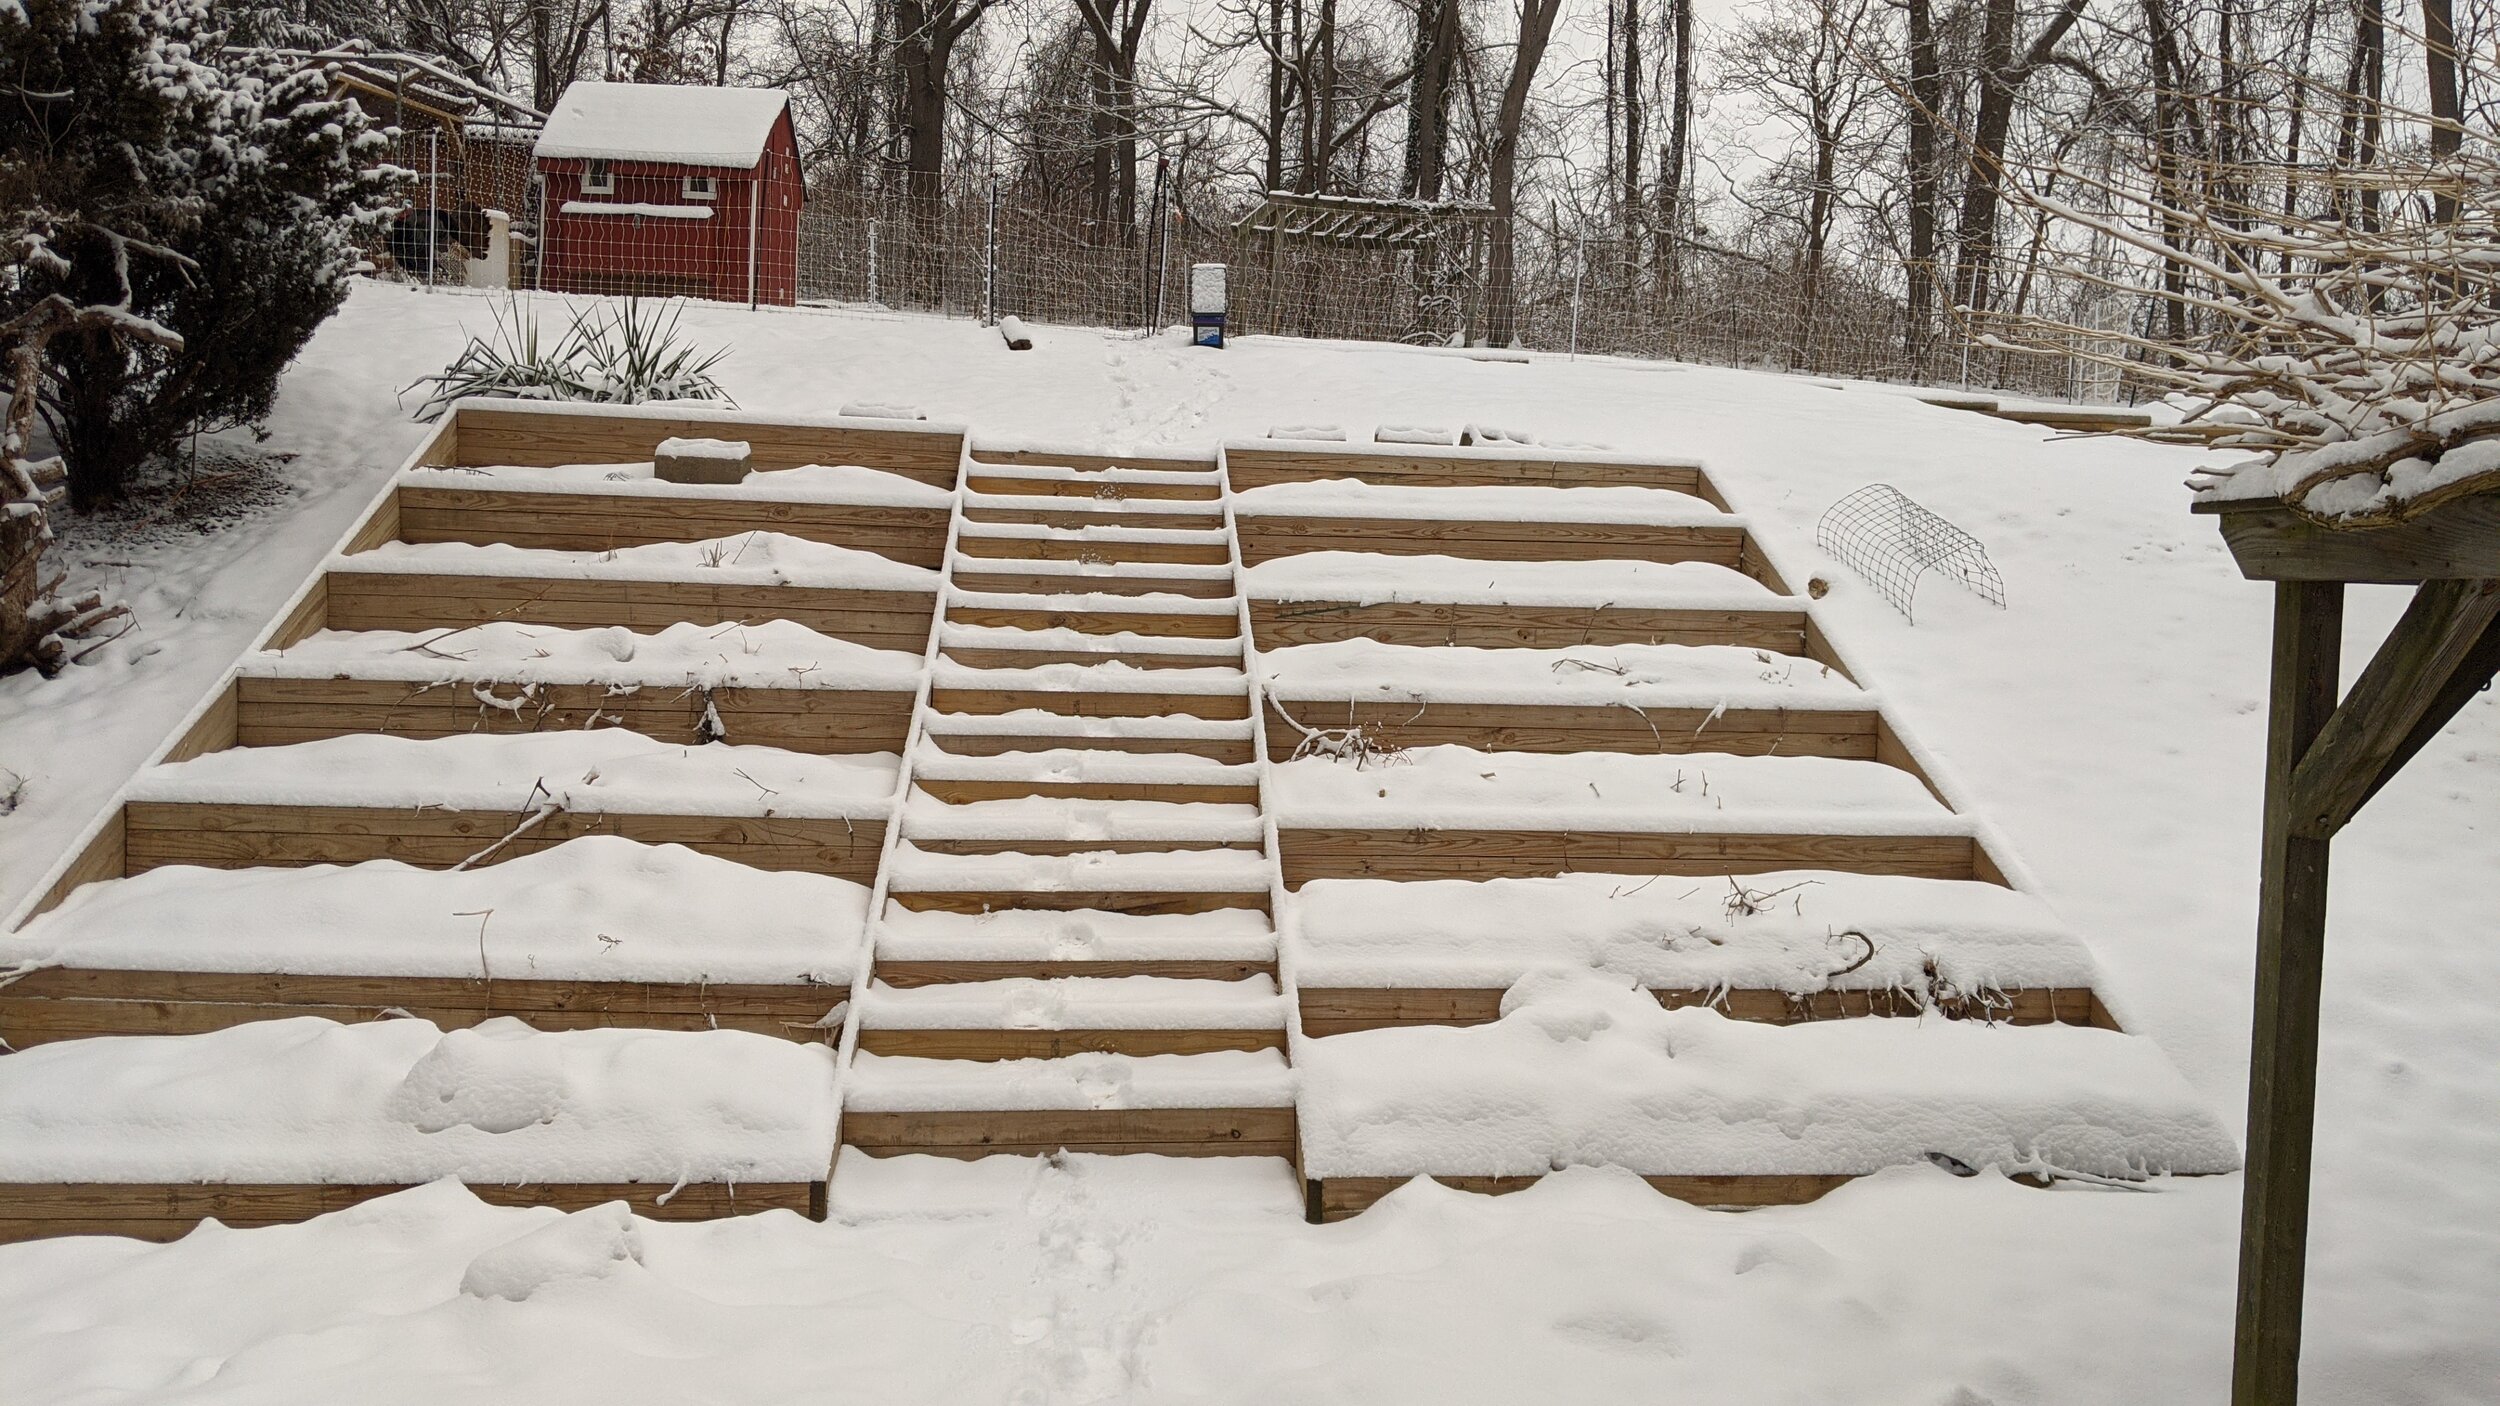
We figured we could do 2 gardens with a stairway in the middle. Each garden would be about 8 ft wide and 20 ft long. The stairs would be 4 ft wide. This was sketched out to give us an estimate of how much wood we’d have to pick up.
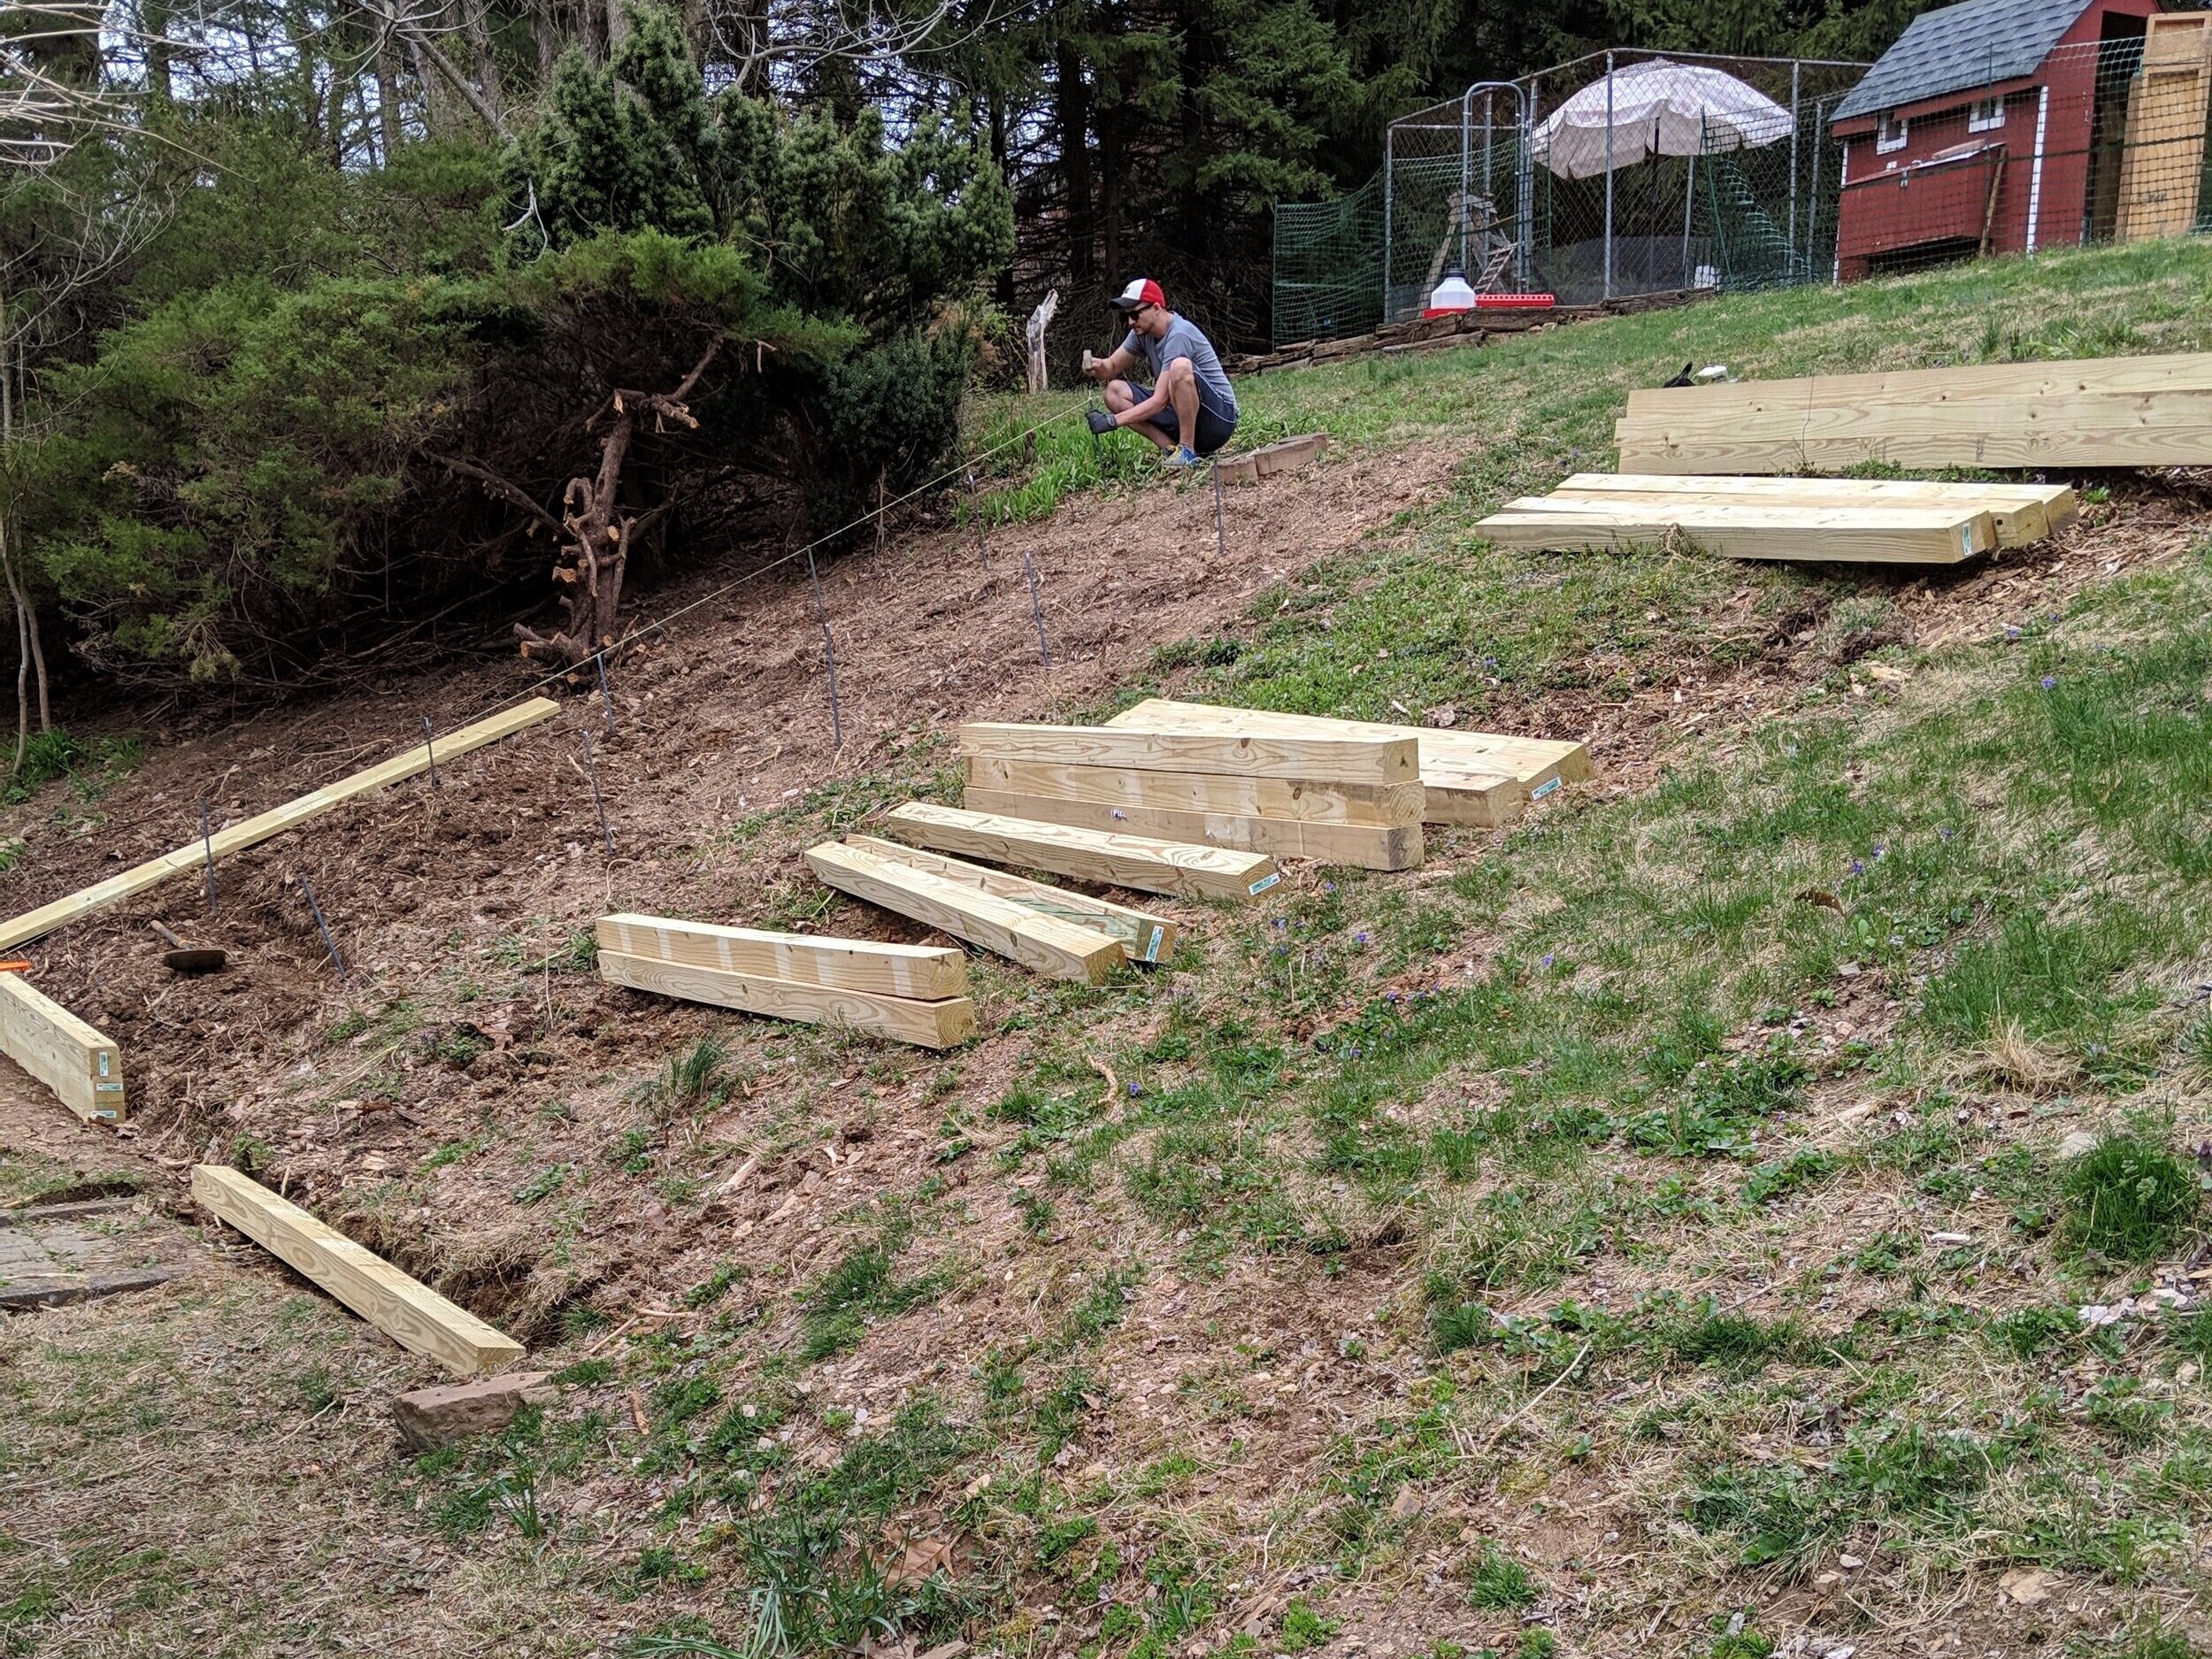
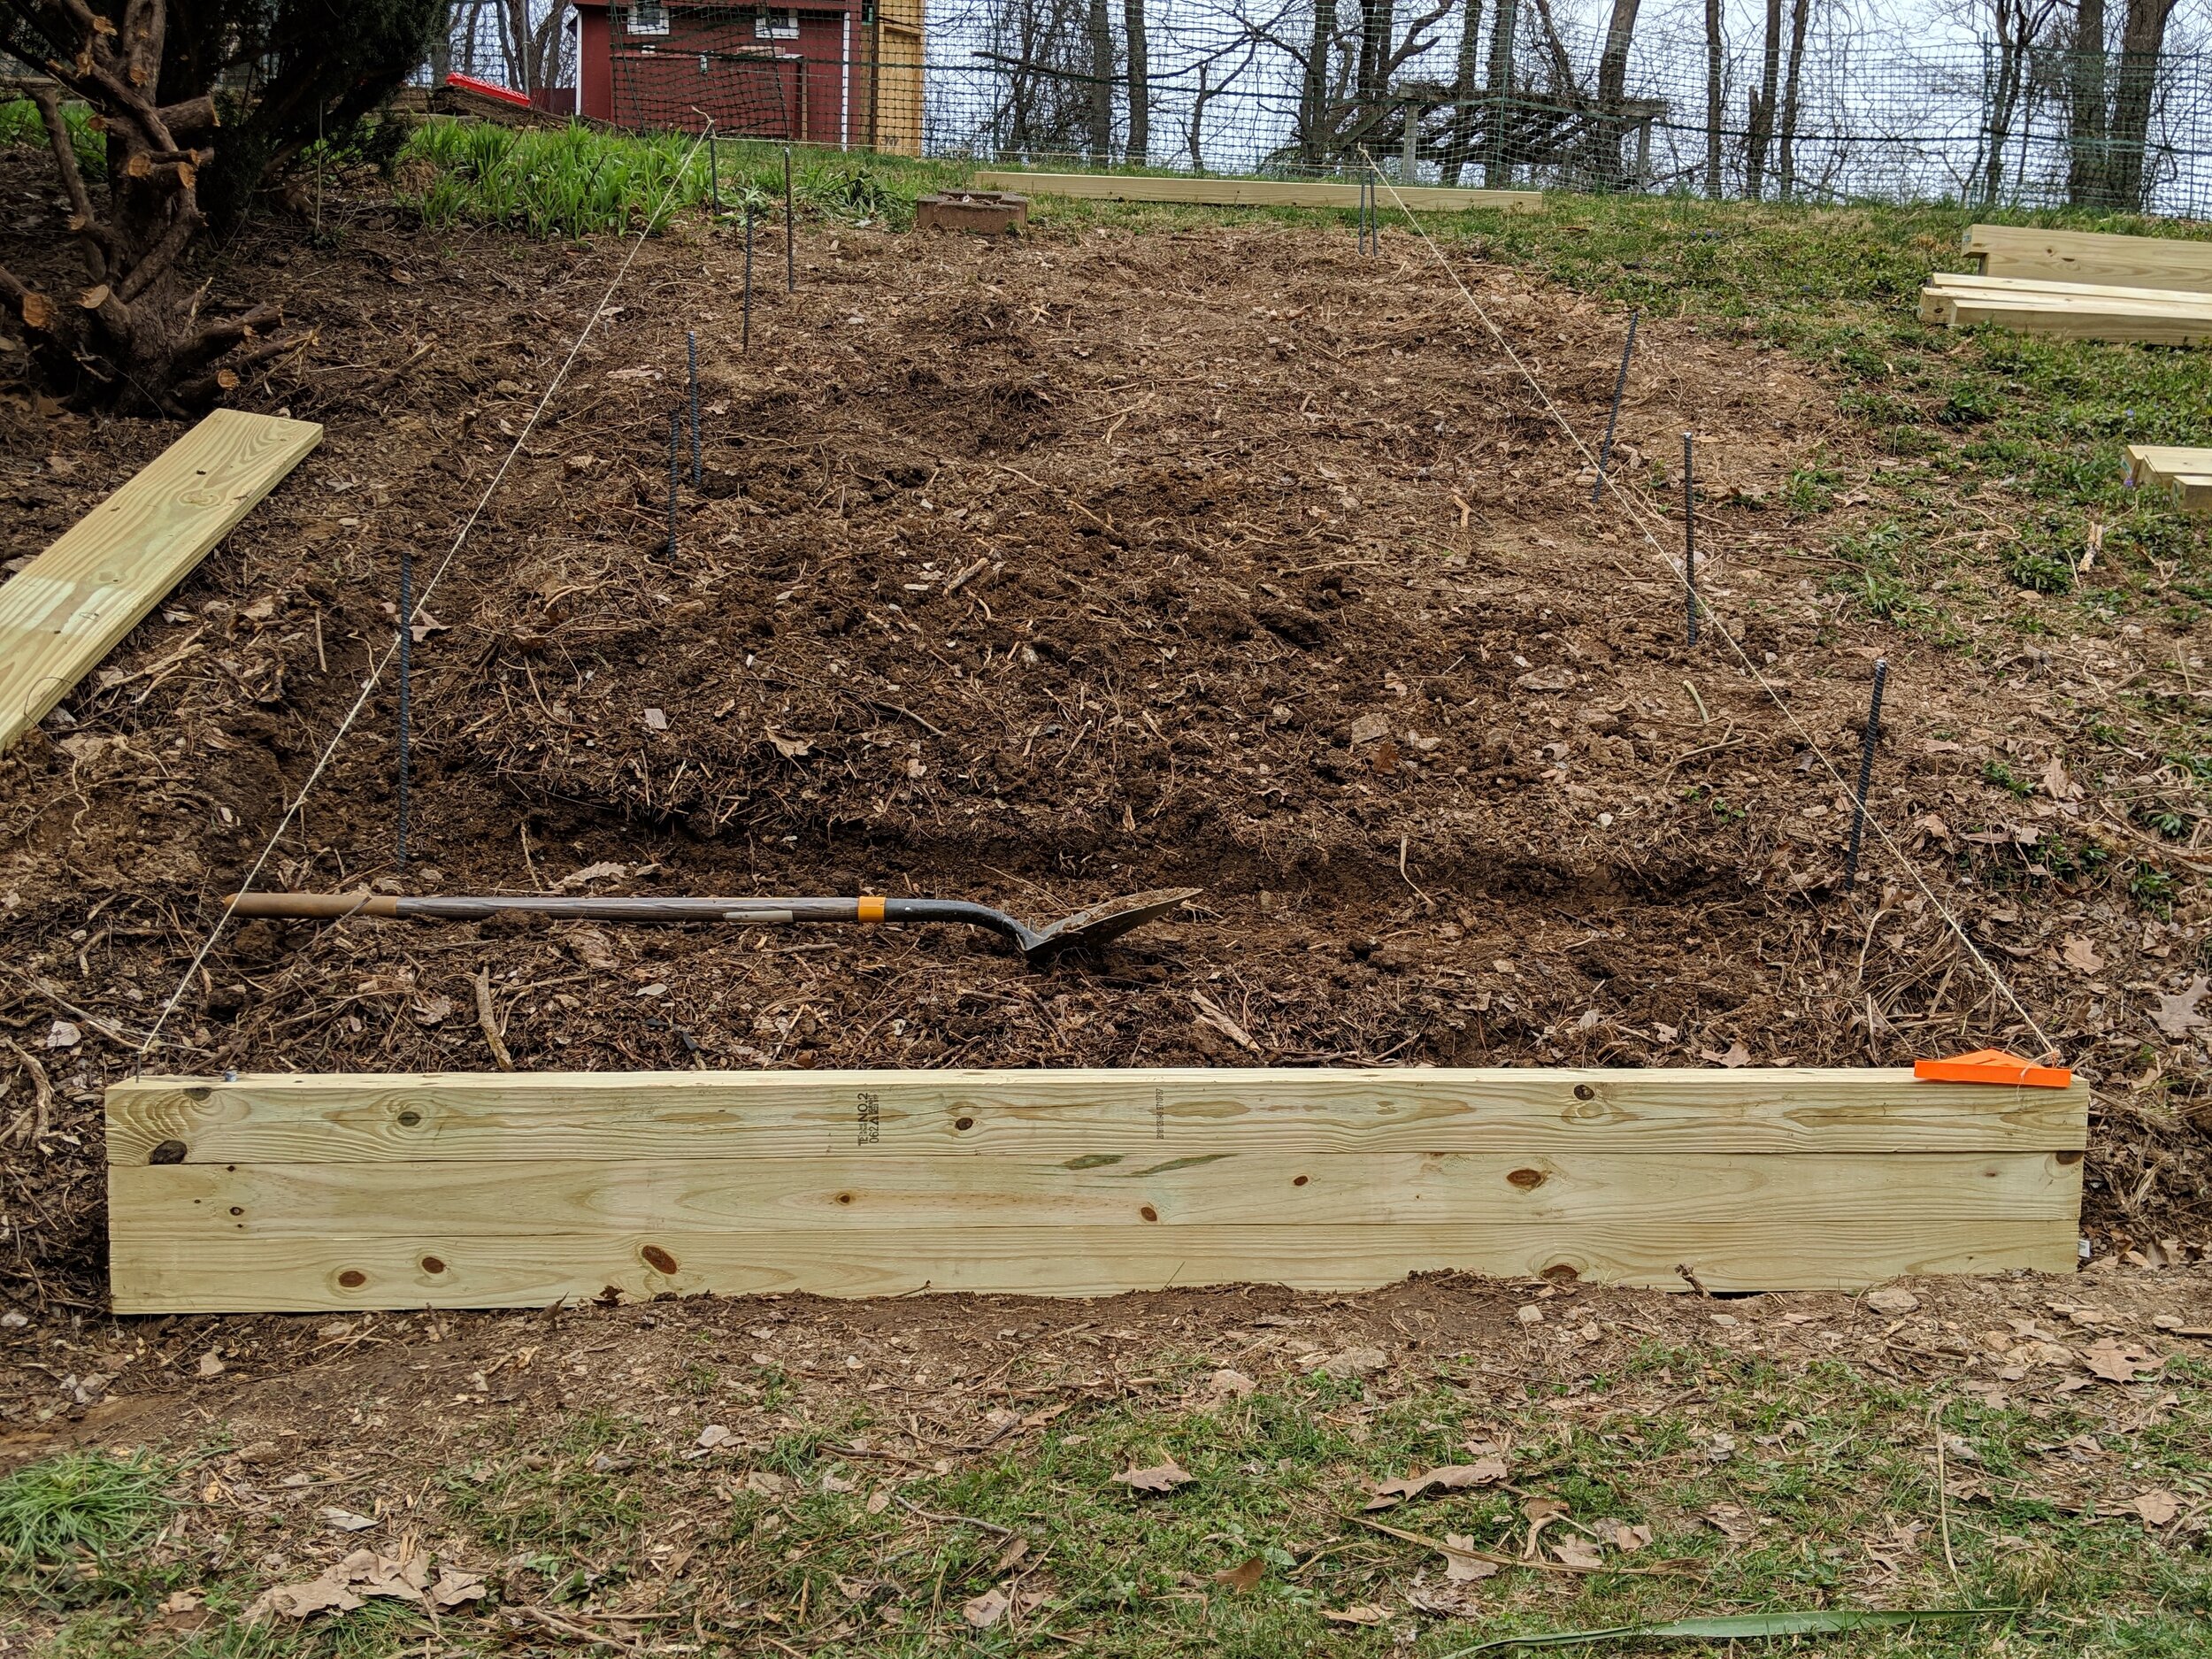
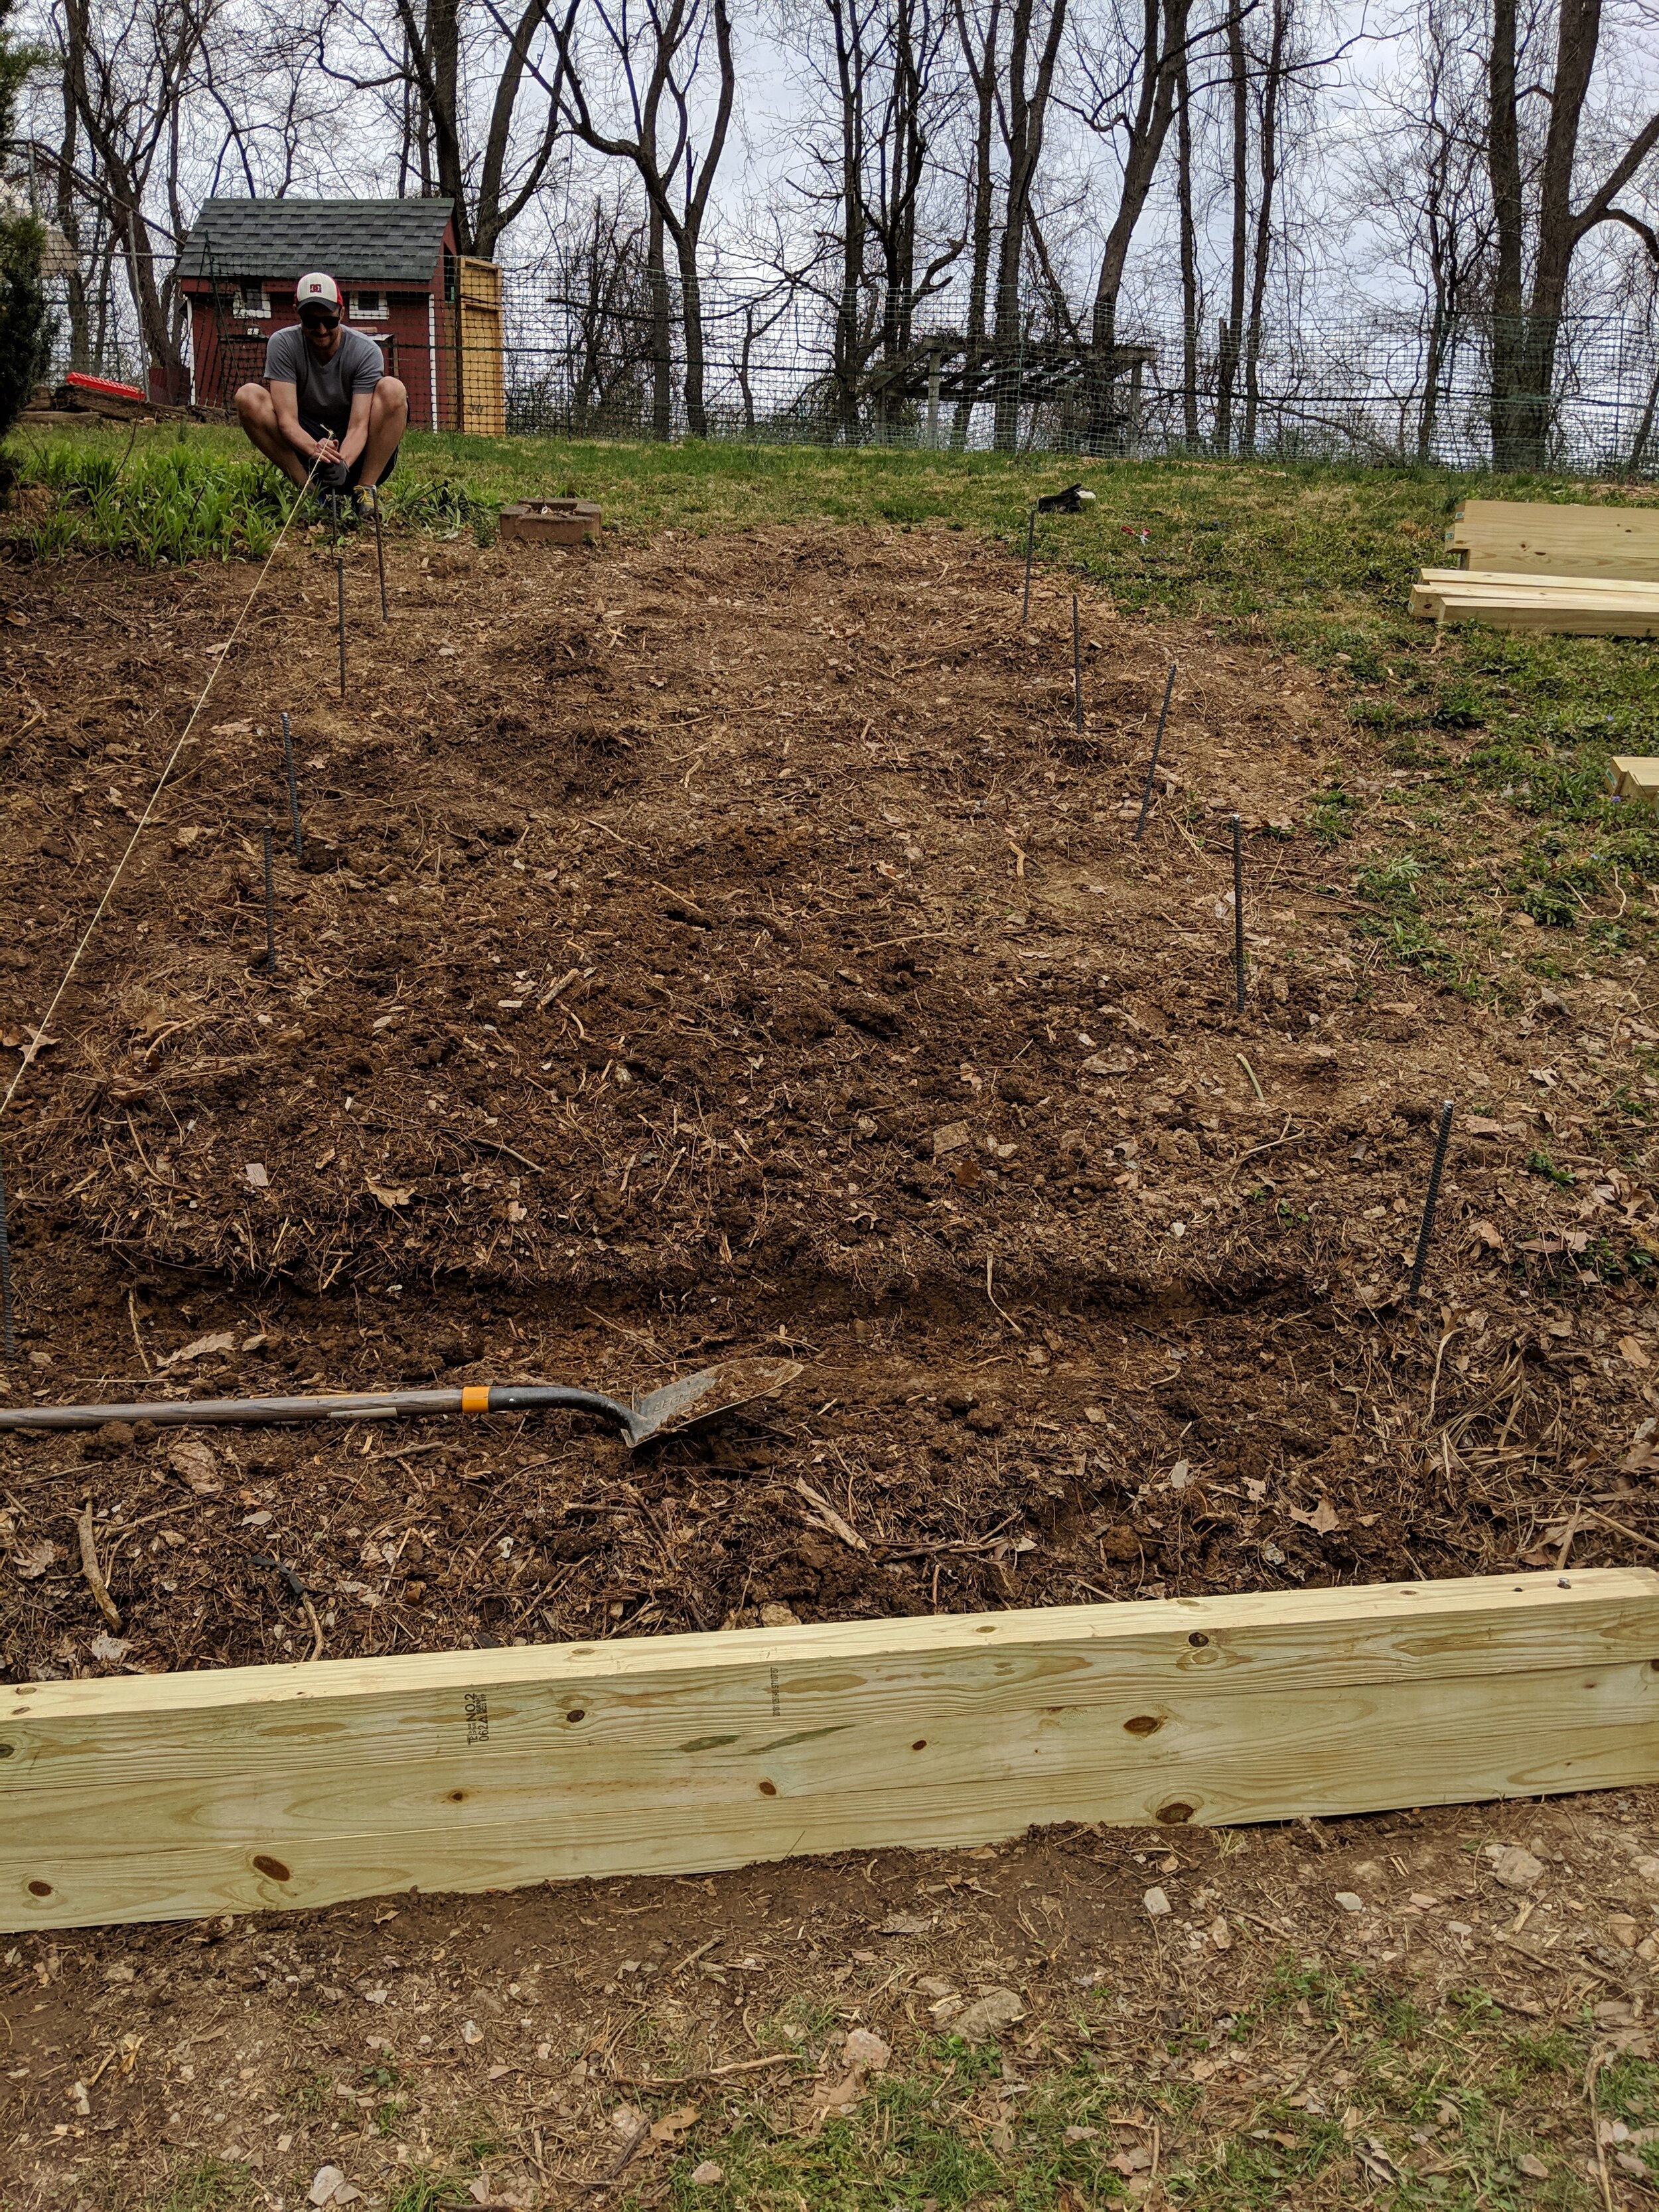
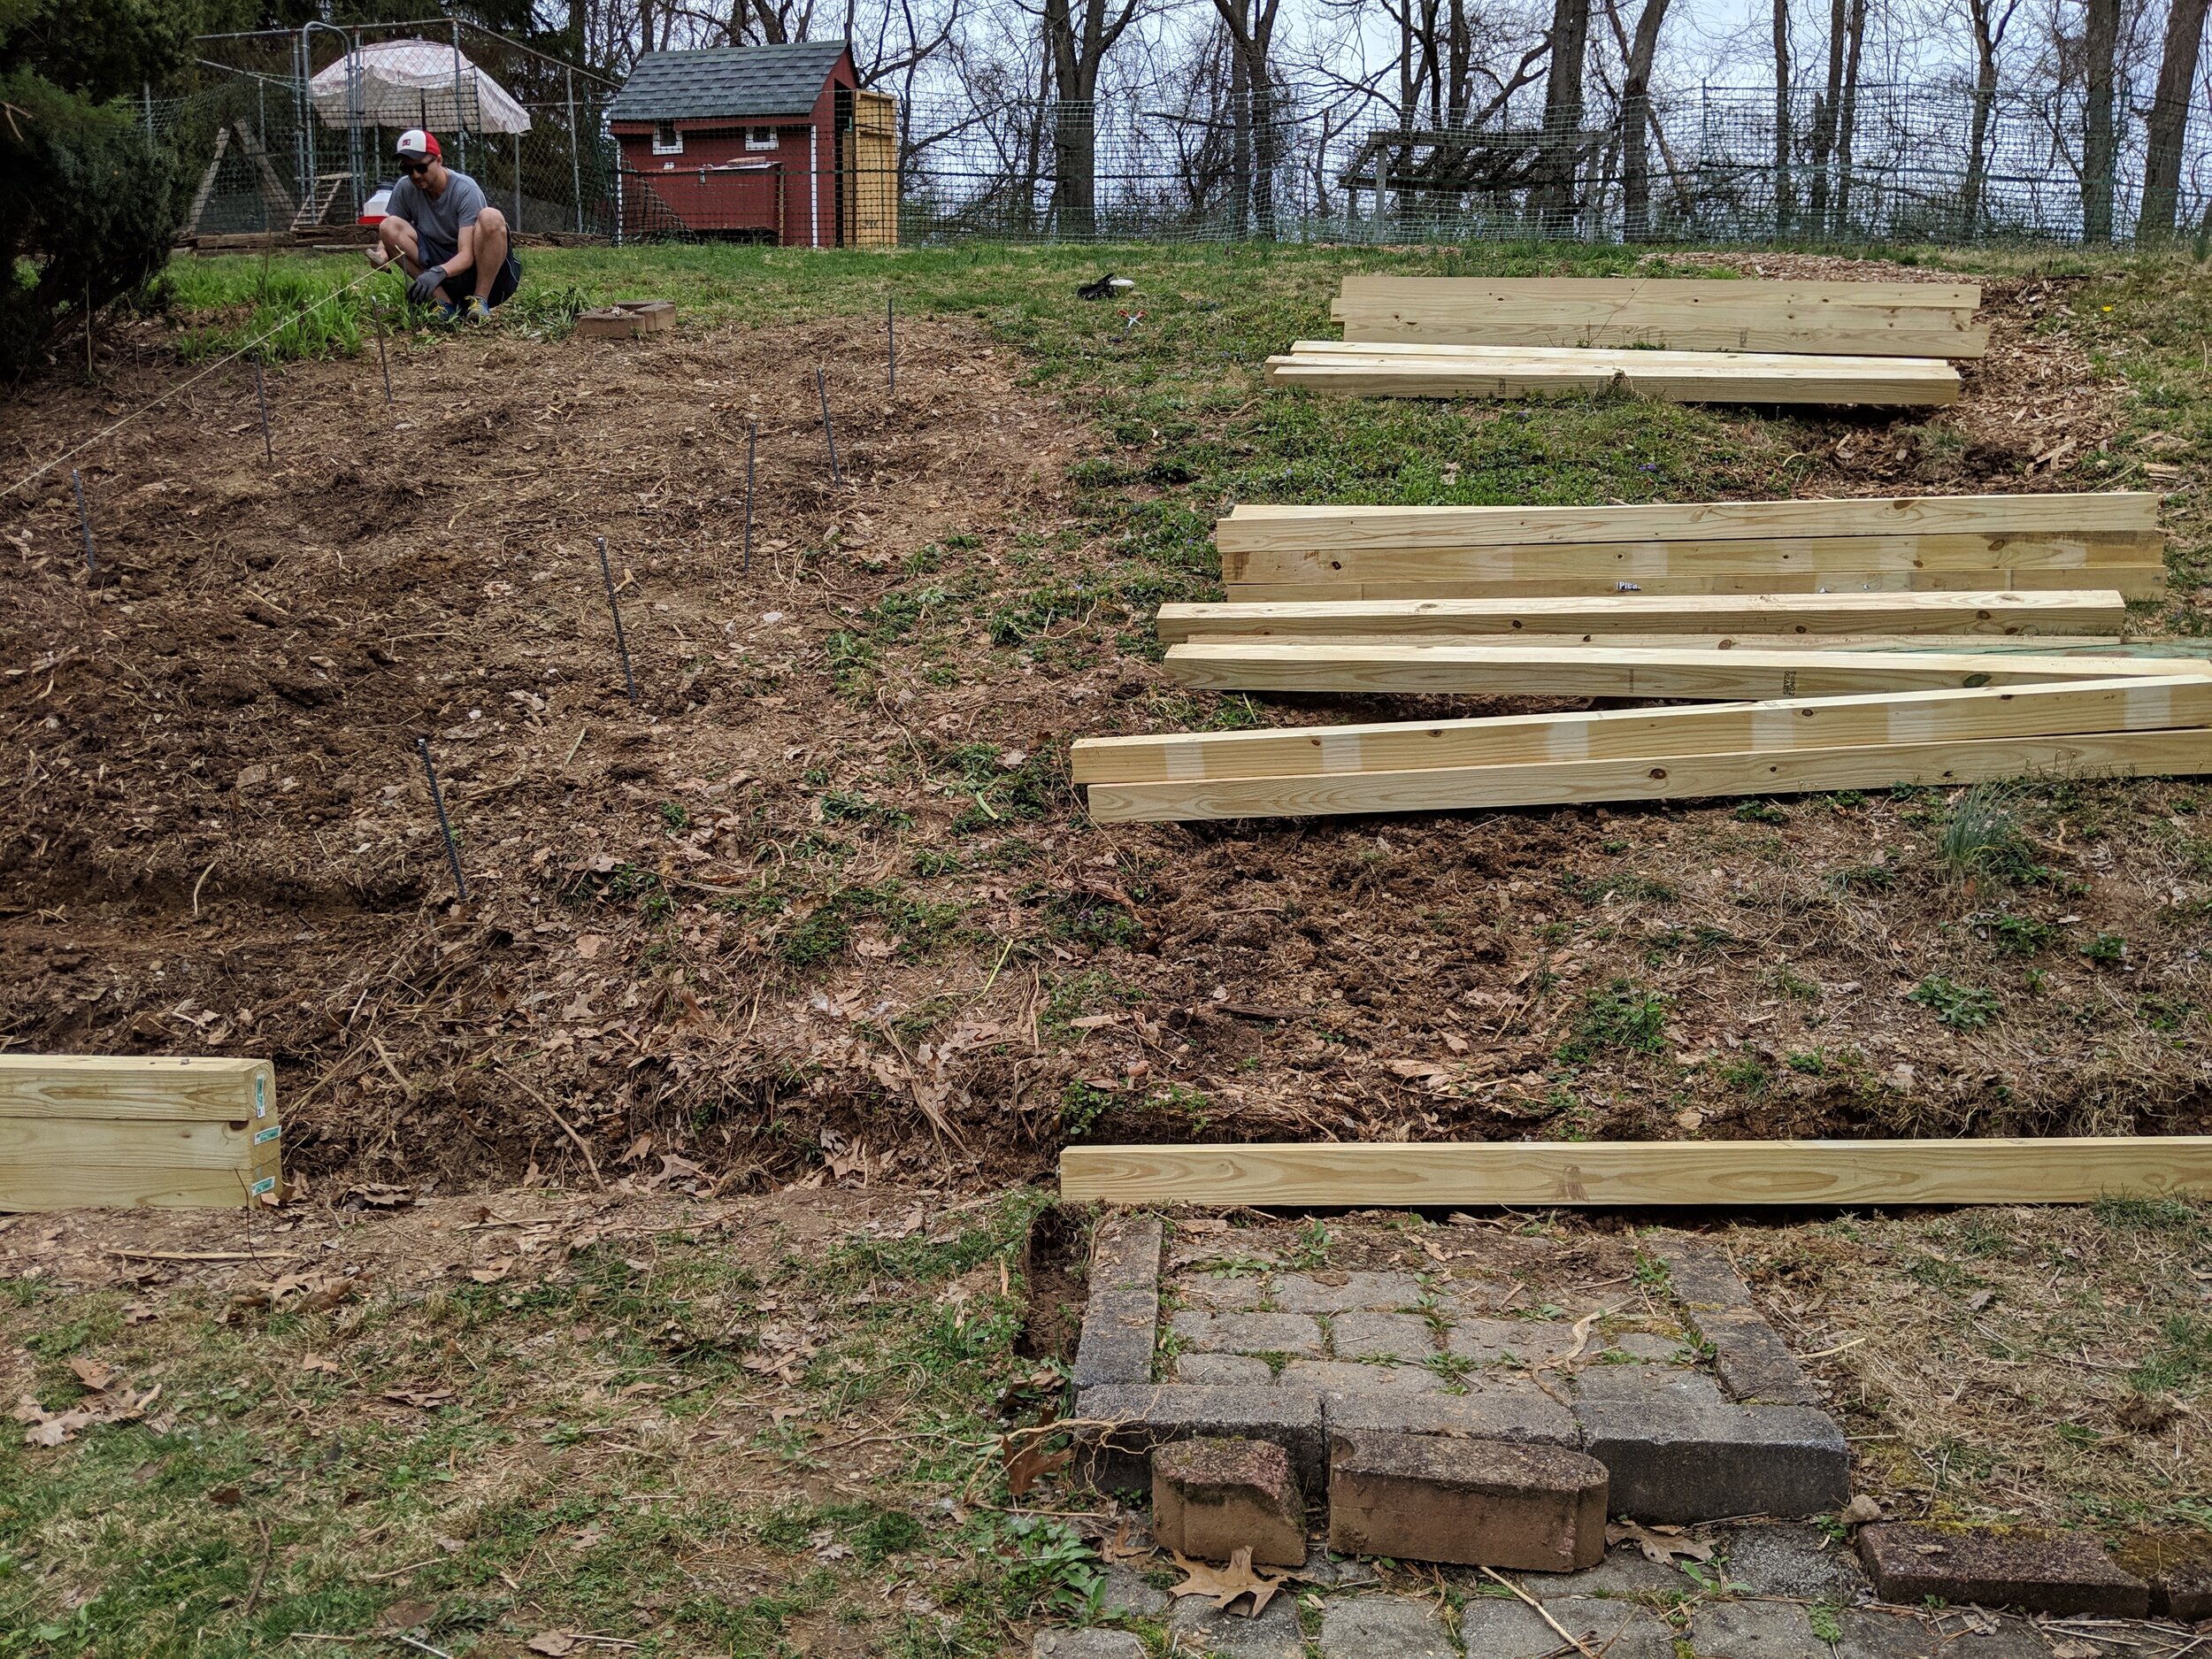
The property has some landscaping with 6x6’s, which are nice, but difficult for one person to handle and more expensive, so 4x4’s are the next best option. Each of the 2 gardens would be in sections of 8 ft by 3 ft and there would be 6 of them. Stacking 3 boards meant 7 stacks of 3 on each side, so 21 + 21 = 42. The steps would stack 2 high, so we’d use about 8 boards, cutting them in half for 4 ft wide steps. So, now we’re up to 42+8 = 50.

Get some helpers
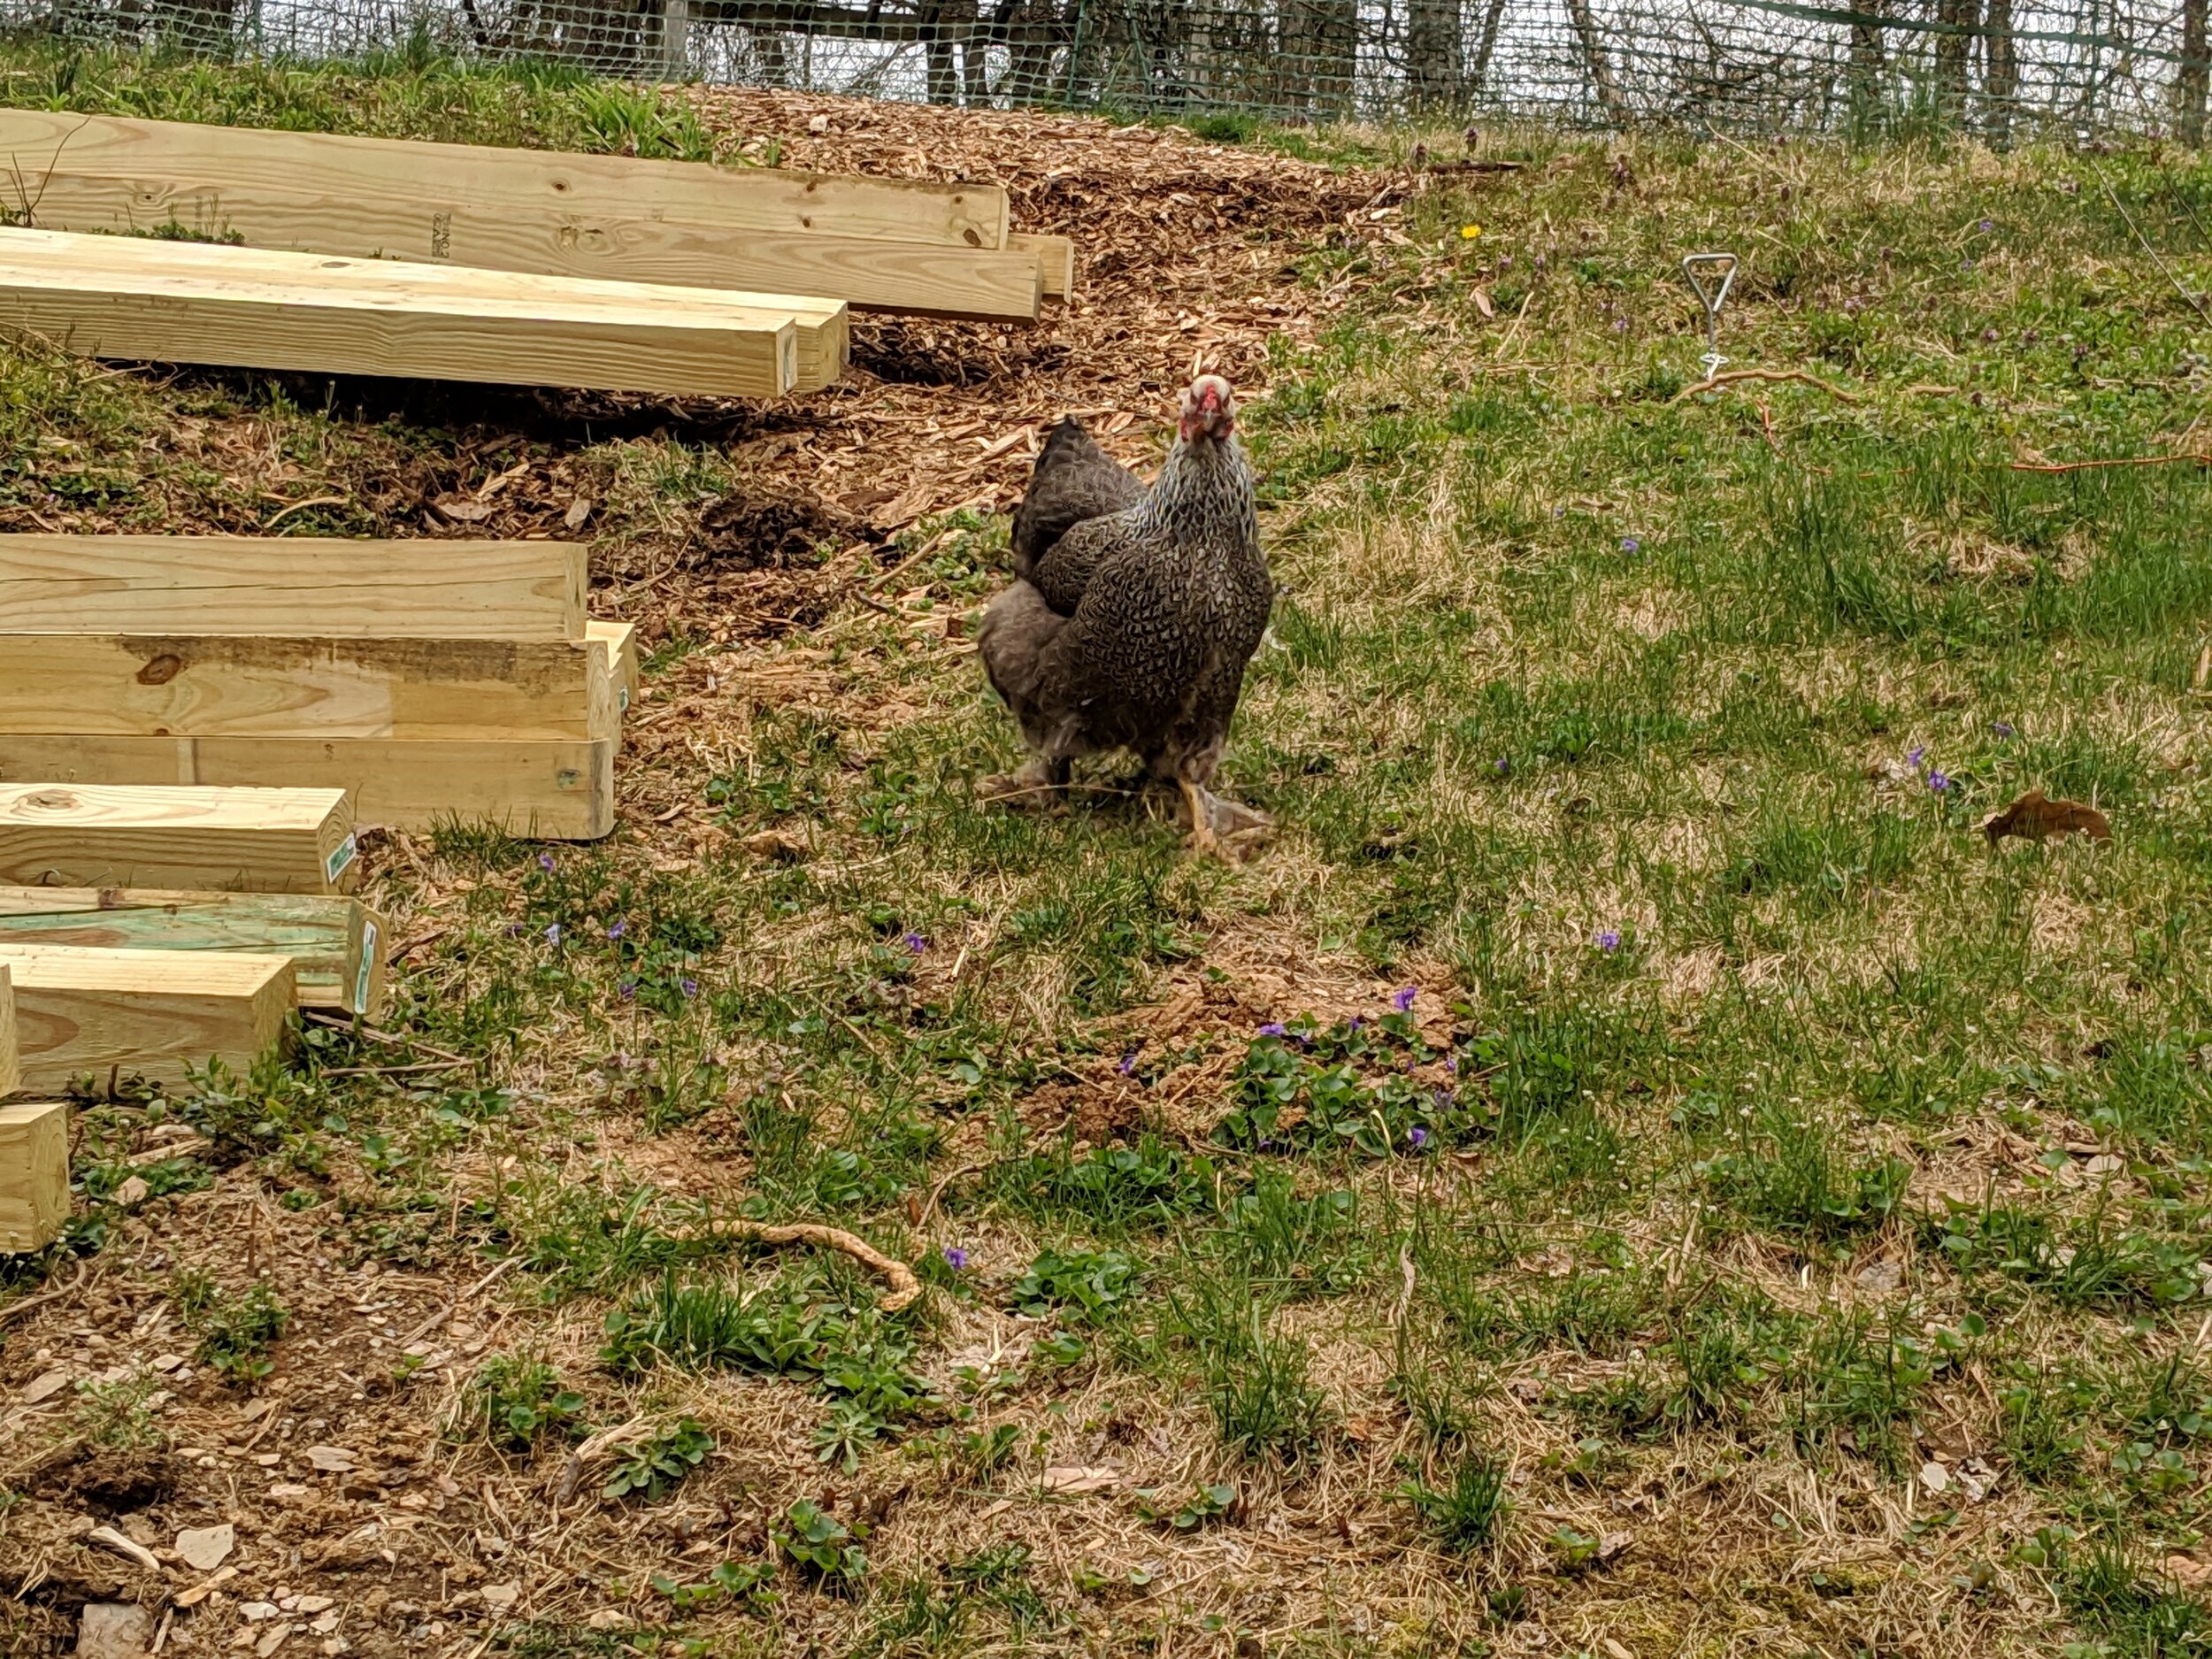
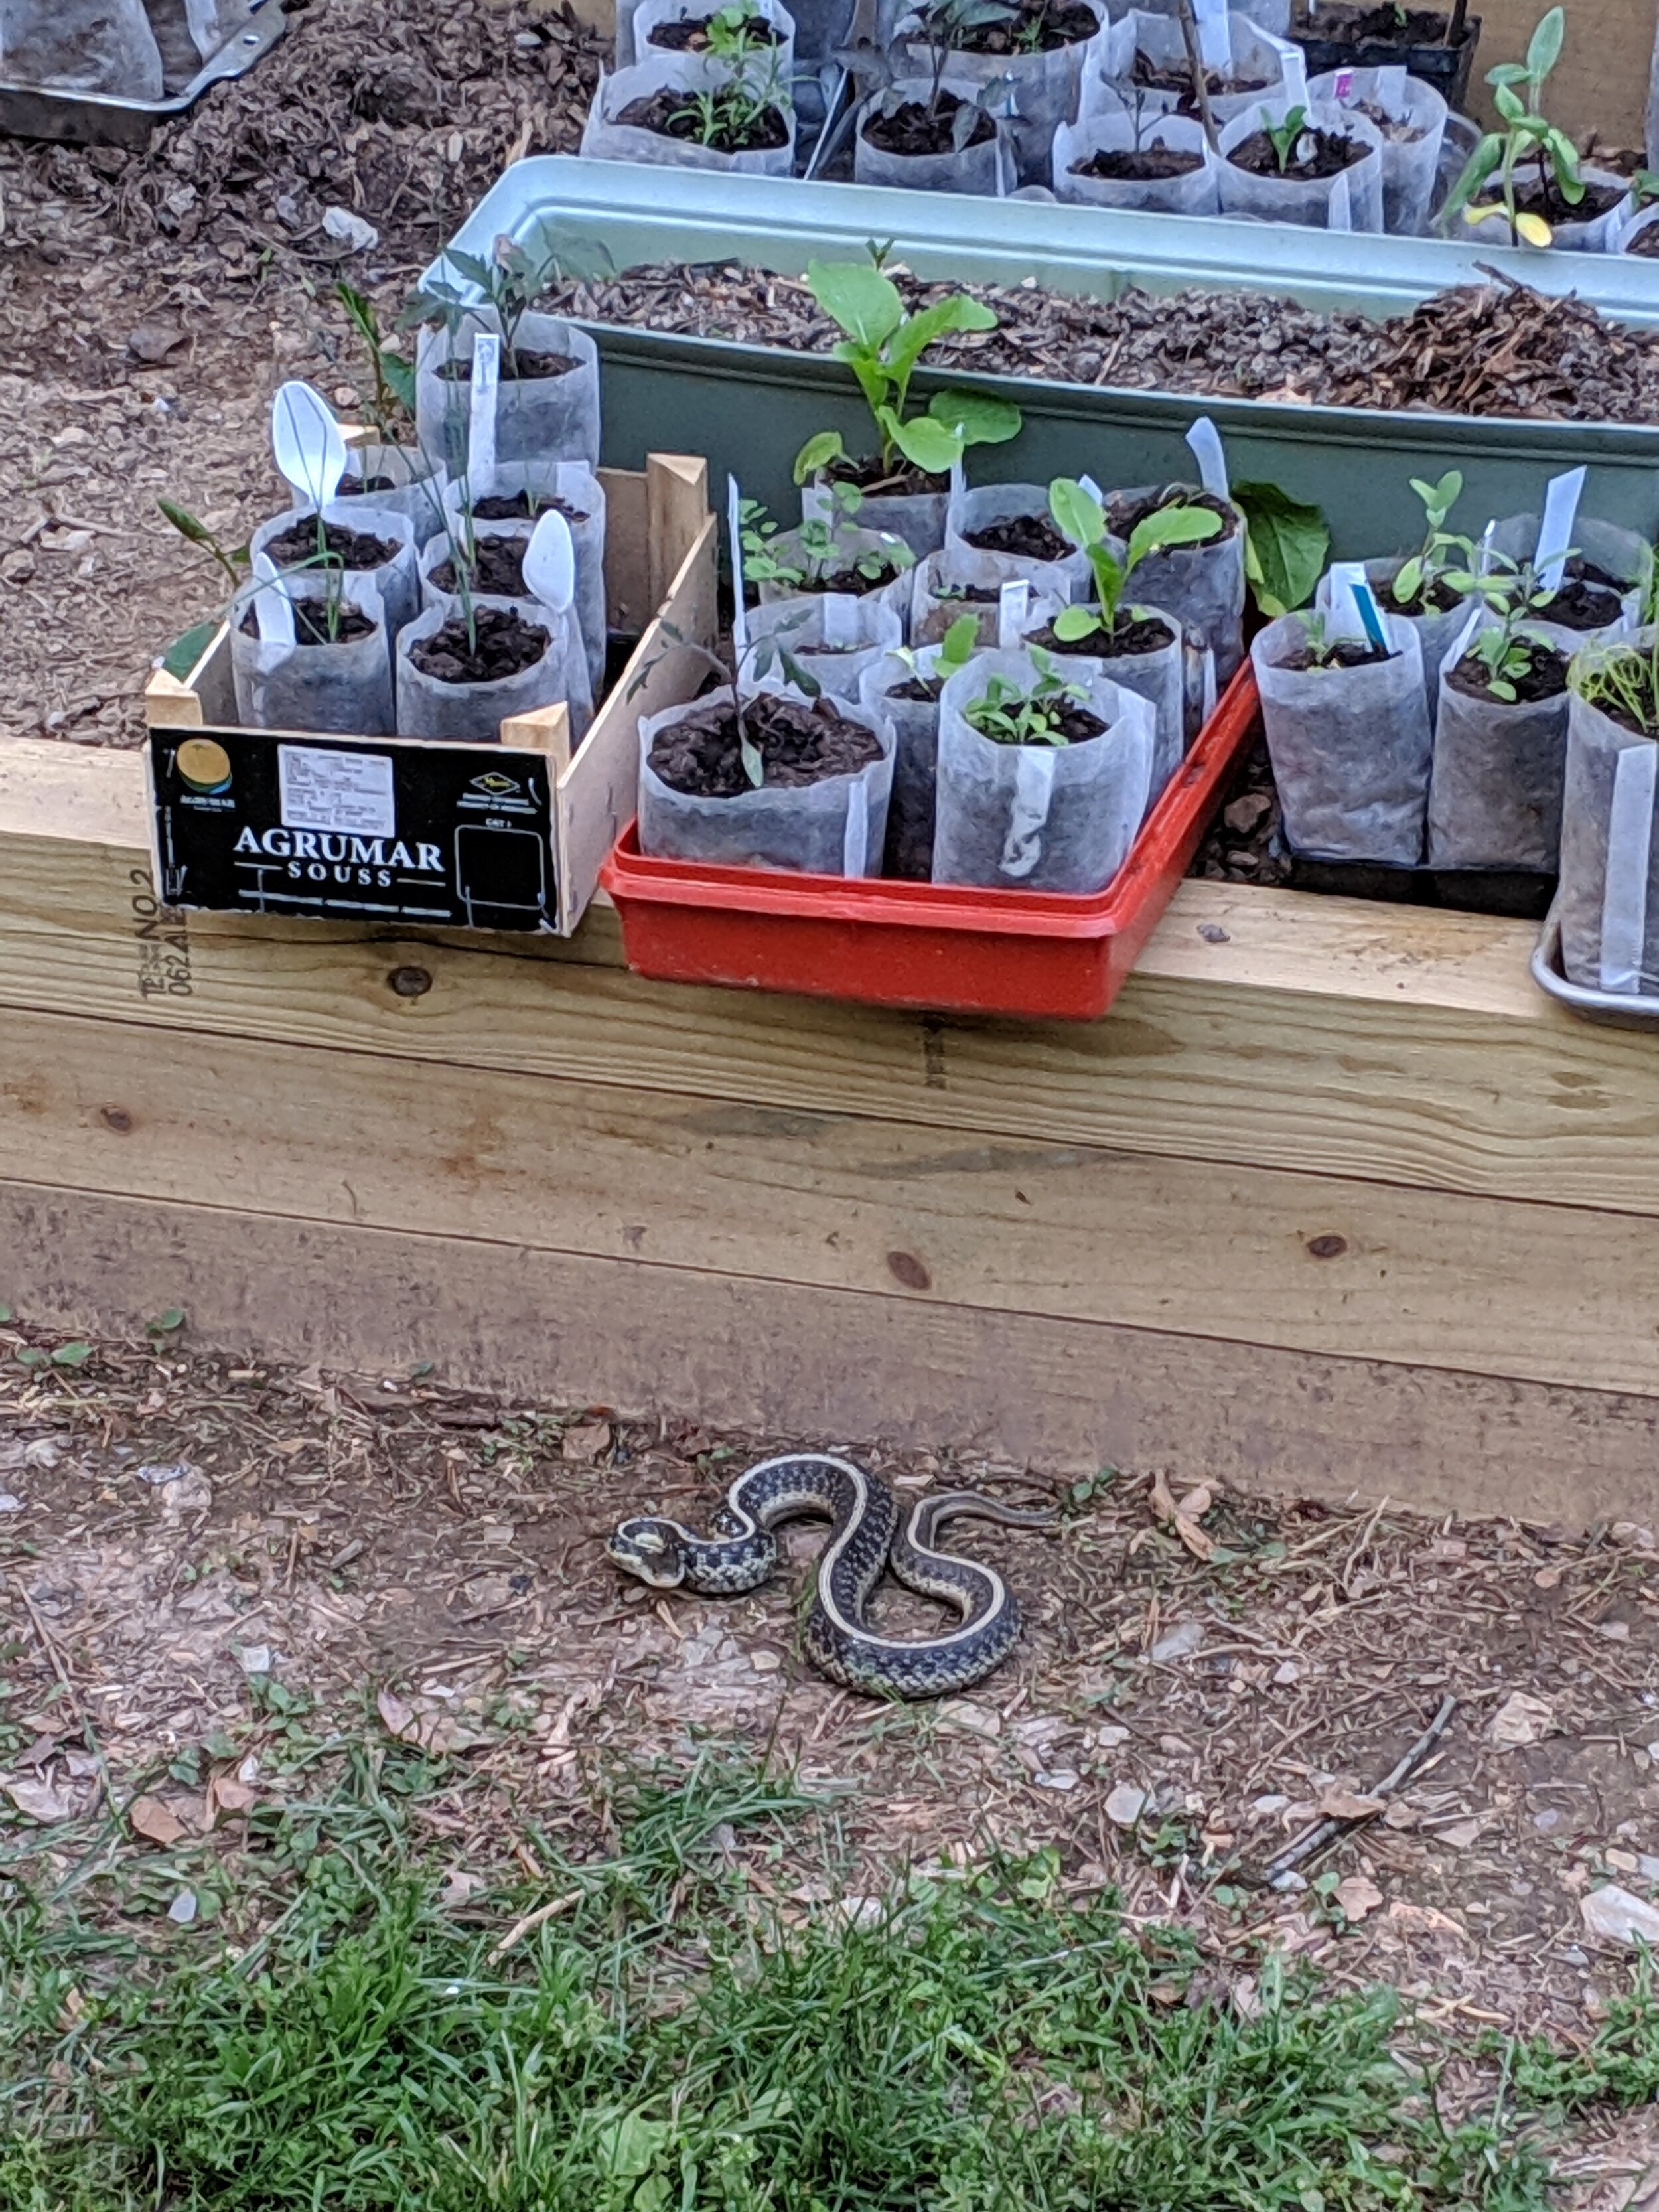
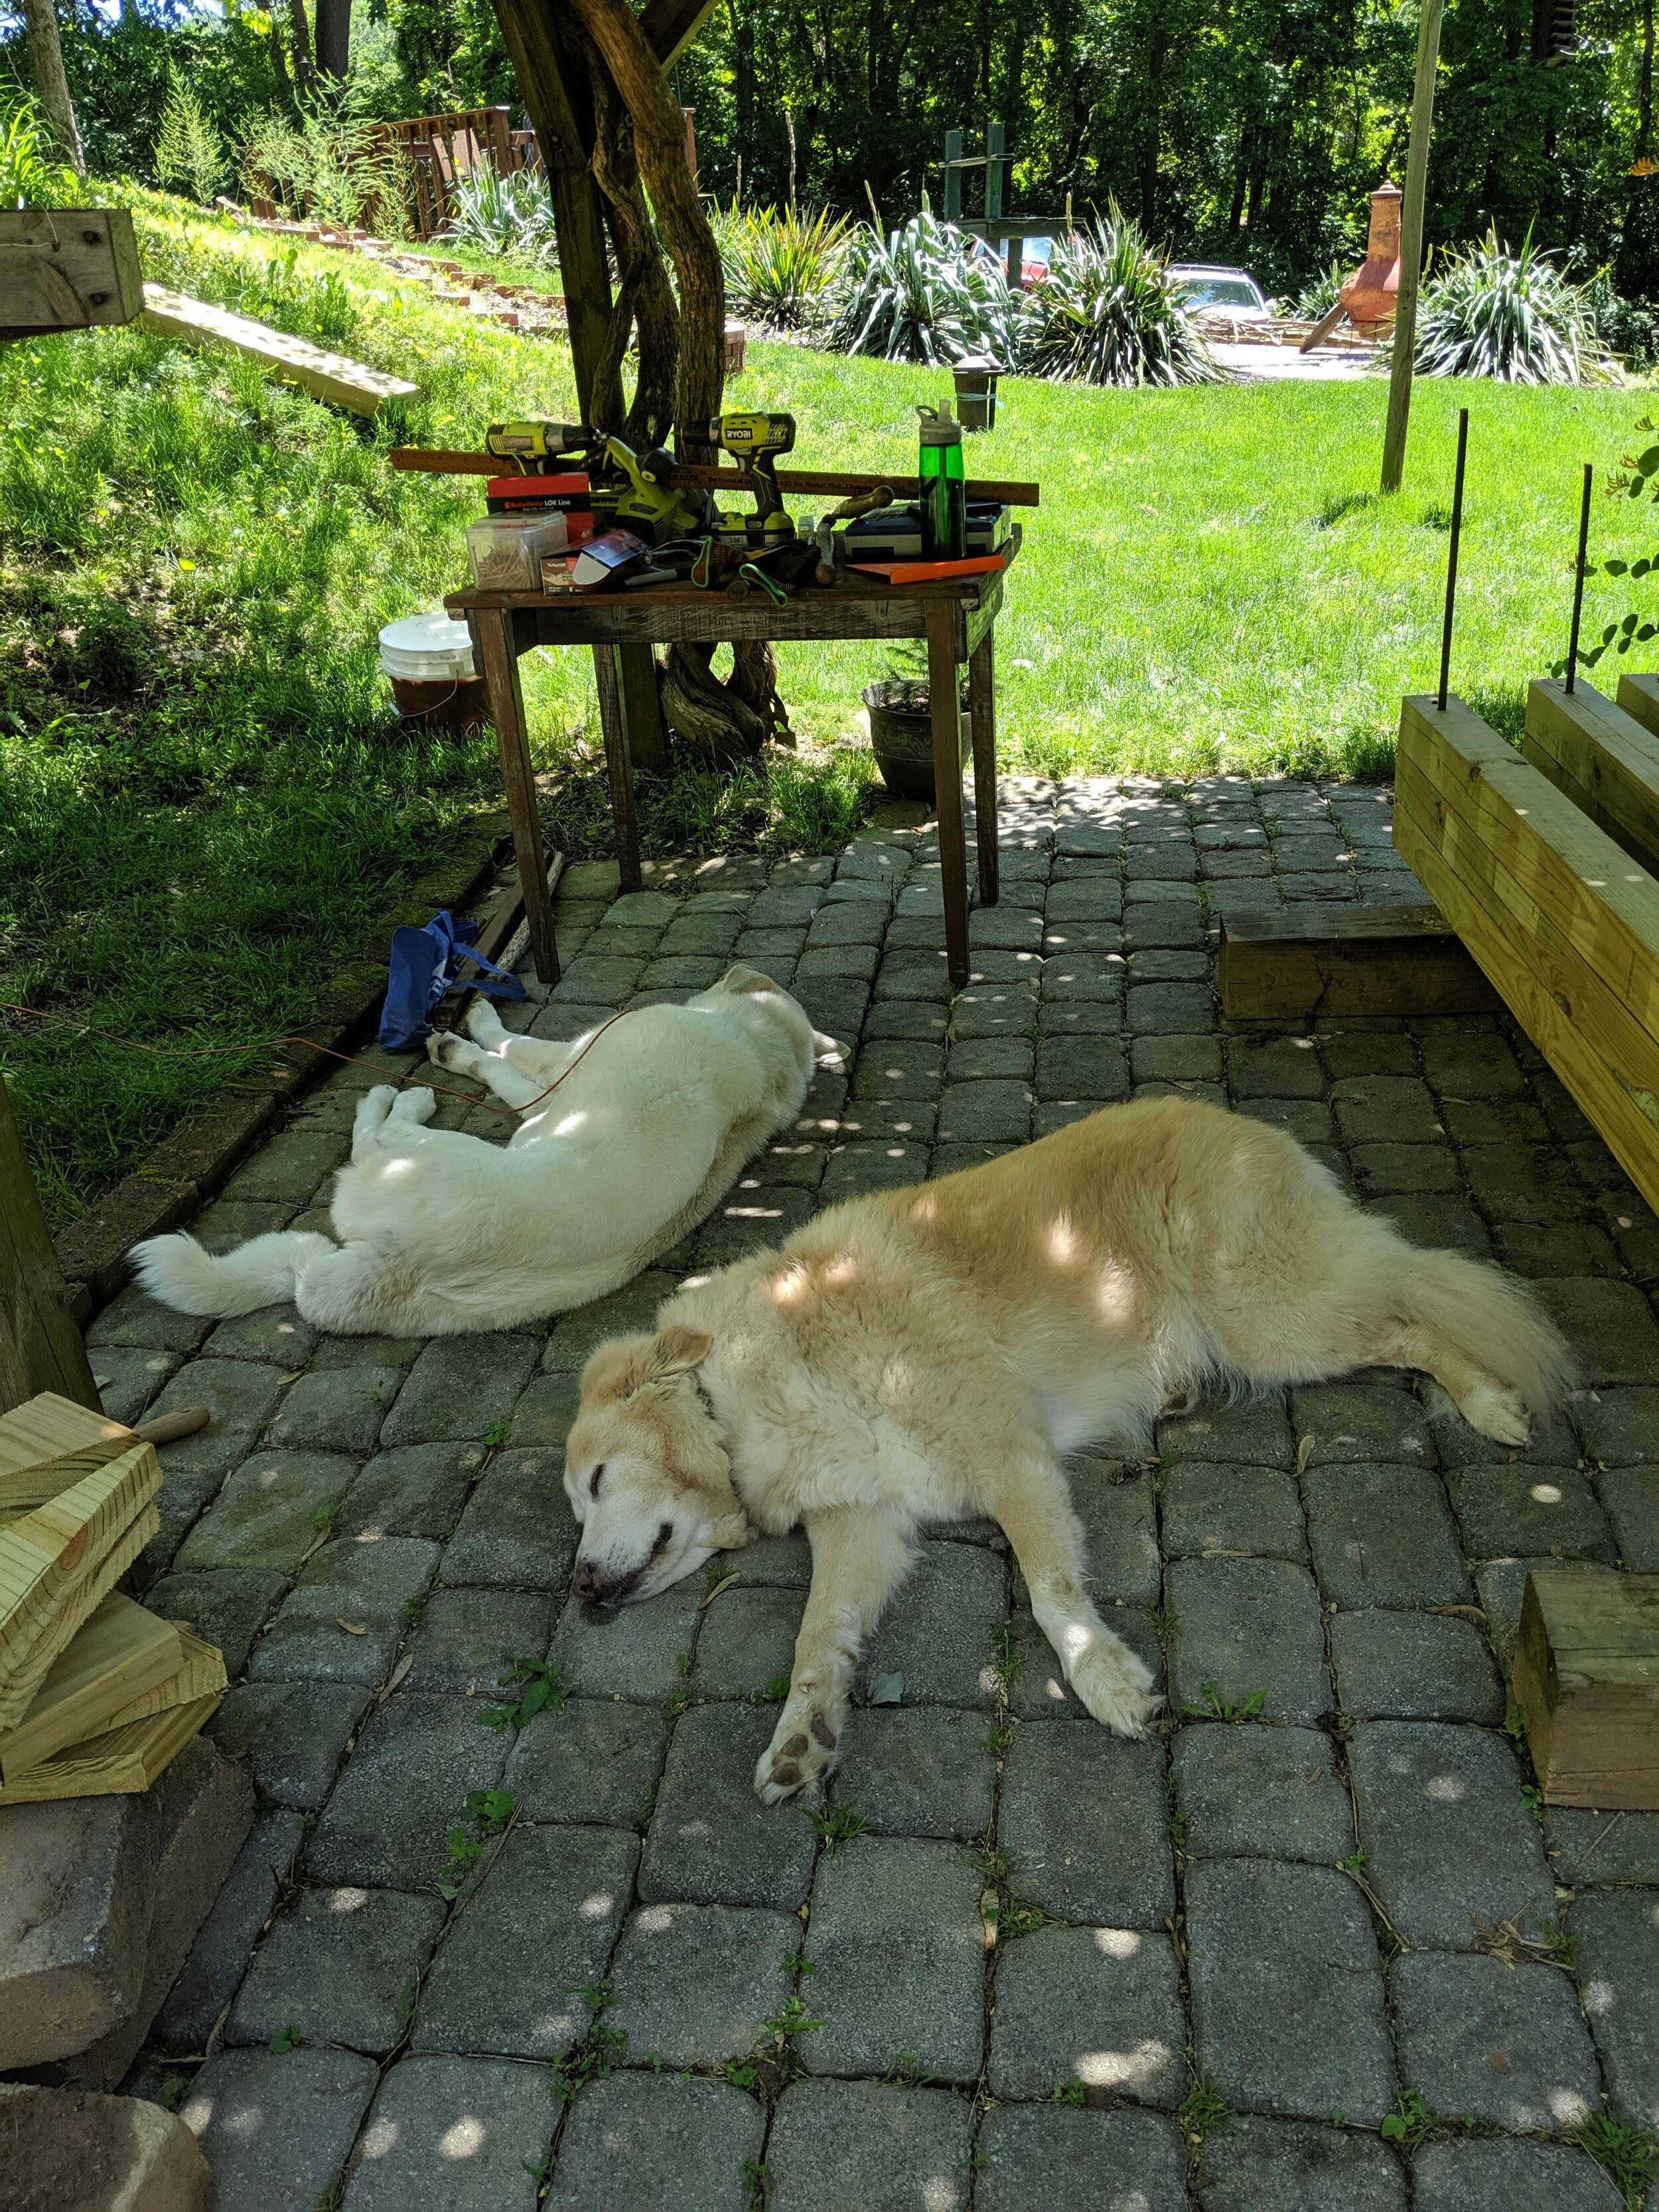
Dogs, chickens, snakes, all kinds of critters came to help. After clearing the space, which was randomly done over a few months, the weather was starting to warm up so we could get started. We did this project over a couple weekends, some were nice and sunny.
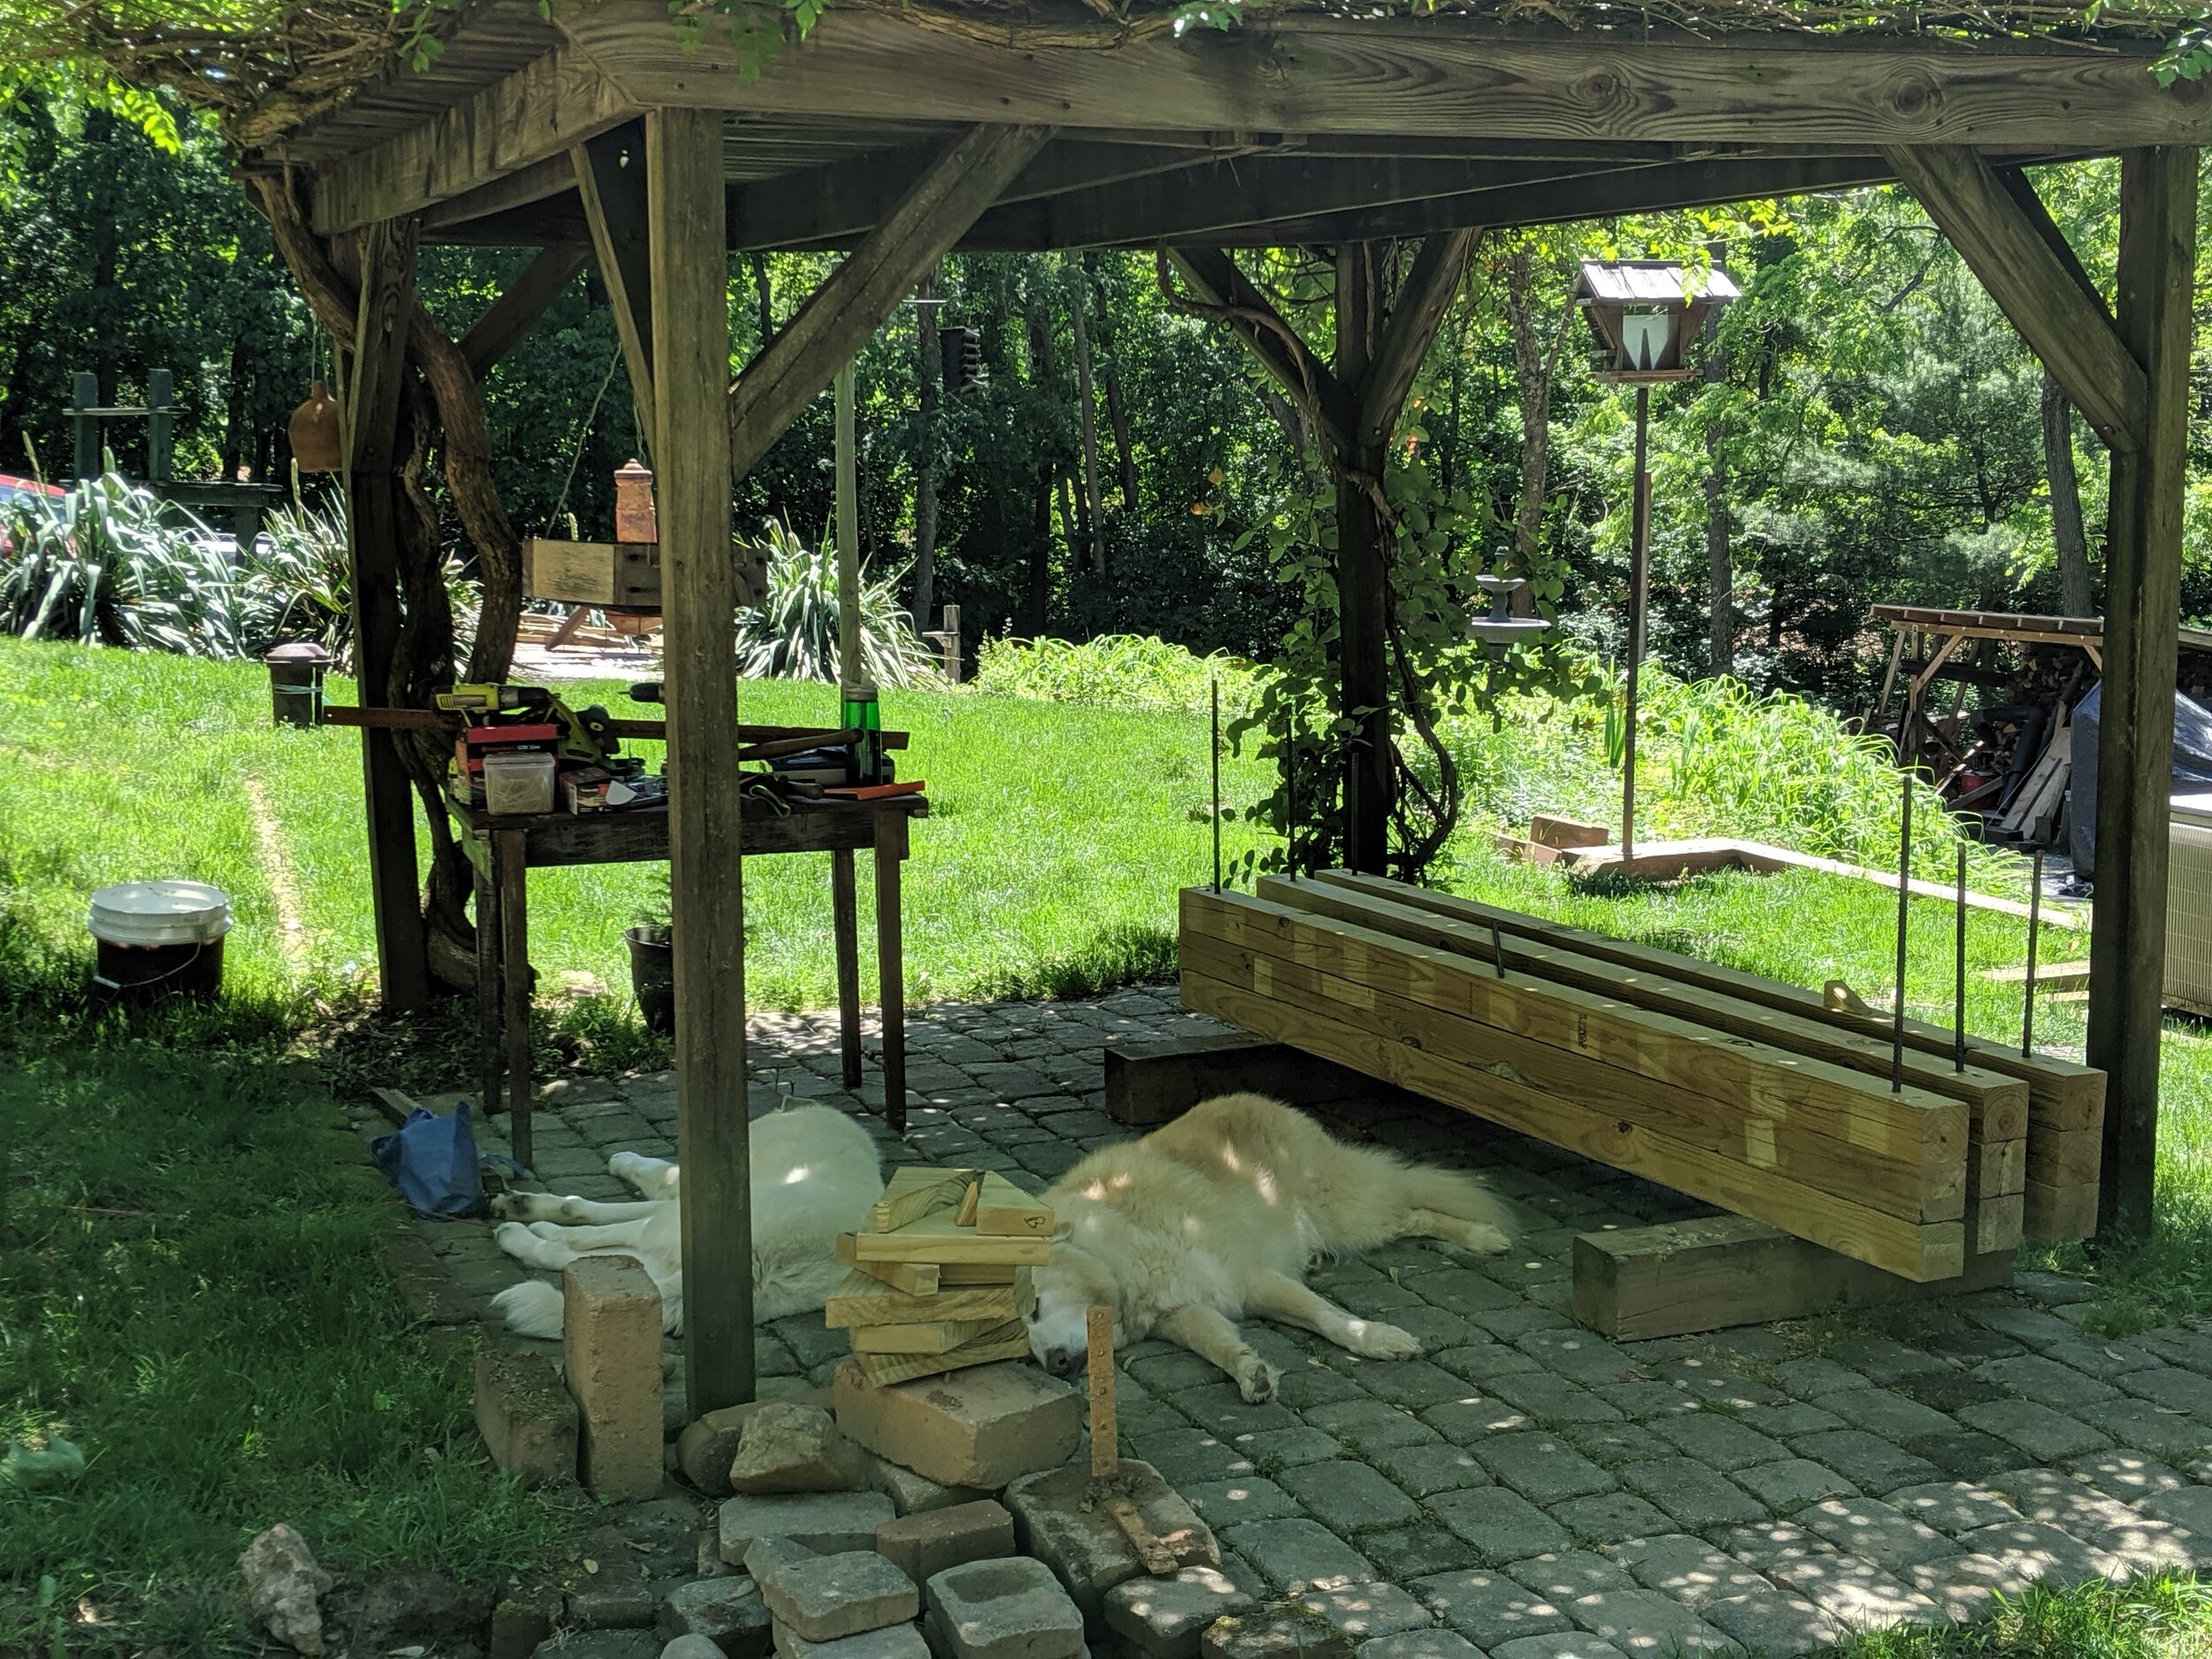

We wanted to stack the boards three-high, screwing them together and also drilling a hole so they could be set in place on the ground with rebar. What worked best was to screw 2 pieces of lumber together, drill a hole. Then screw on the third piece of lumber, then drill the hole through the 3rd piece. This made for a heavy load, but it kept them all nicely in place.
On the Level
Then after making sure it was level, we used the mallet to secure them in the ground with the rebar. All exhausting work, but a great reward in the end.
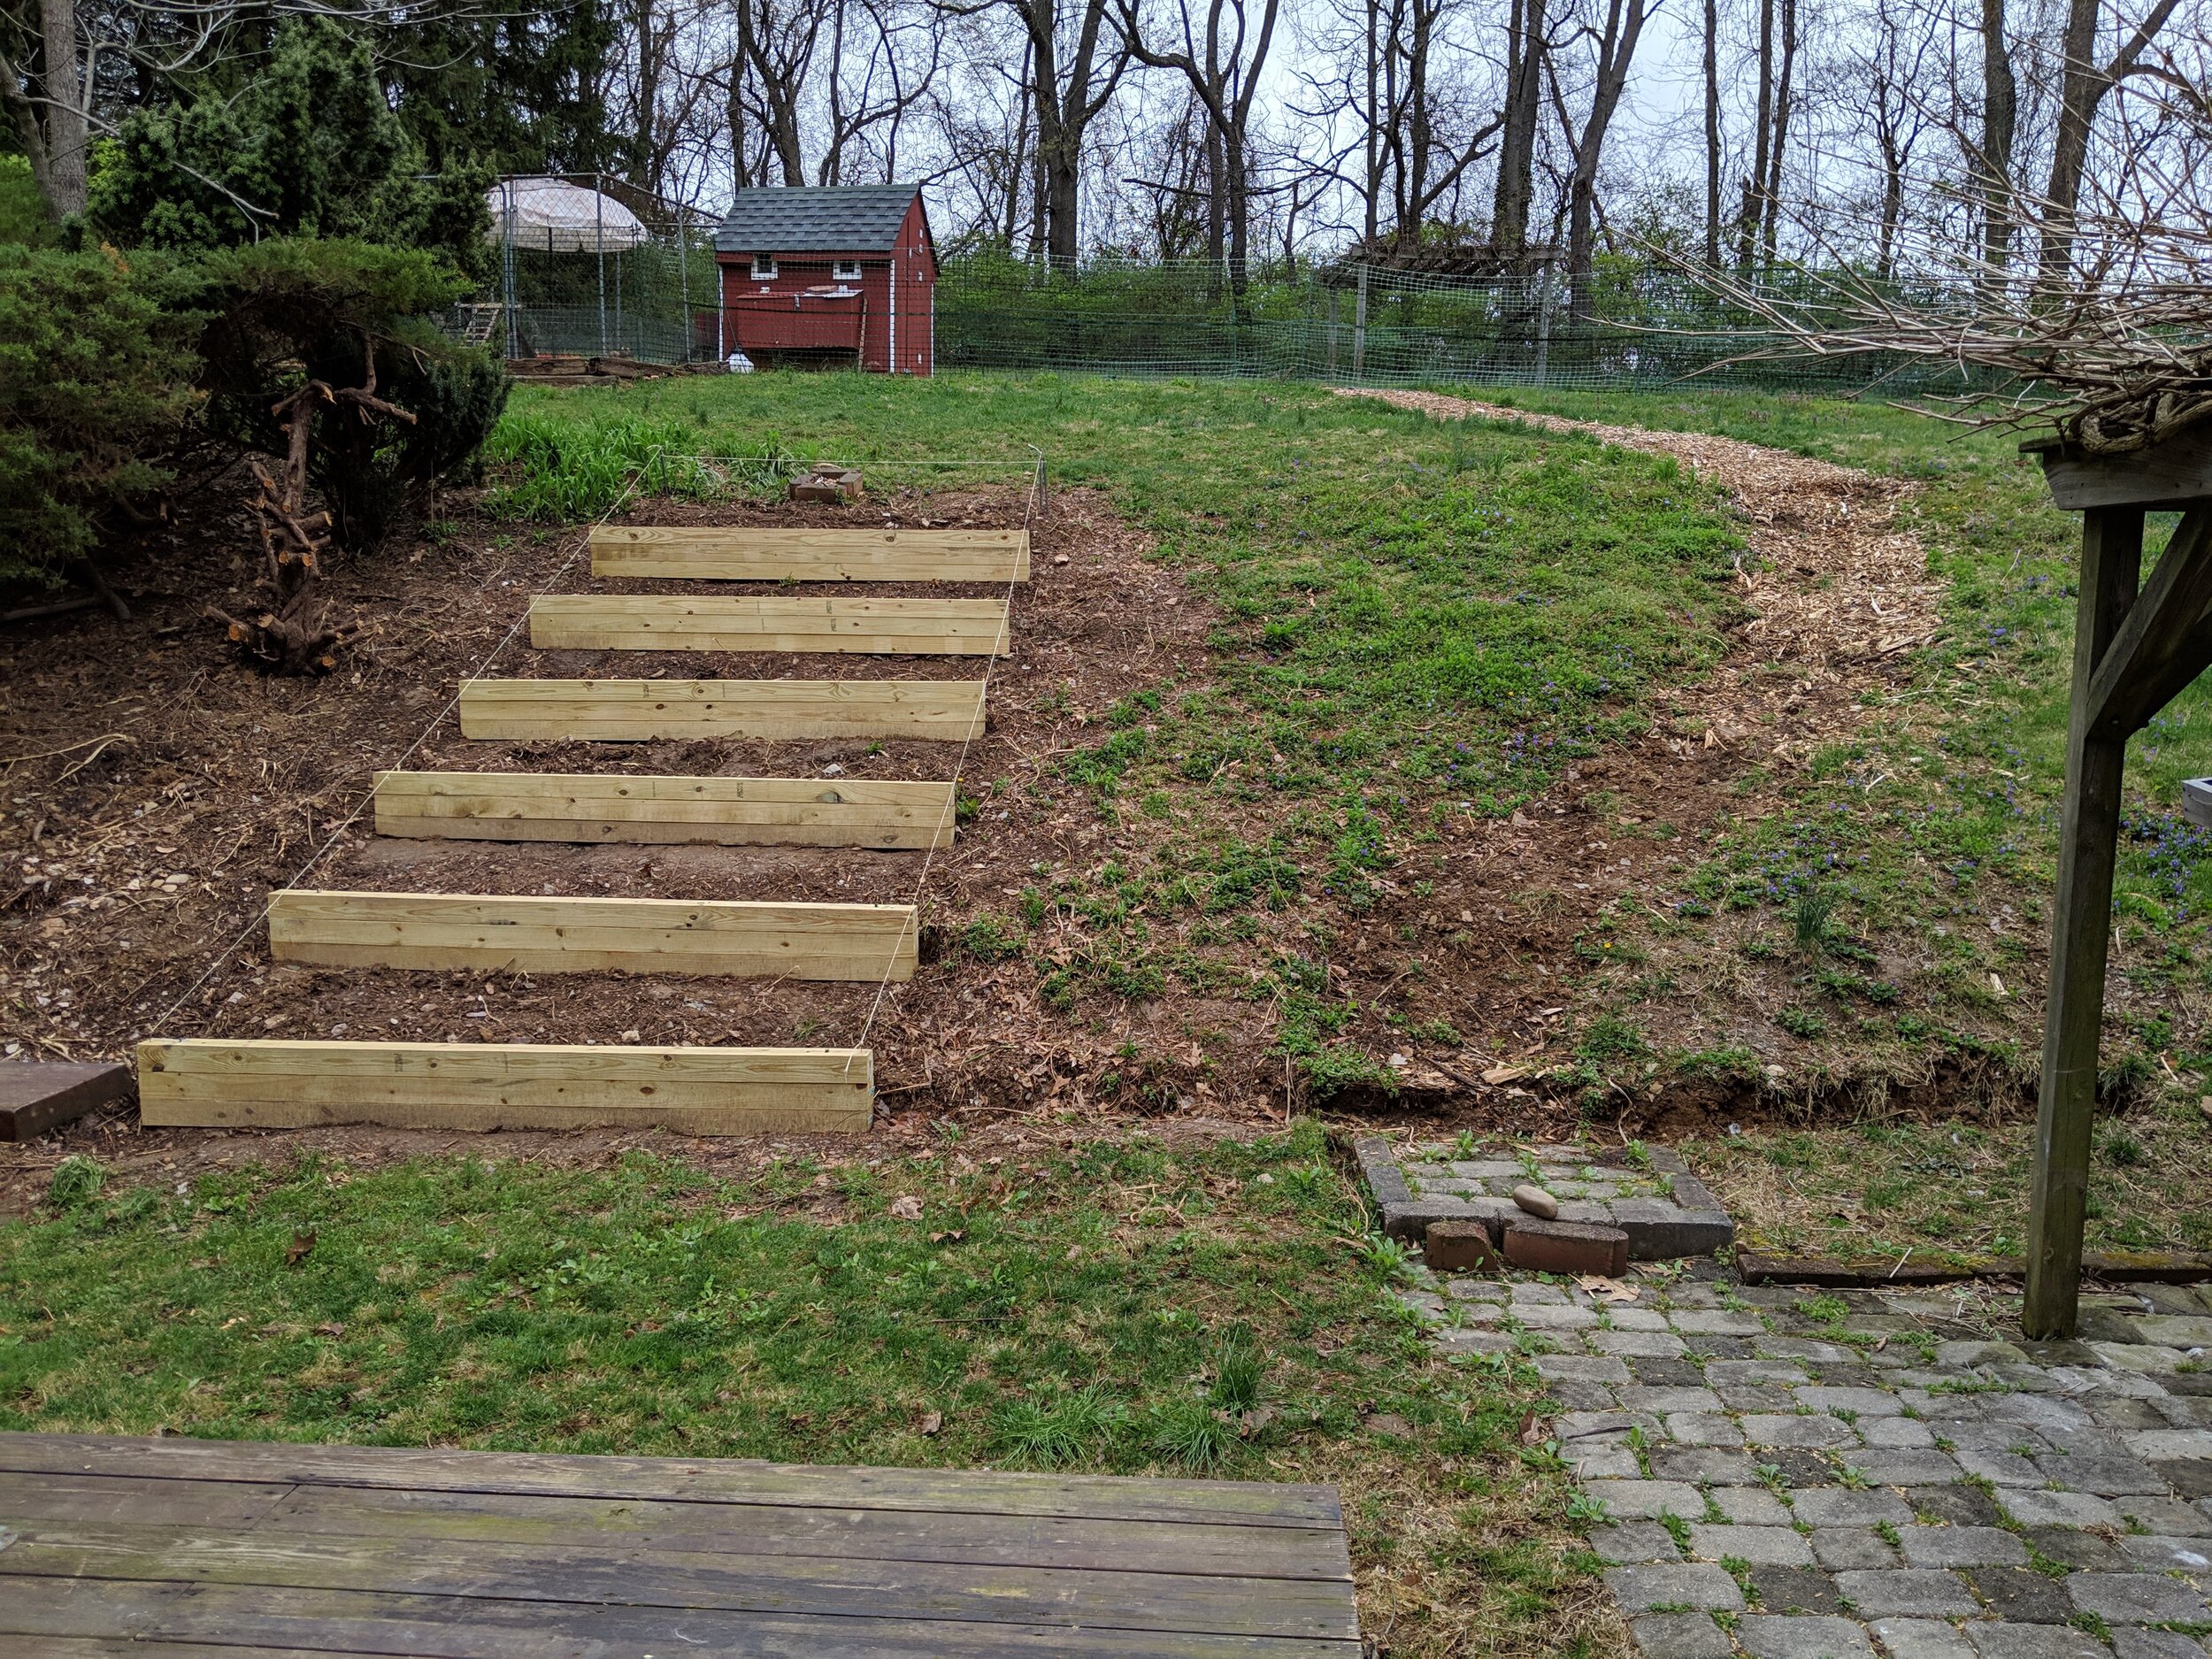
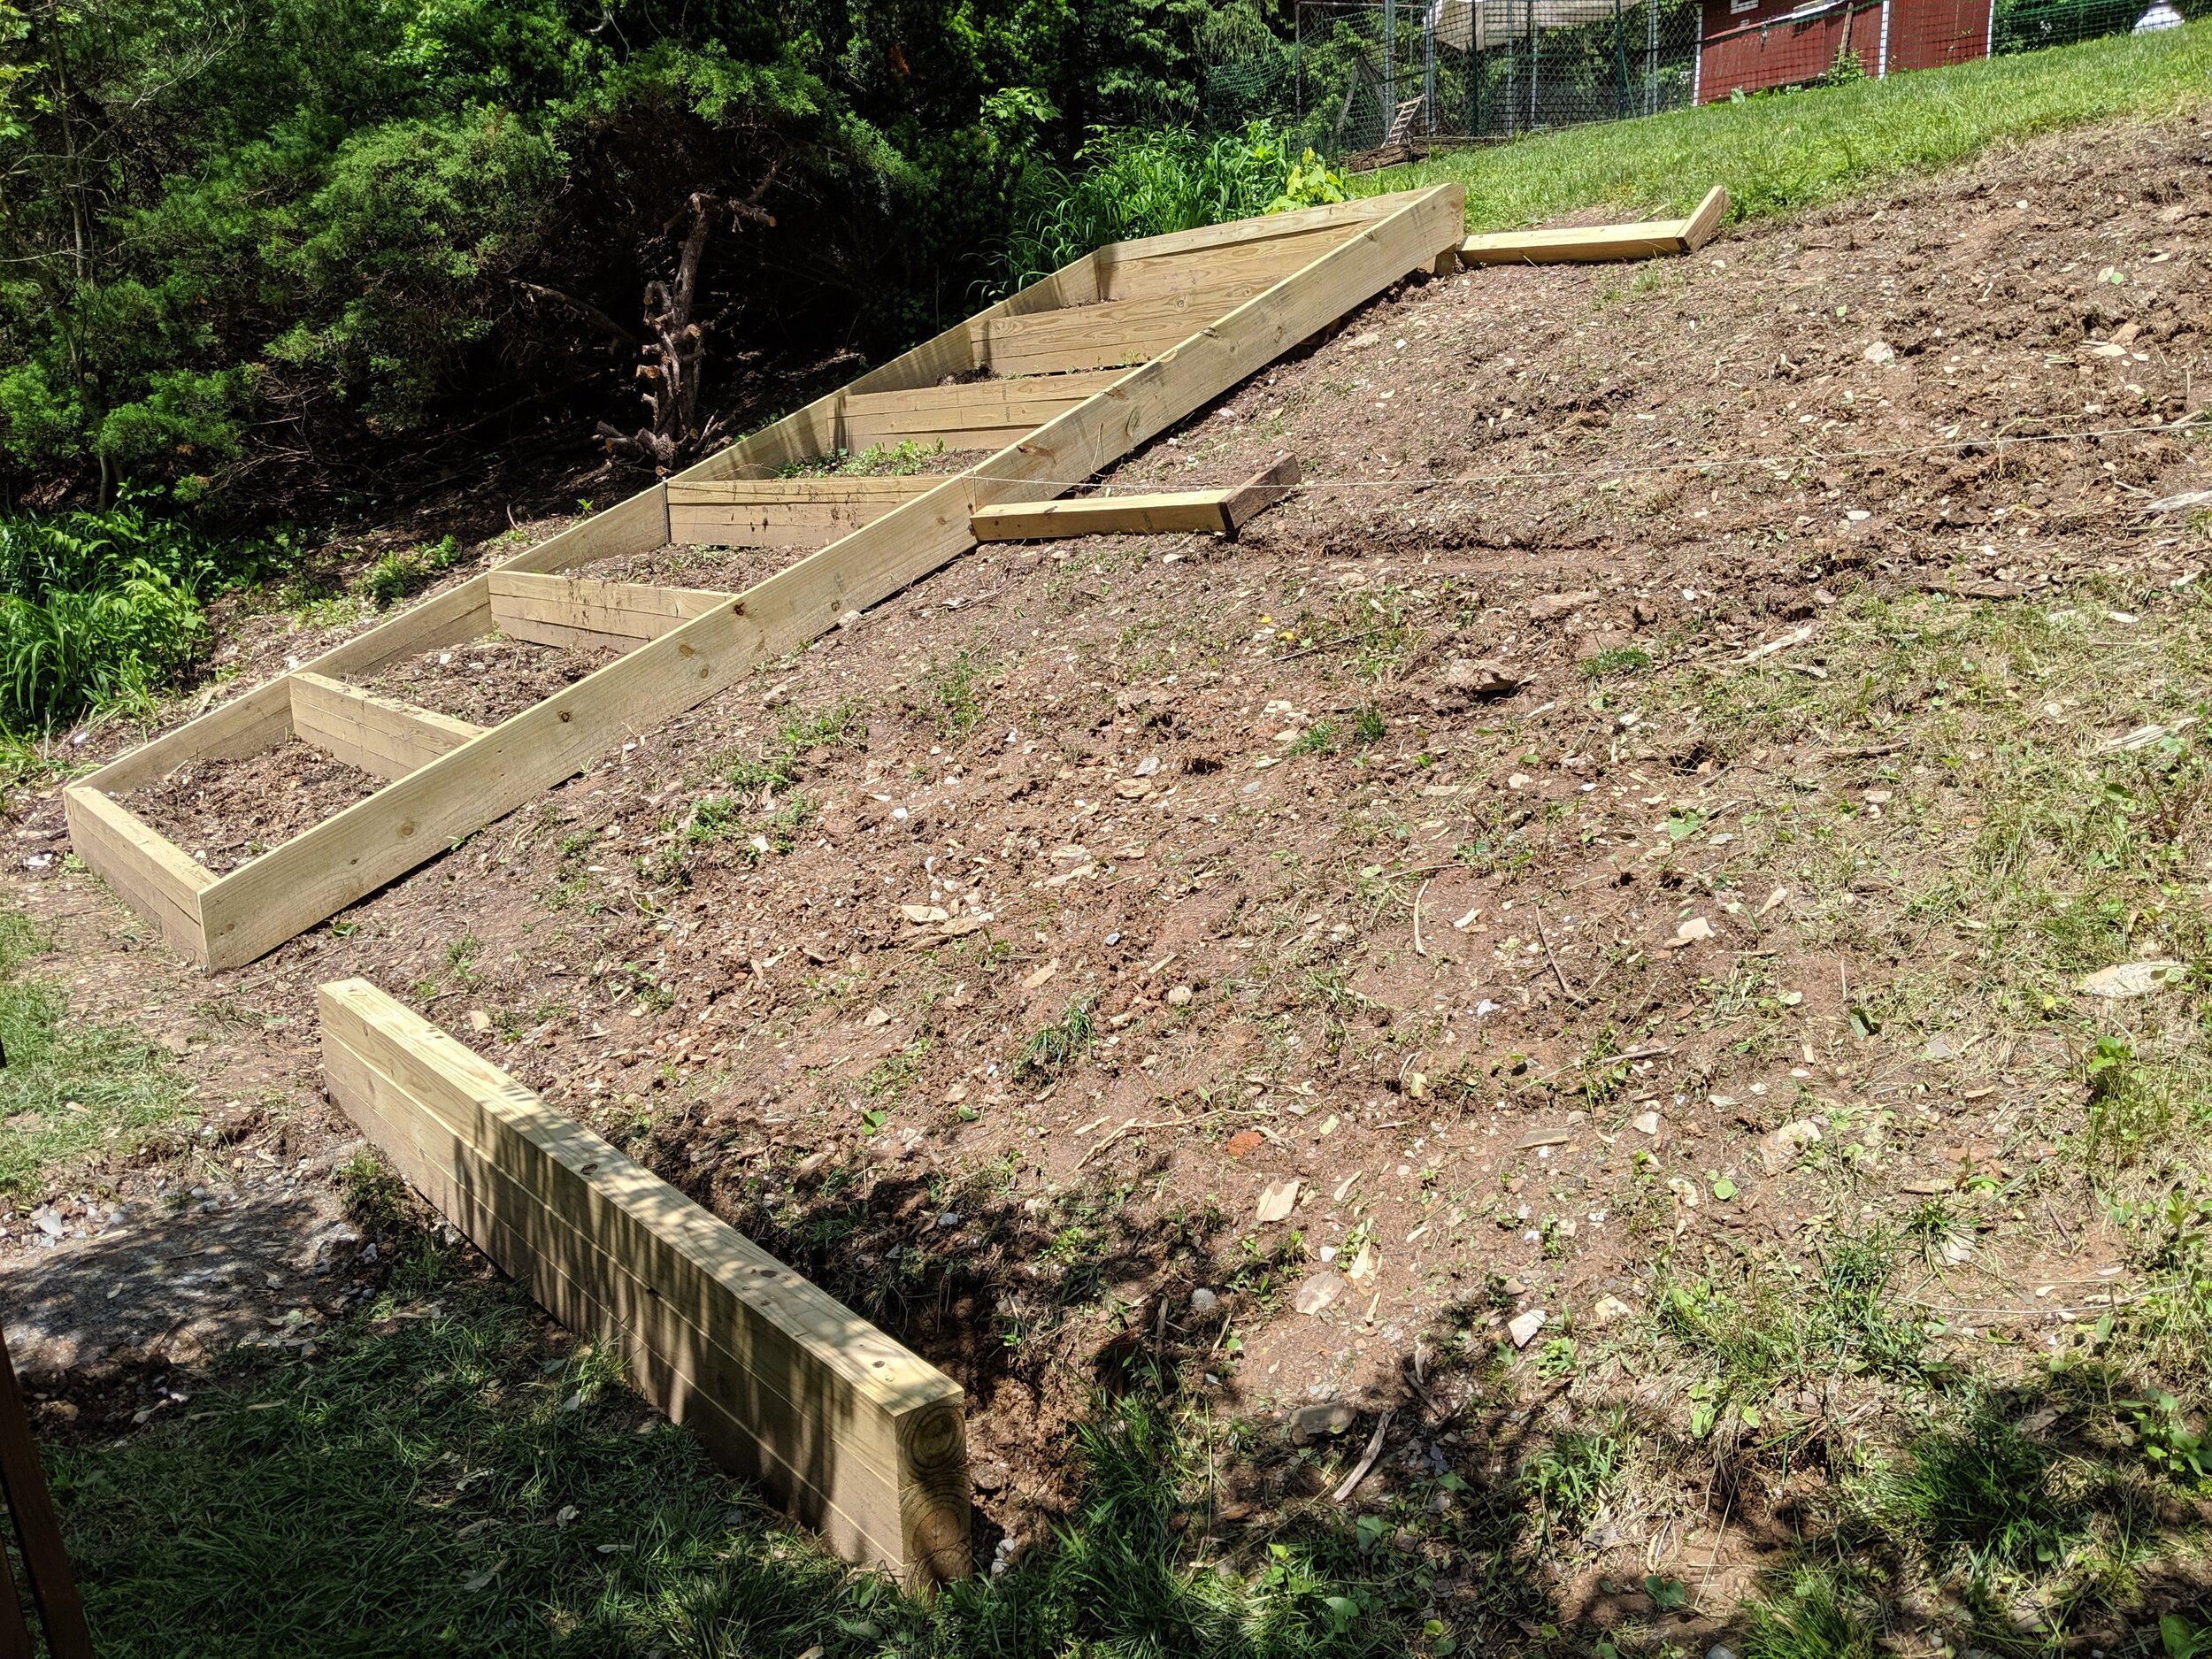
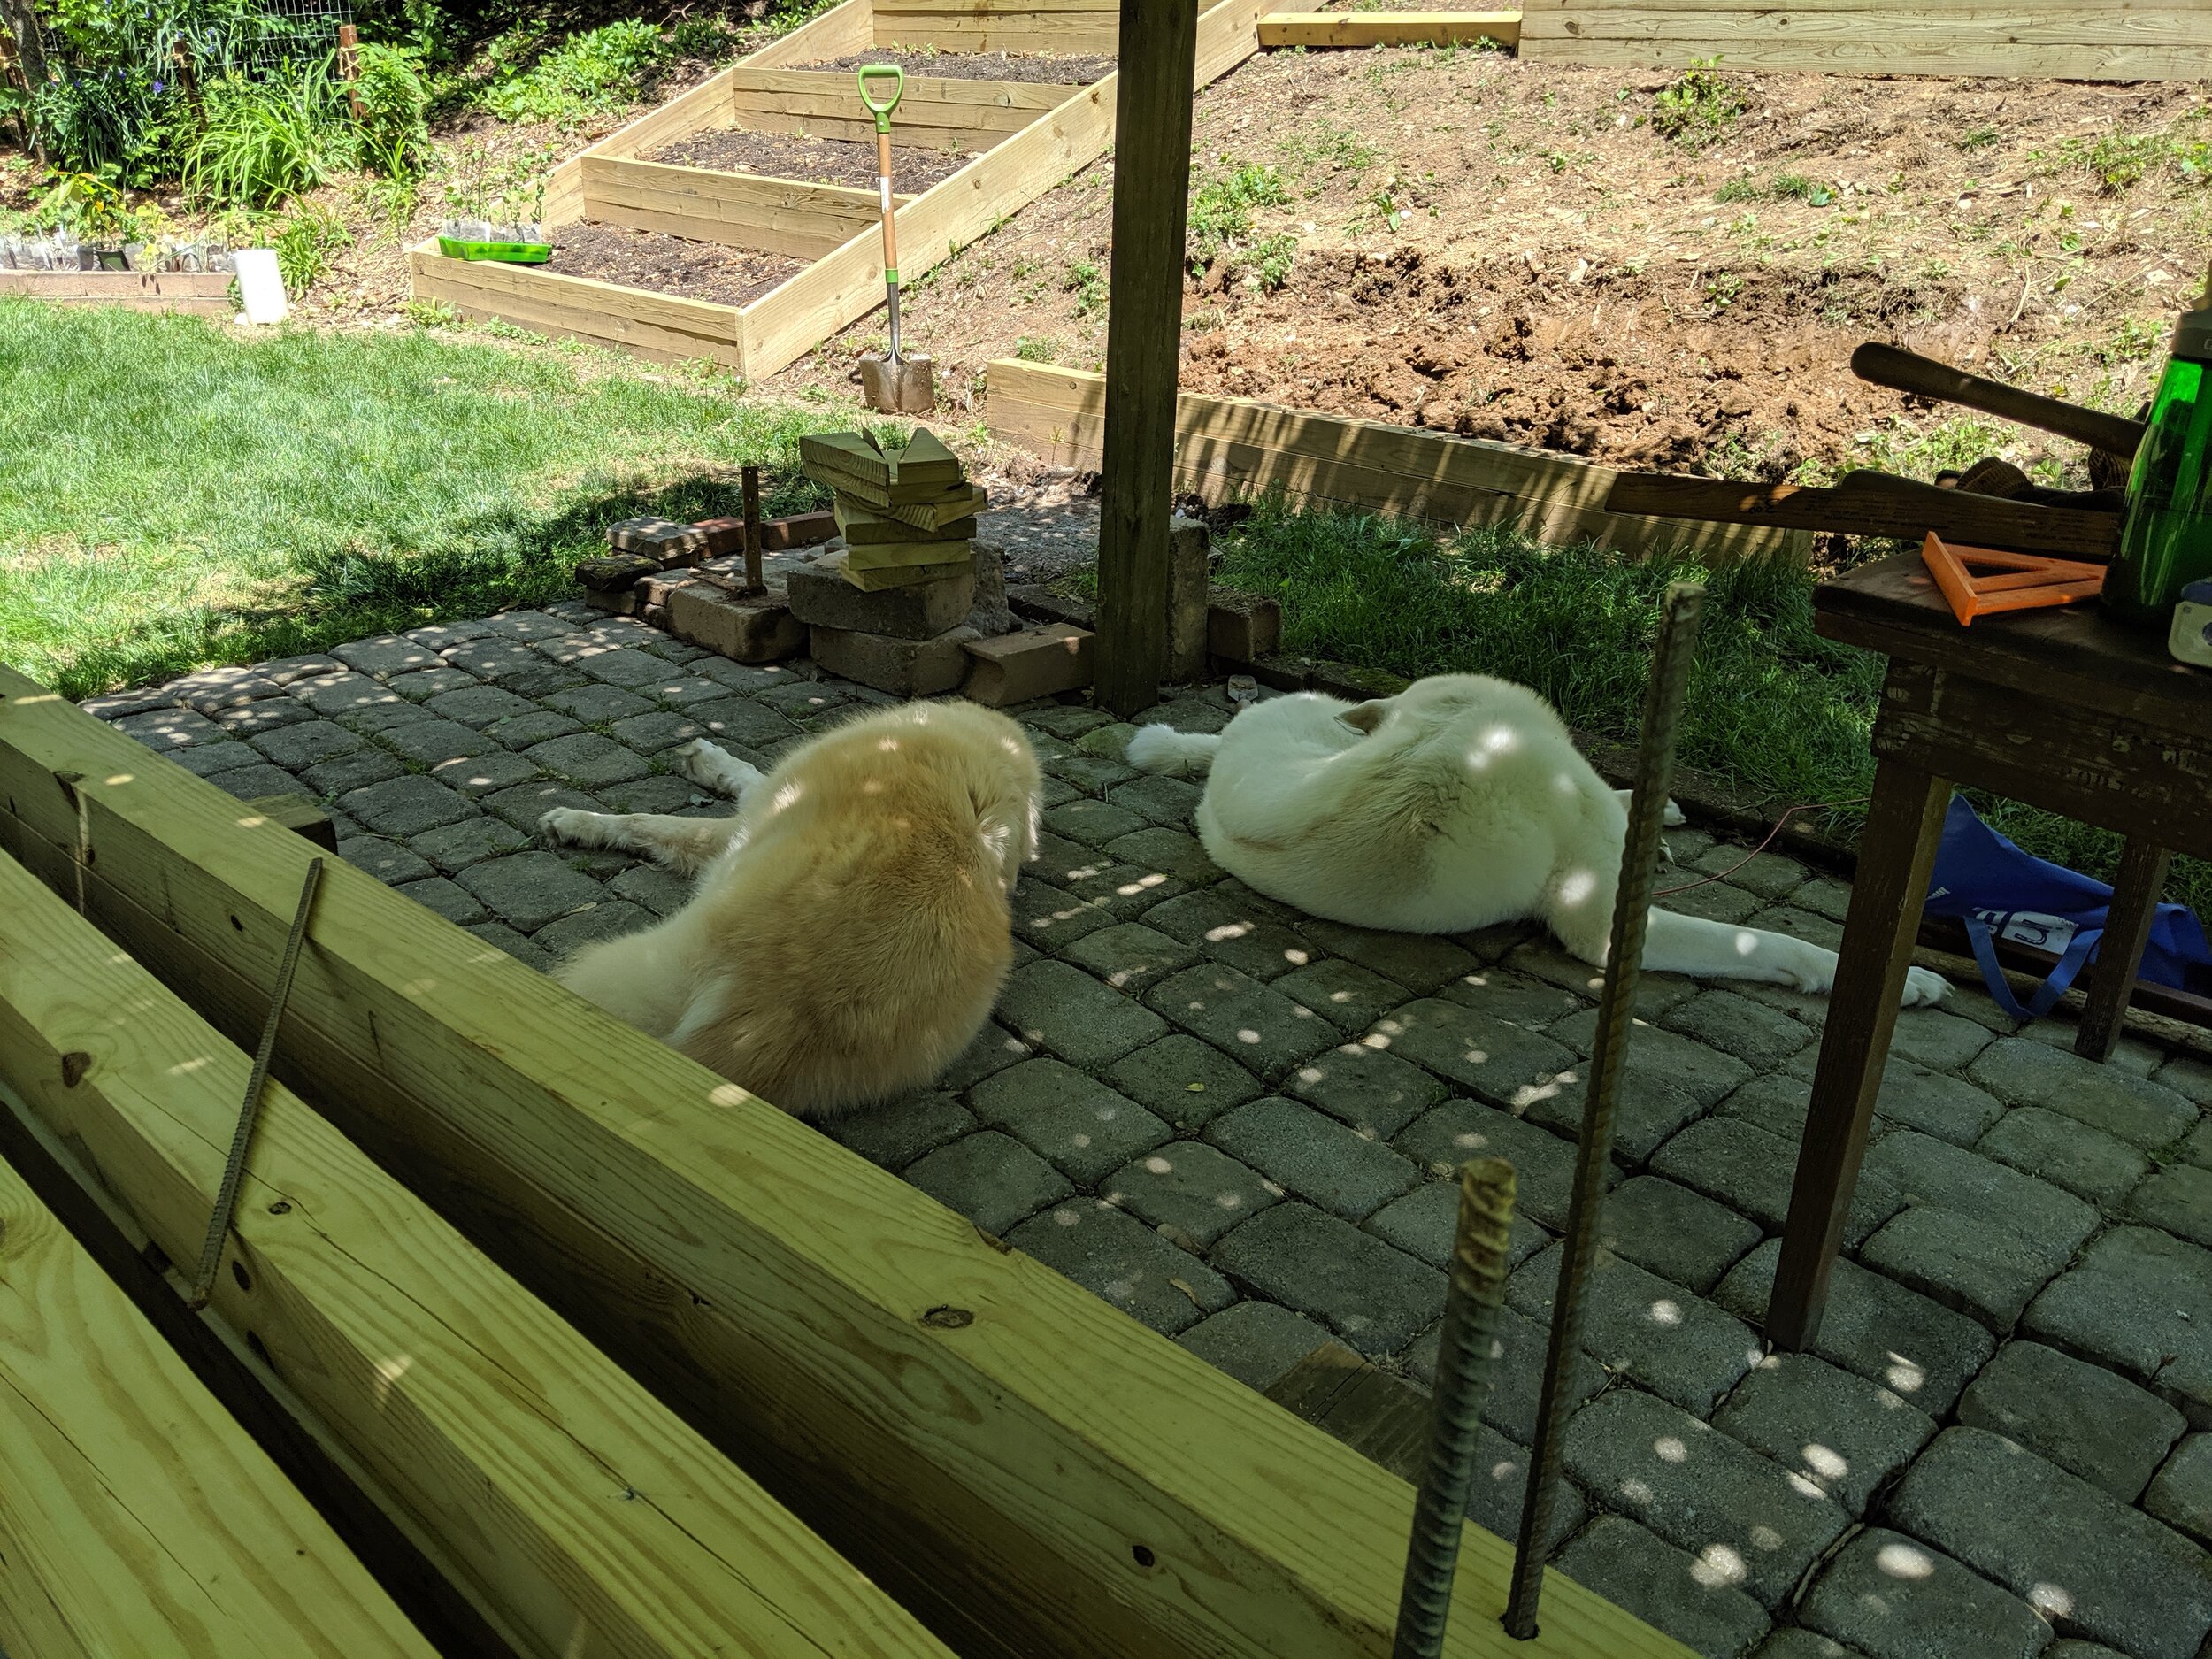
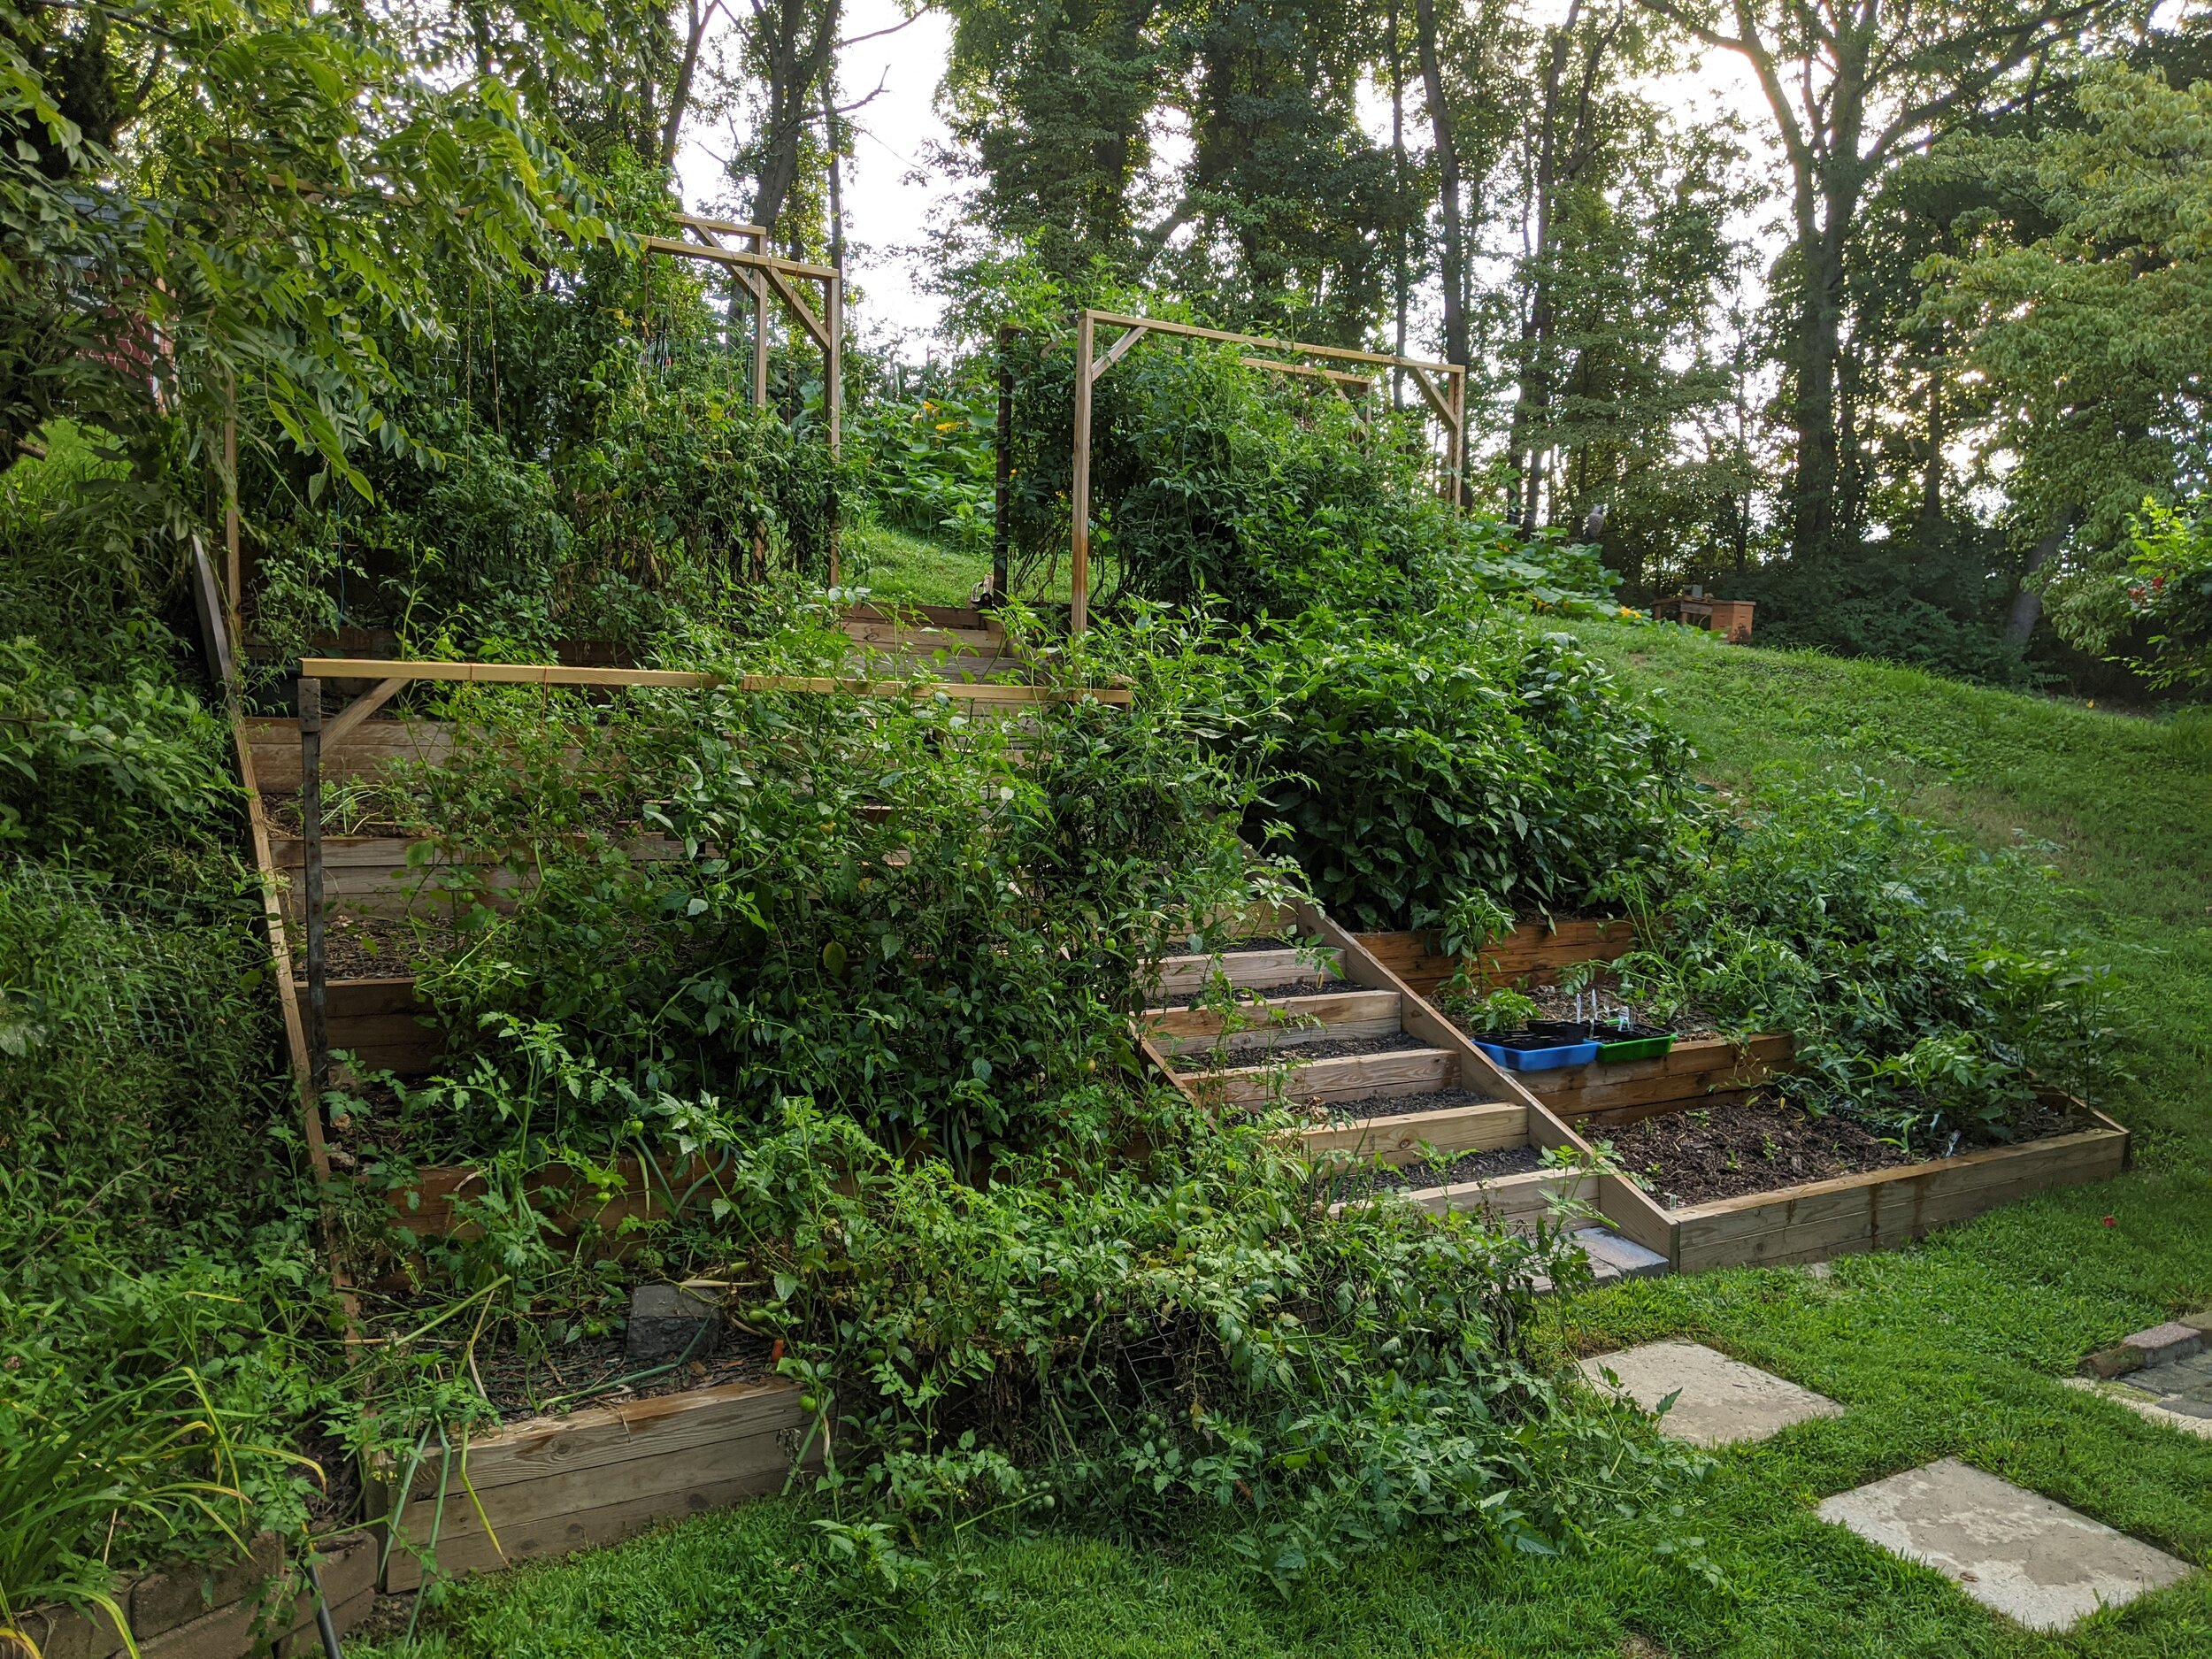
After setting all the sections in place, we attached the 2x10’s to the ends with 3” deck screws. These were measured and trimmed with the miter saw. While these were set in place, we realized the slope of the hill was a bit off from our measurements and we added another 4x4 to the top row, so there are 4 layers on the back.
Once the first half was done, we moved on to the second half (while also debating if just one side was plenty!).
Dish the Dirt
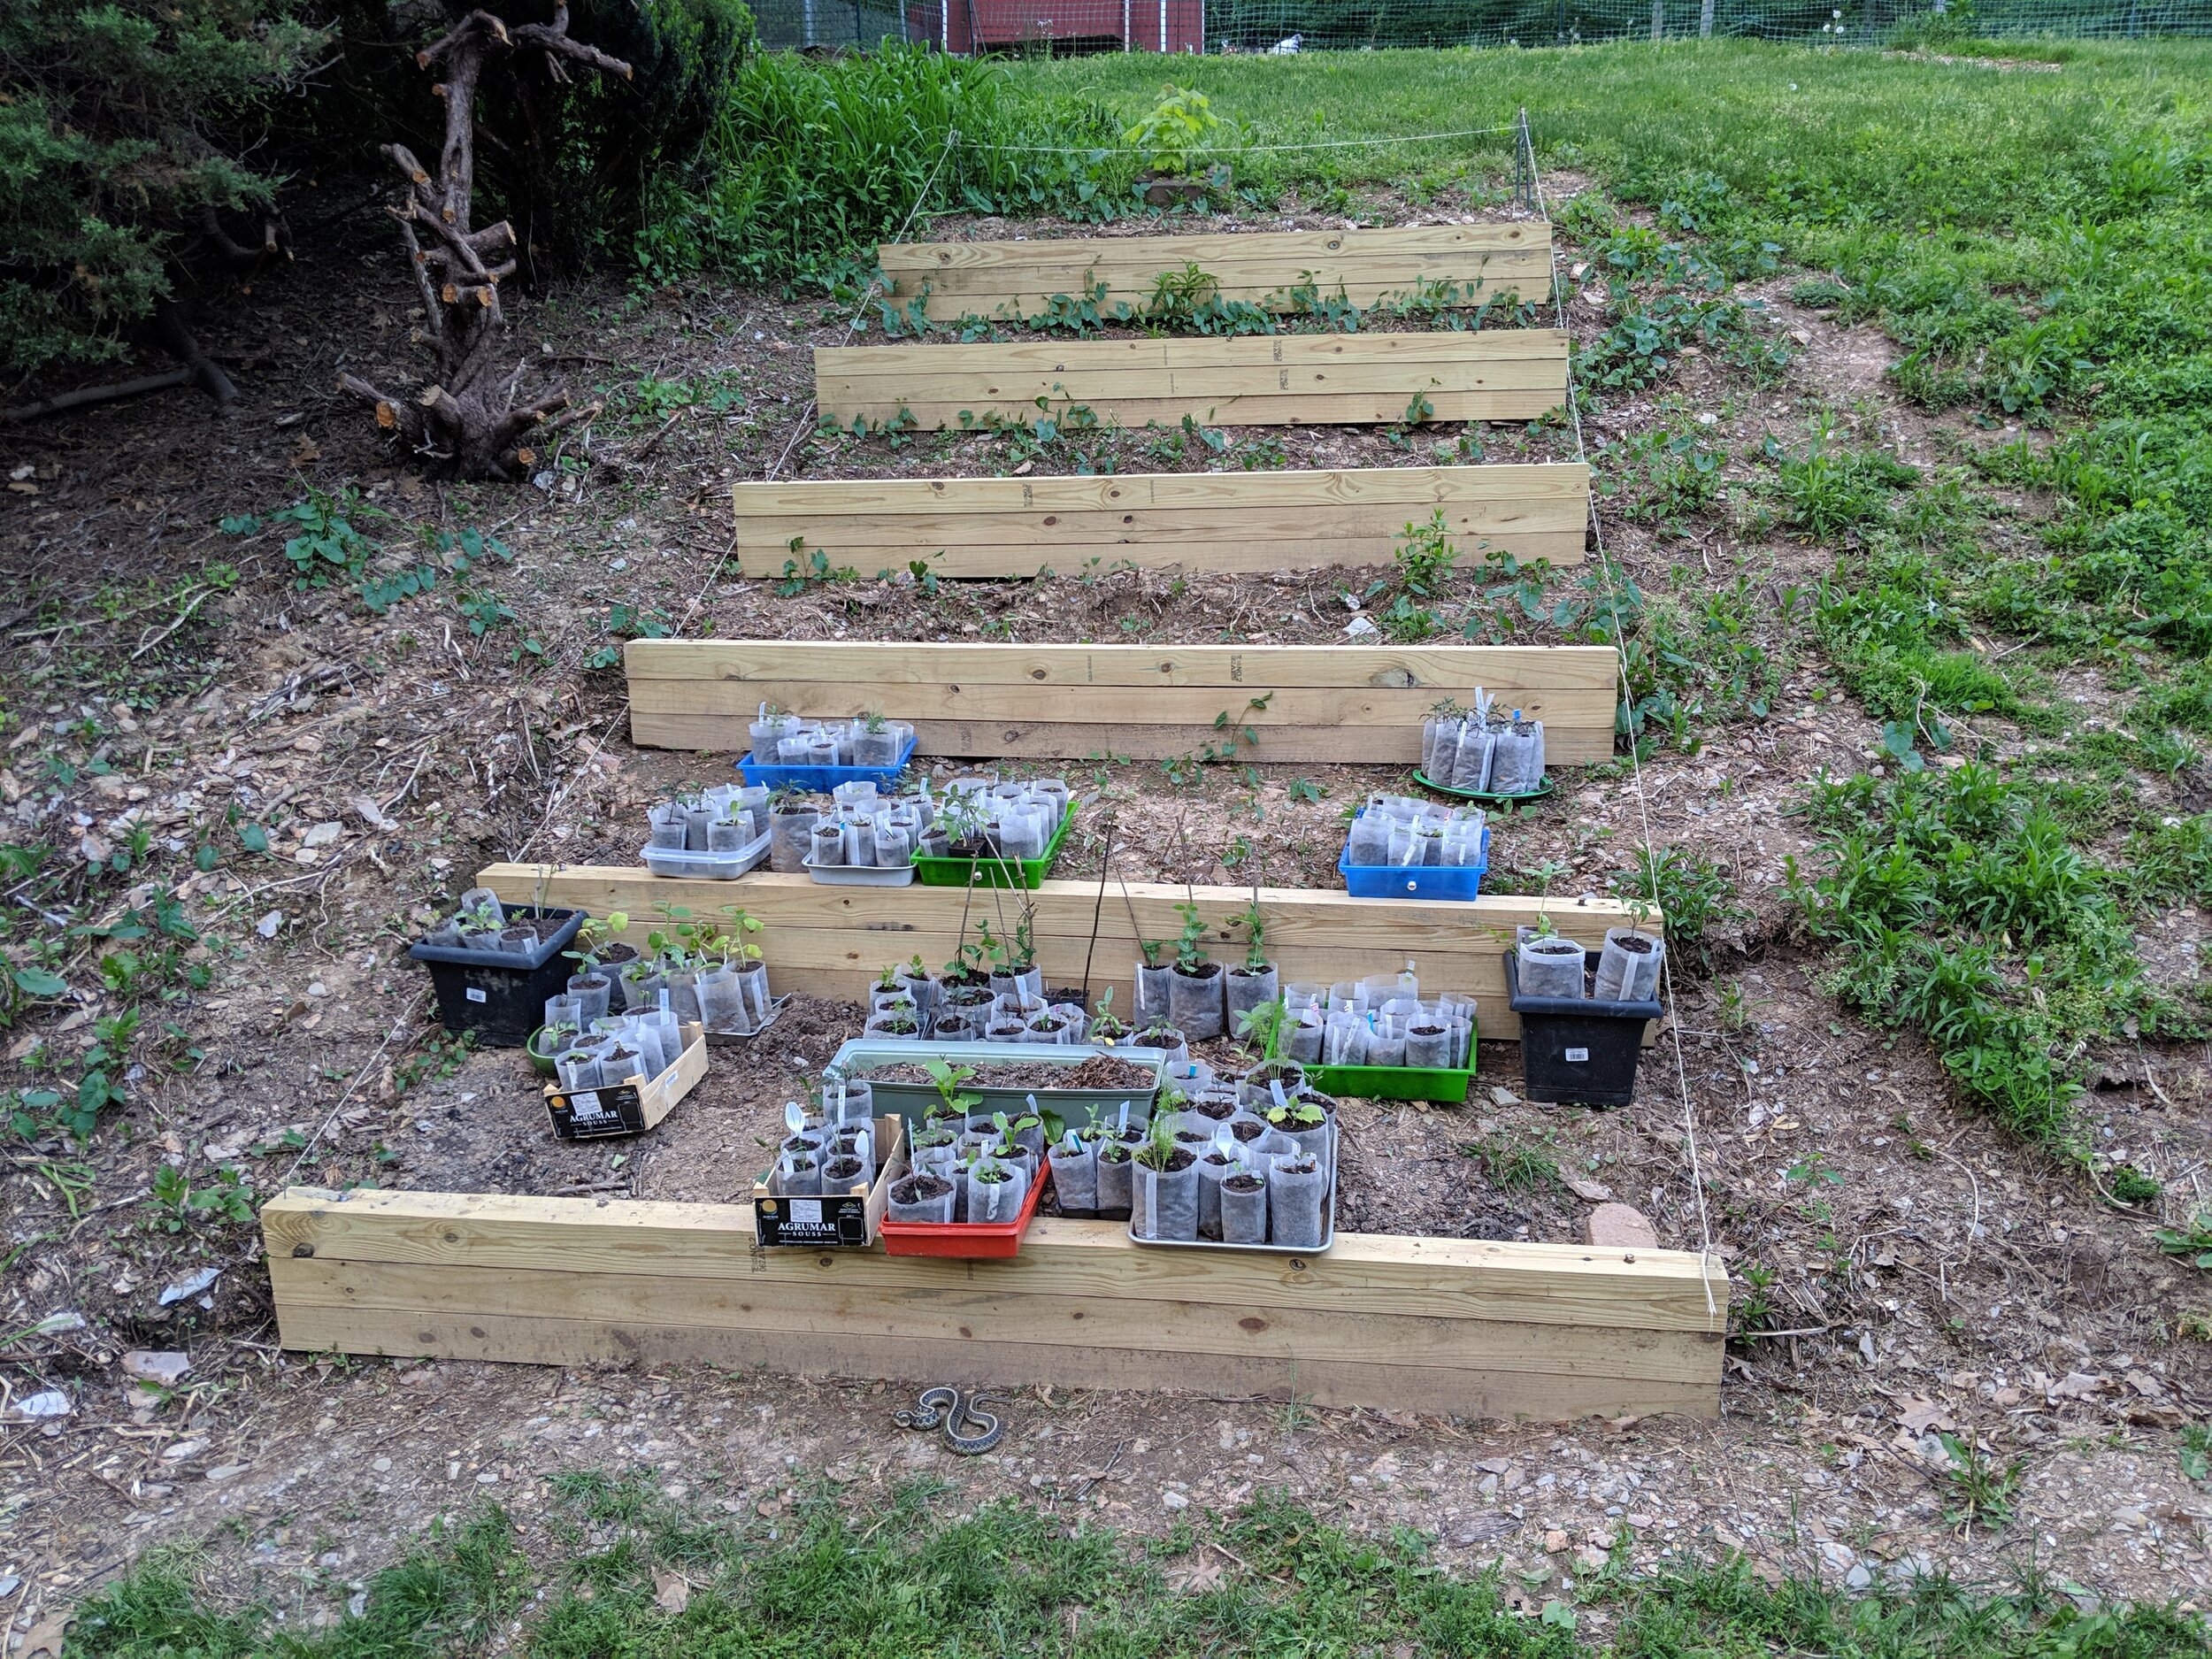
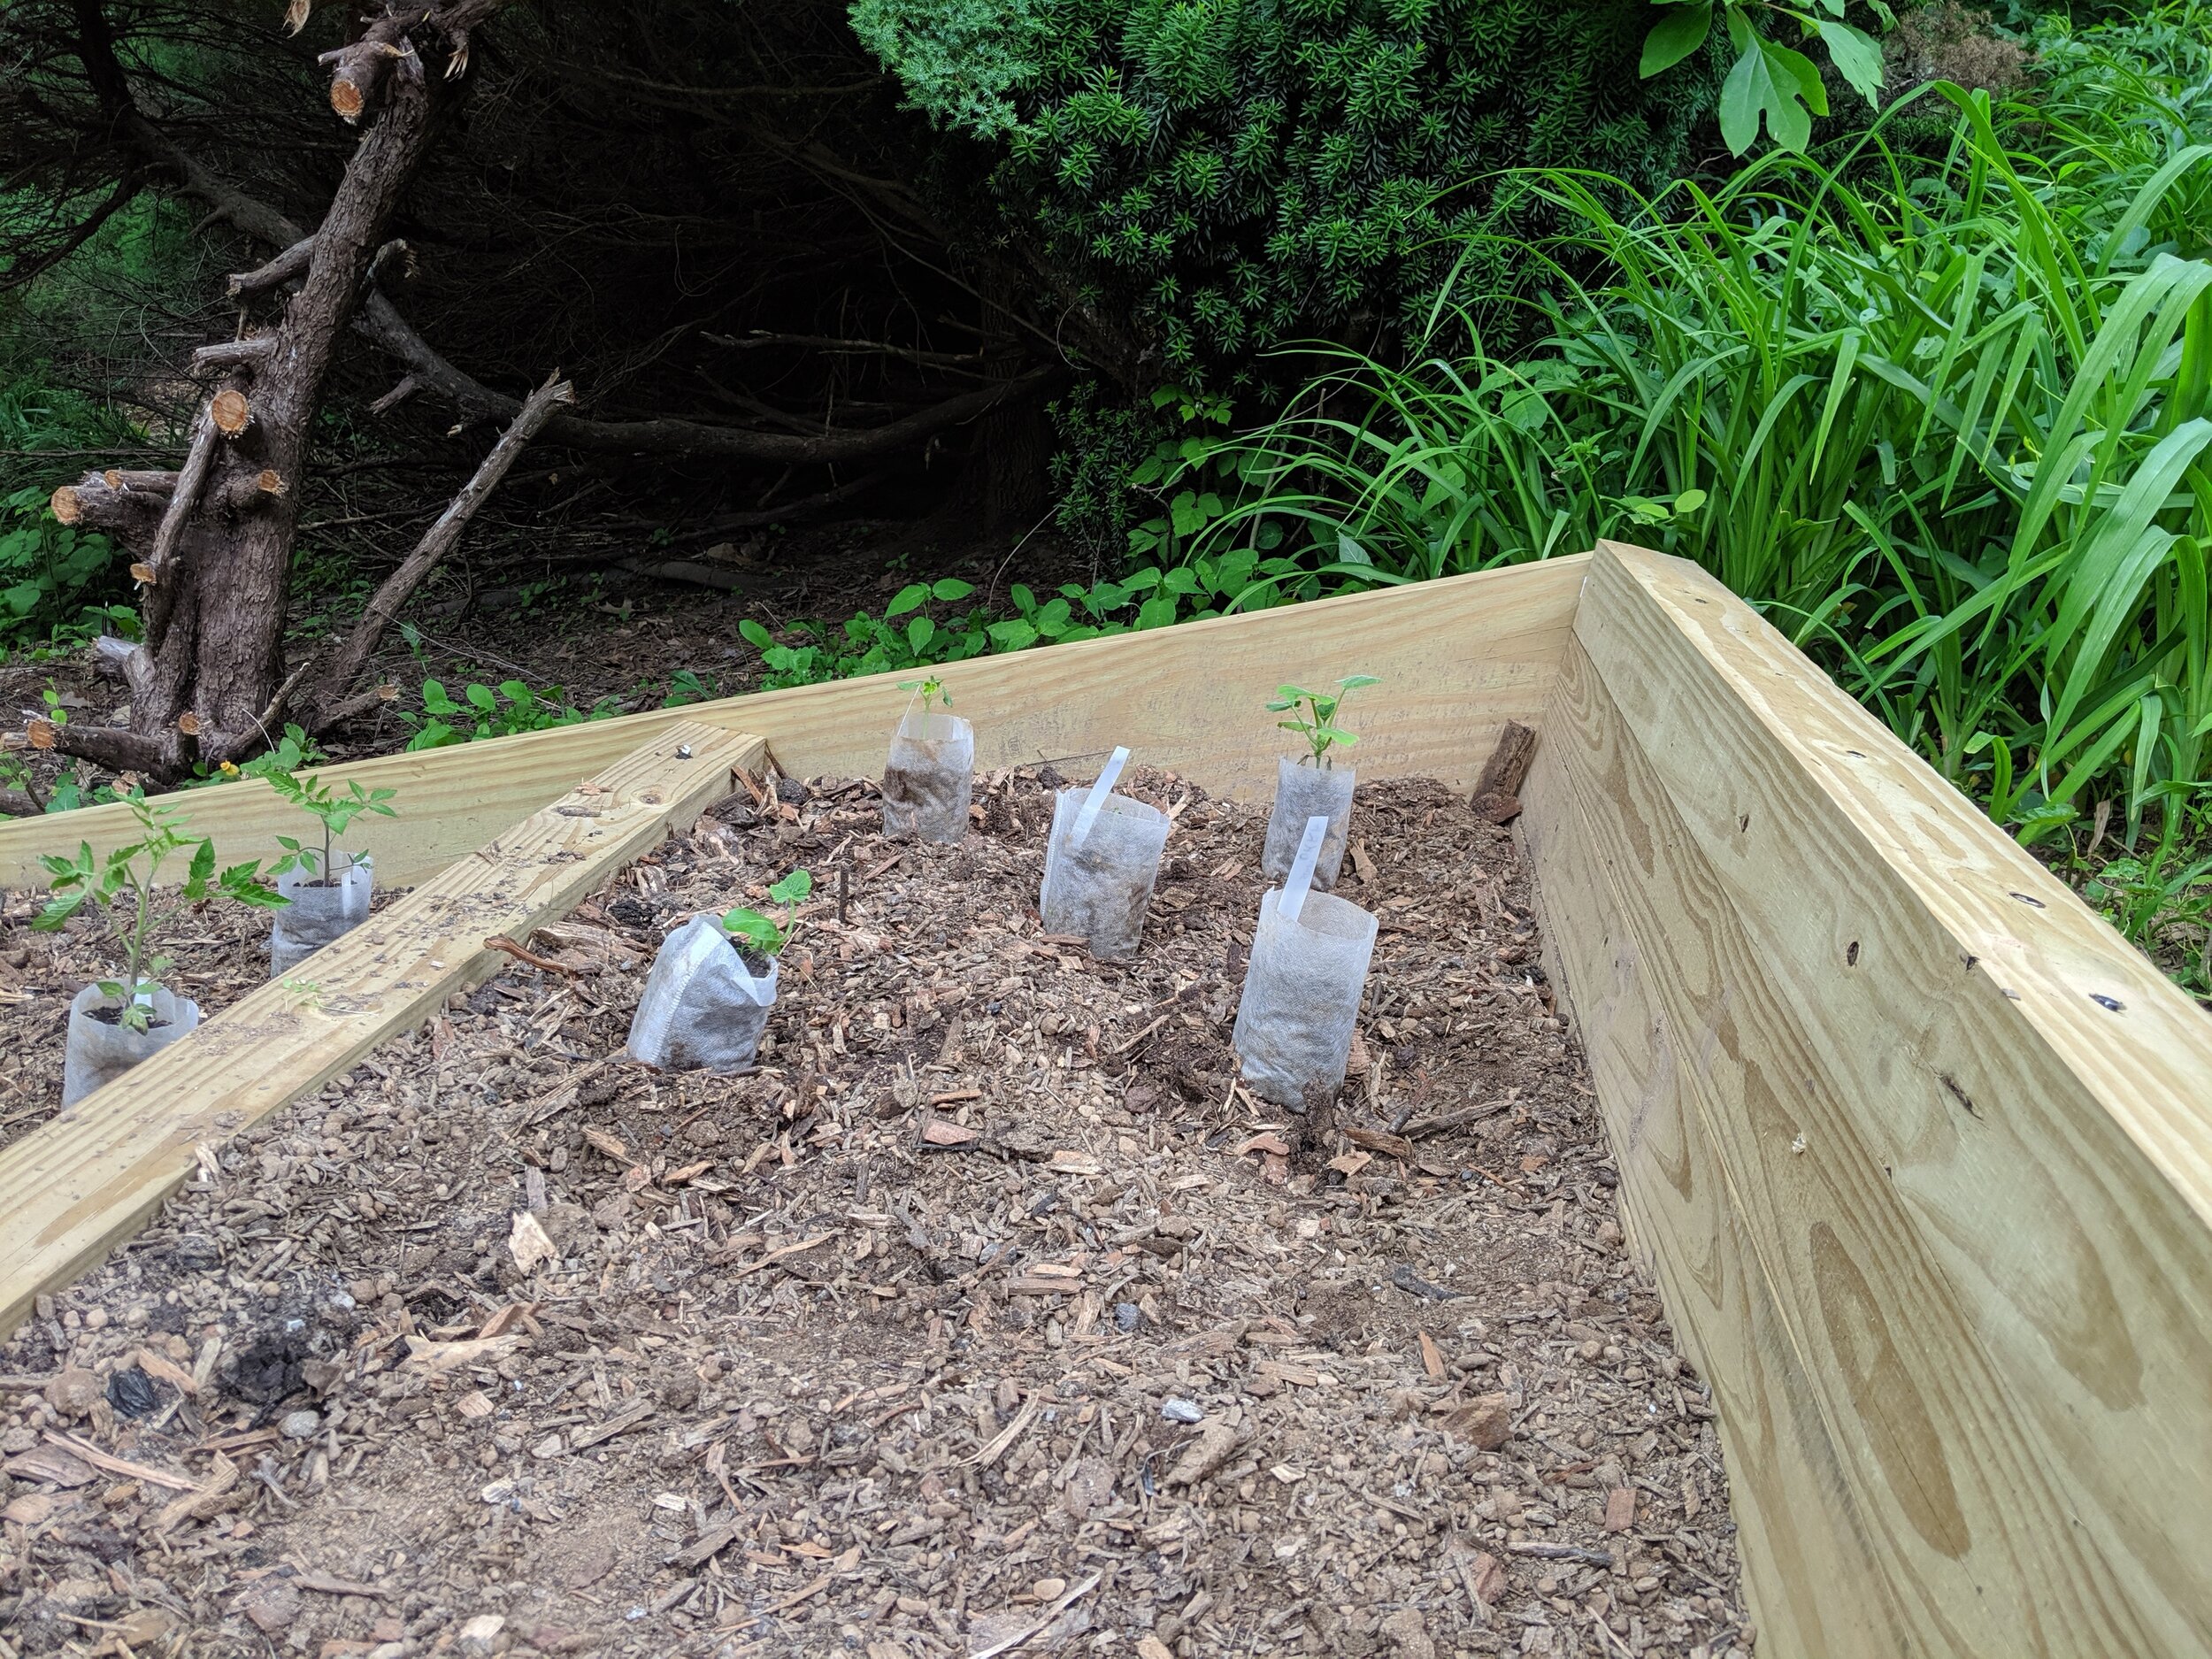
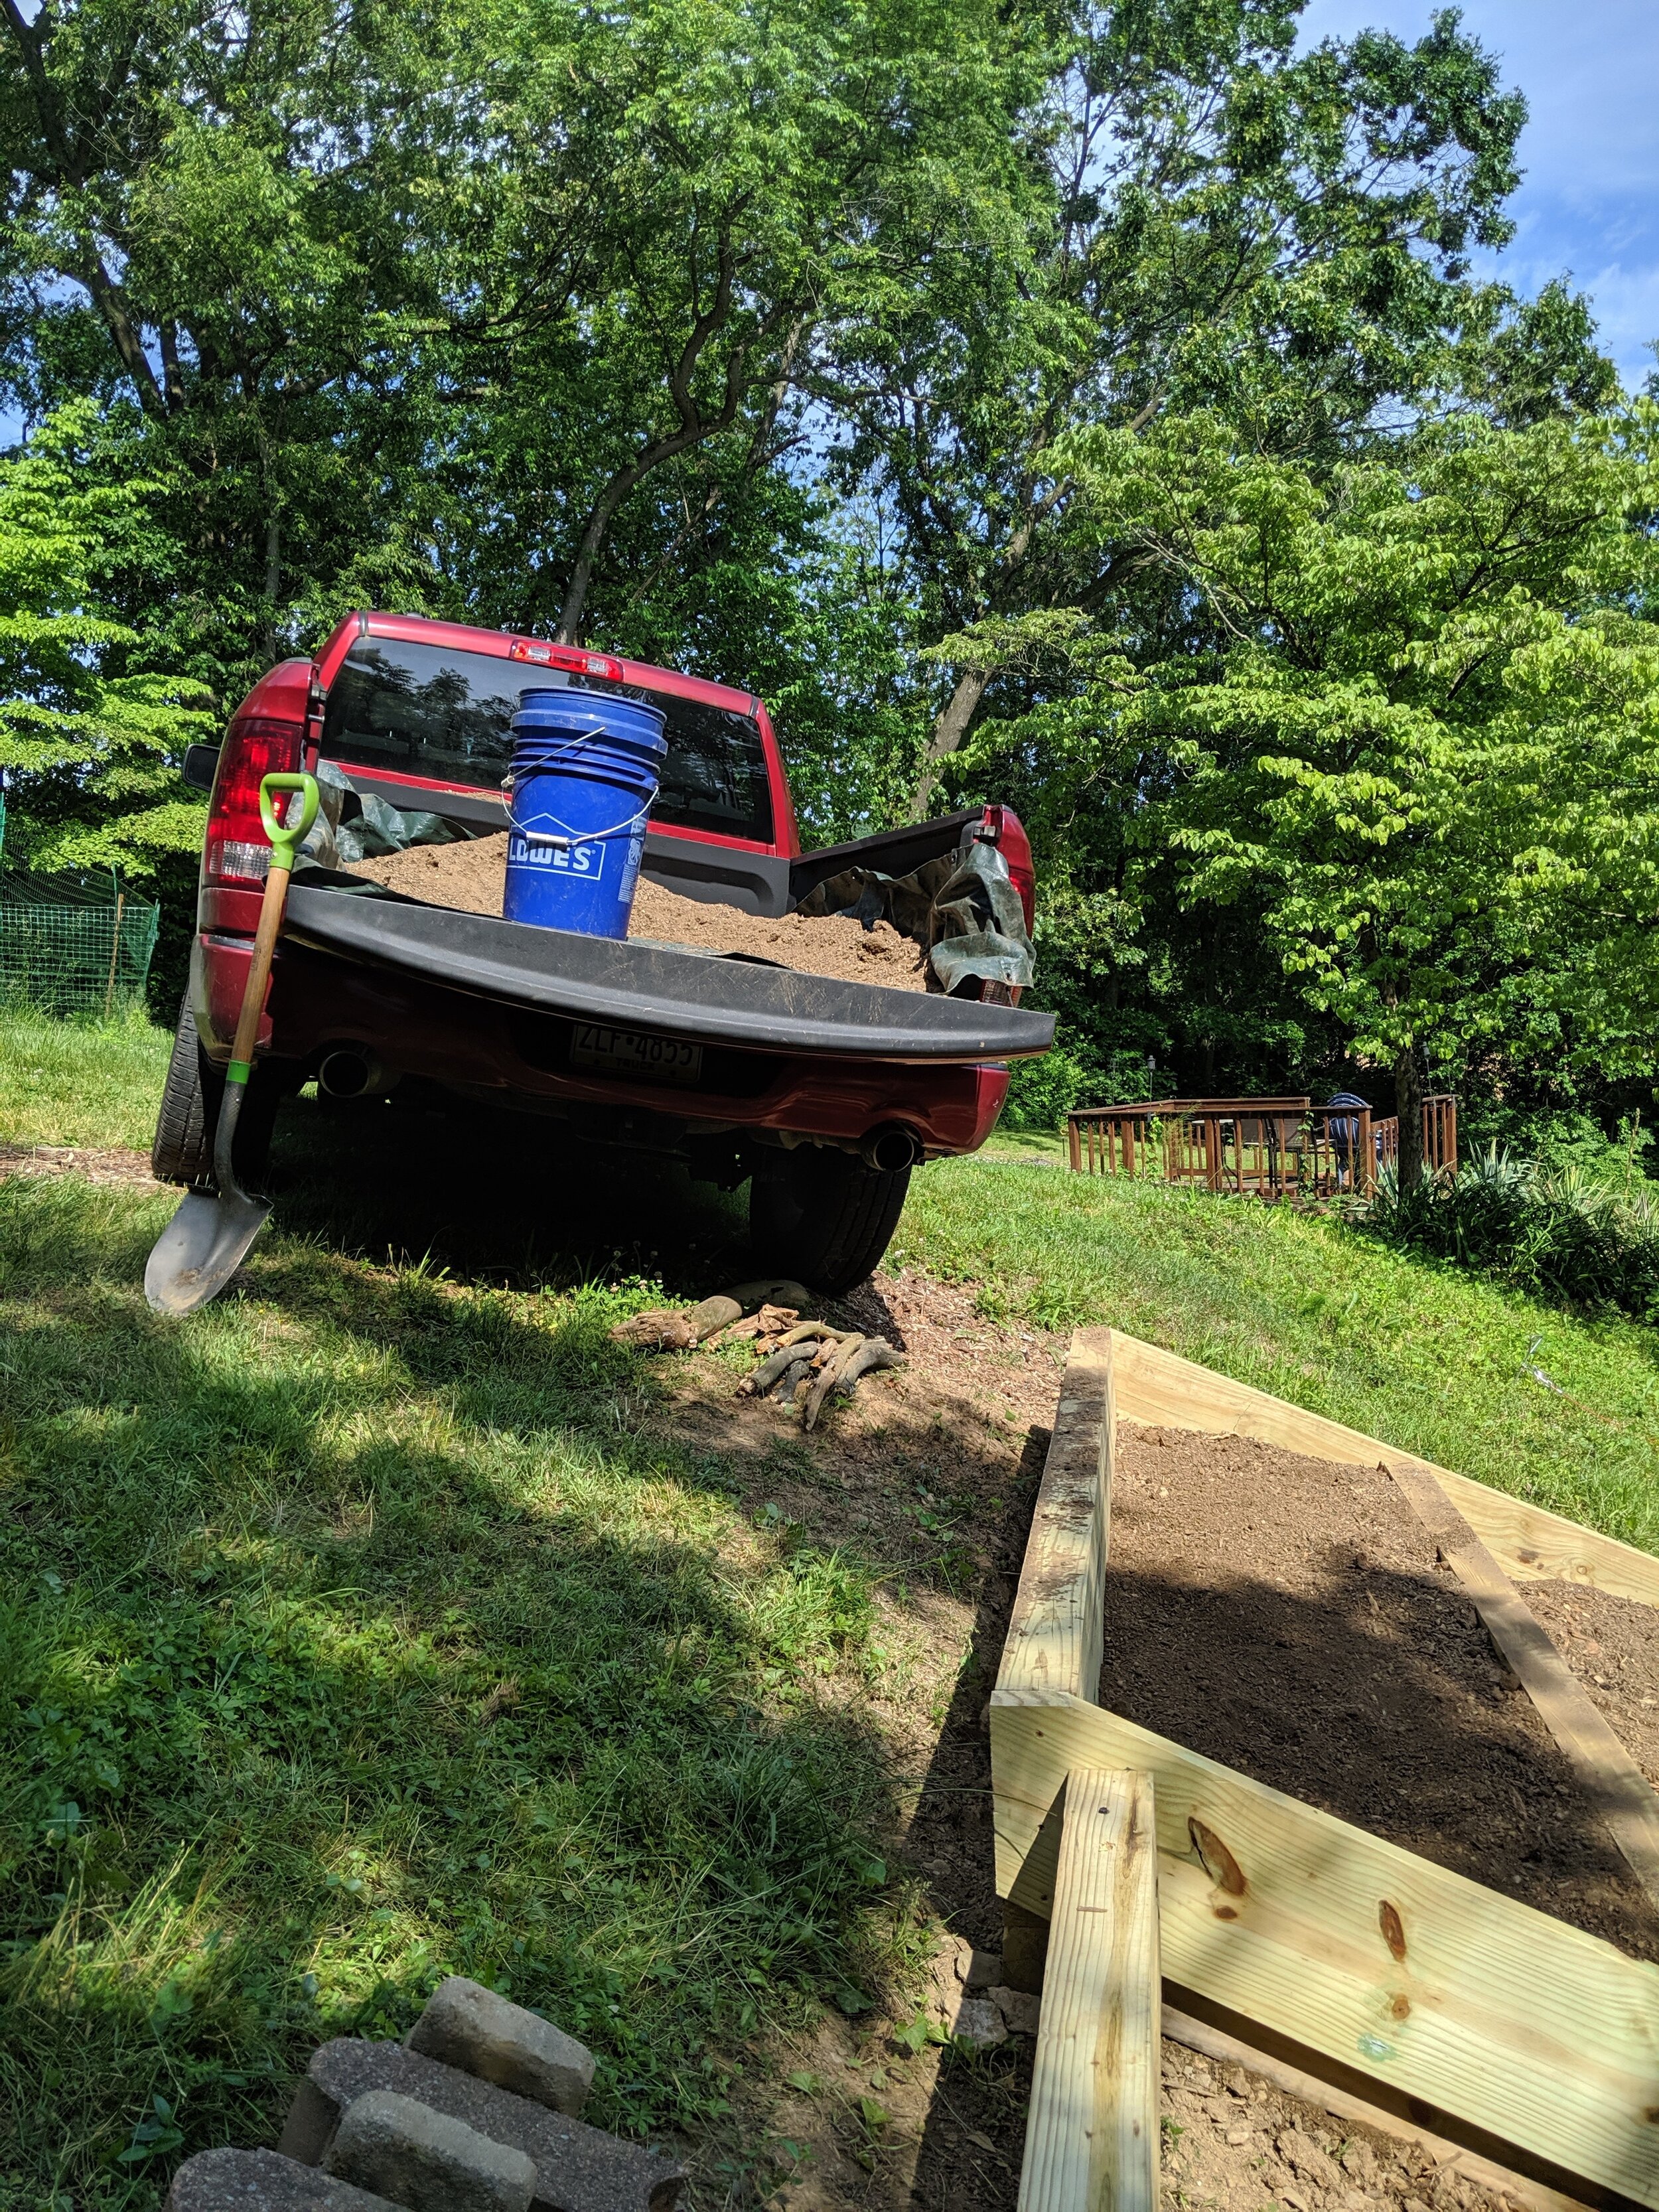
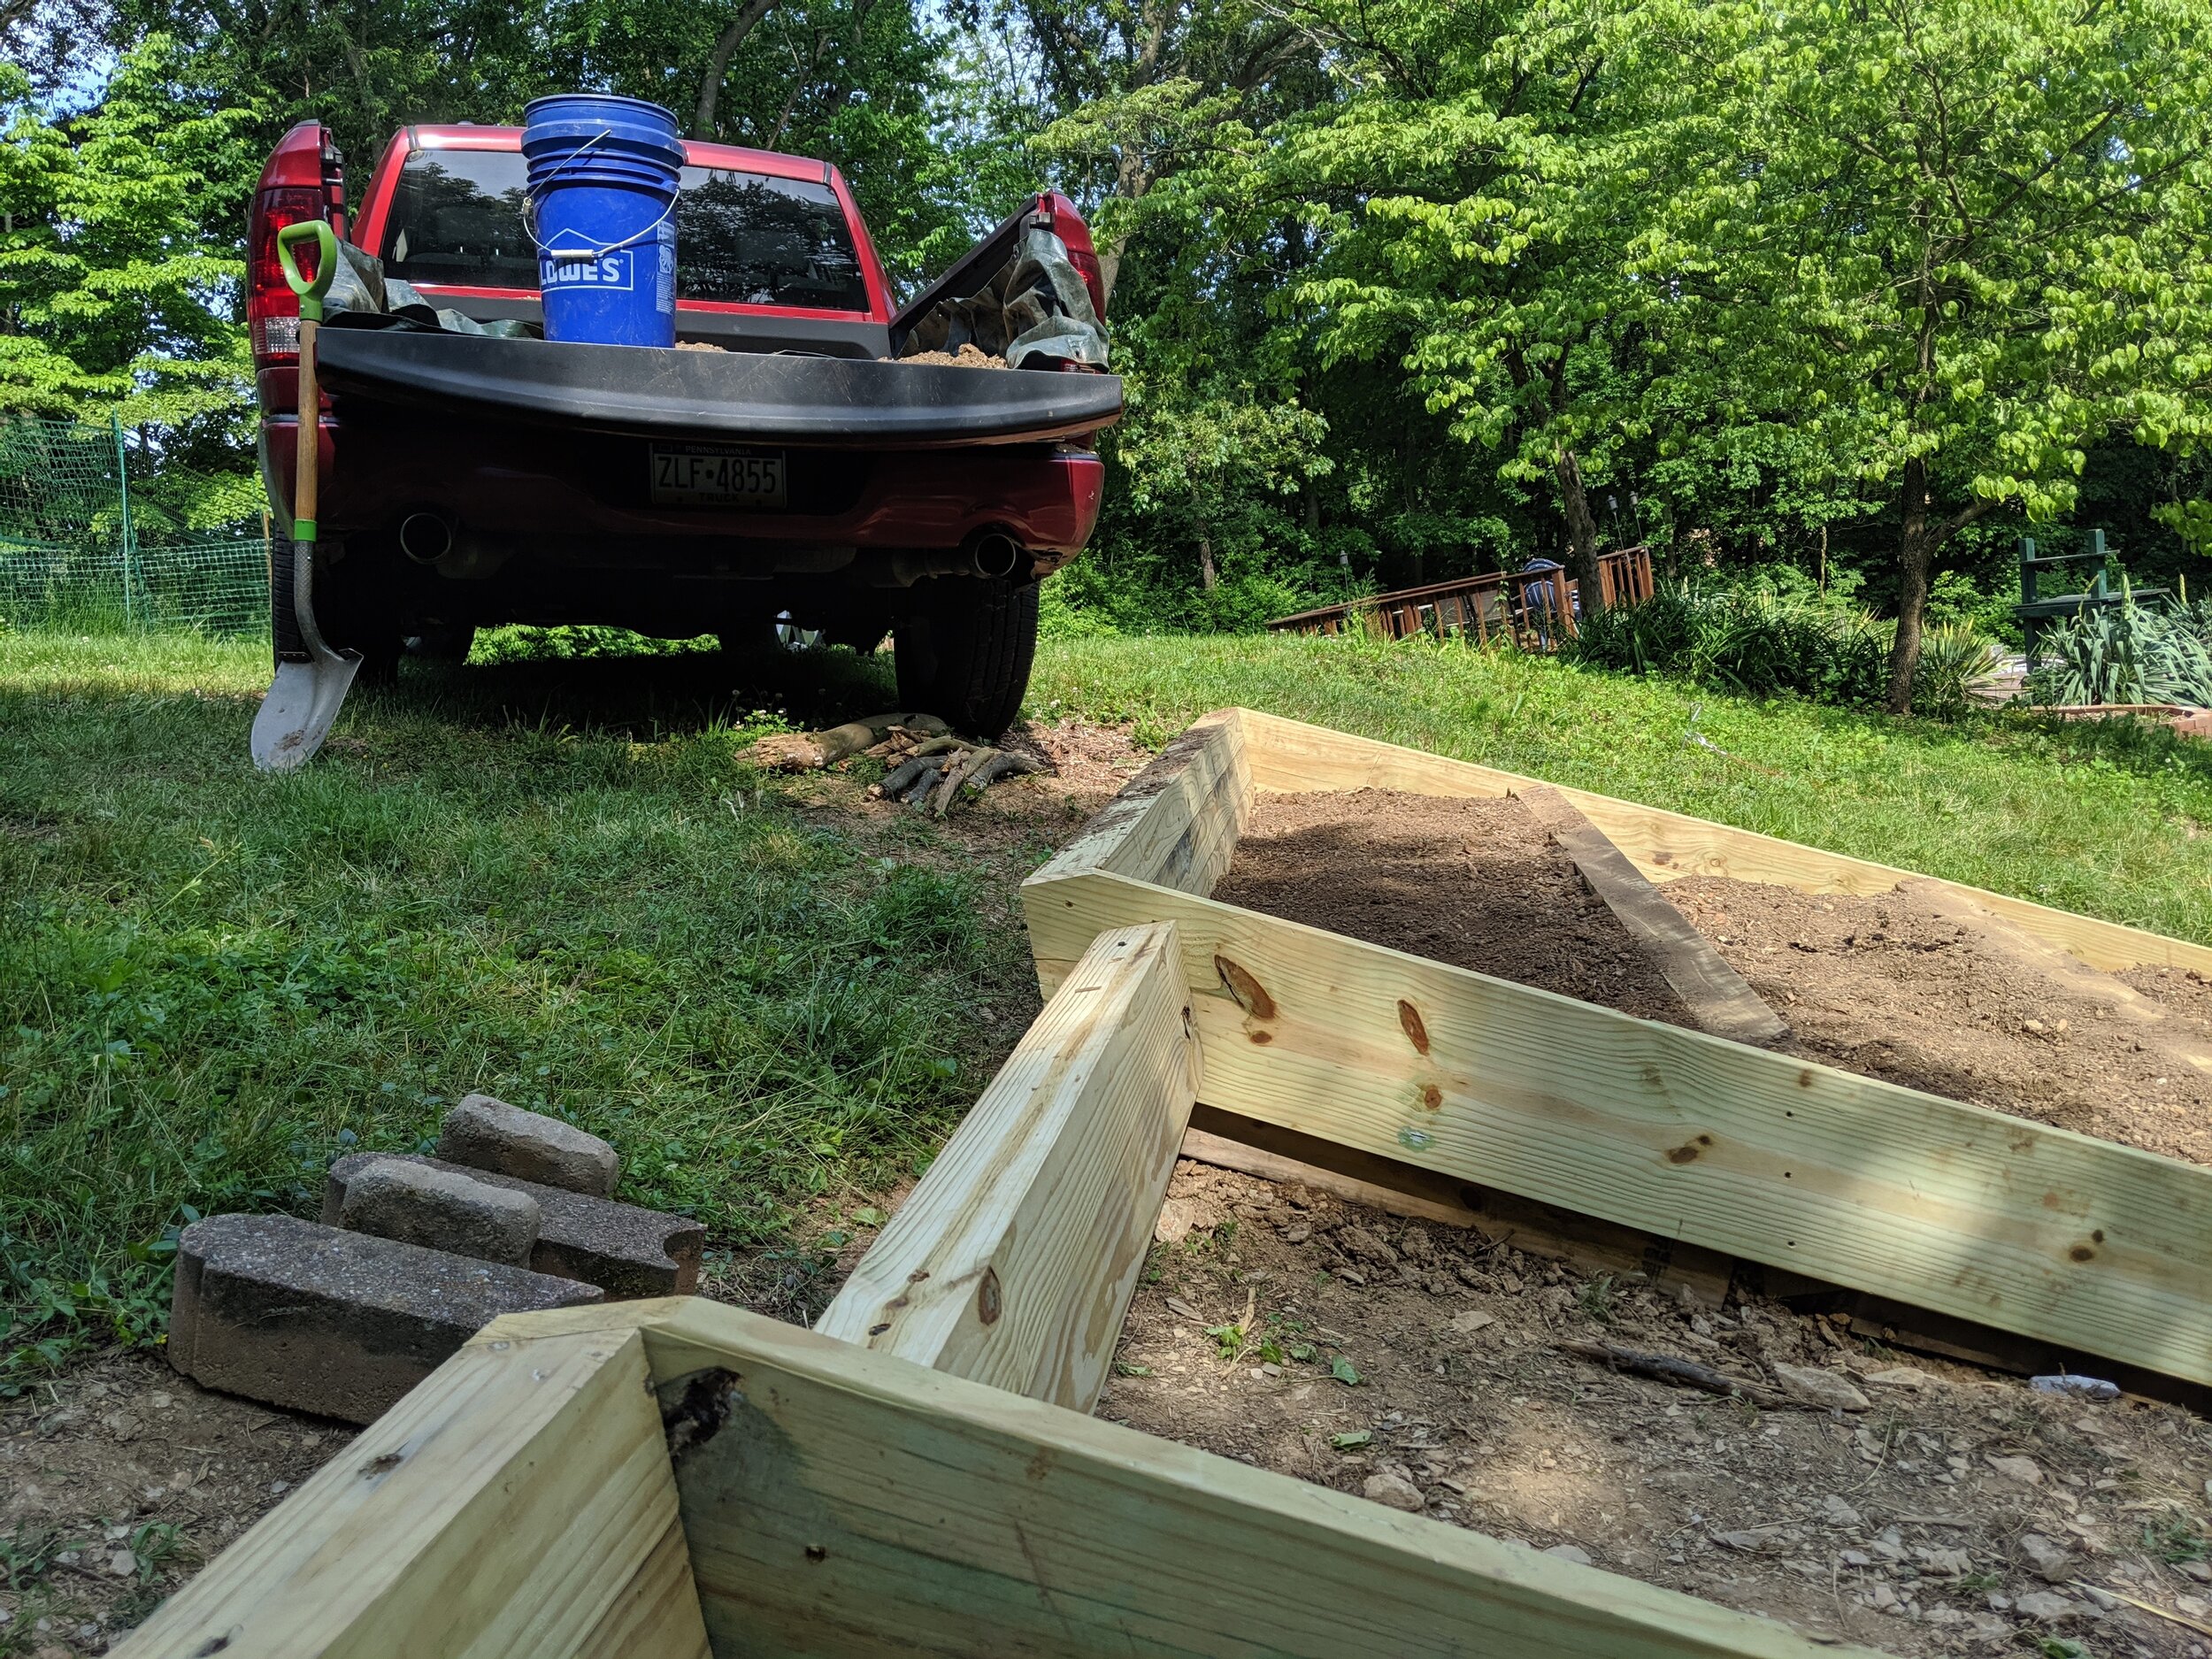
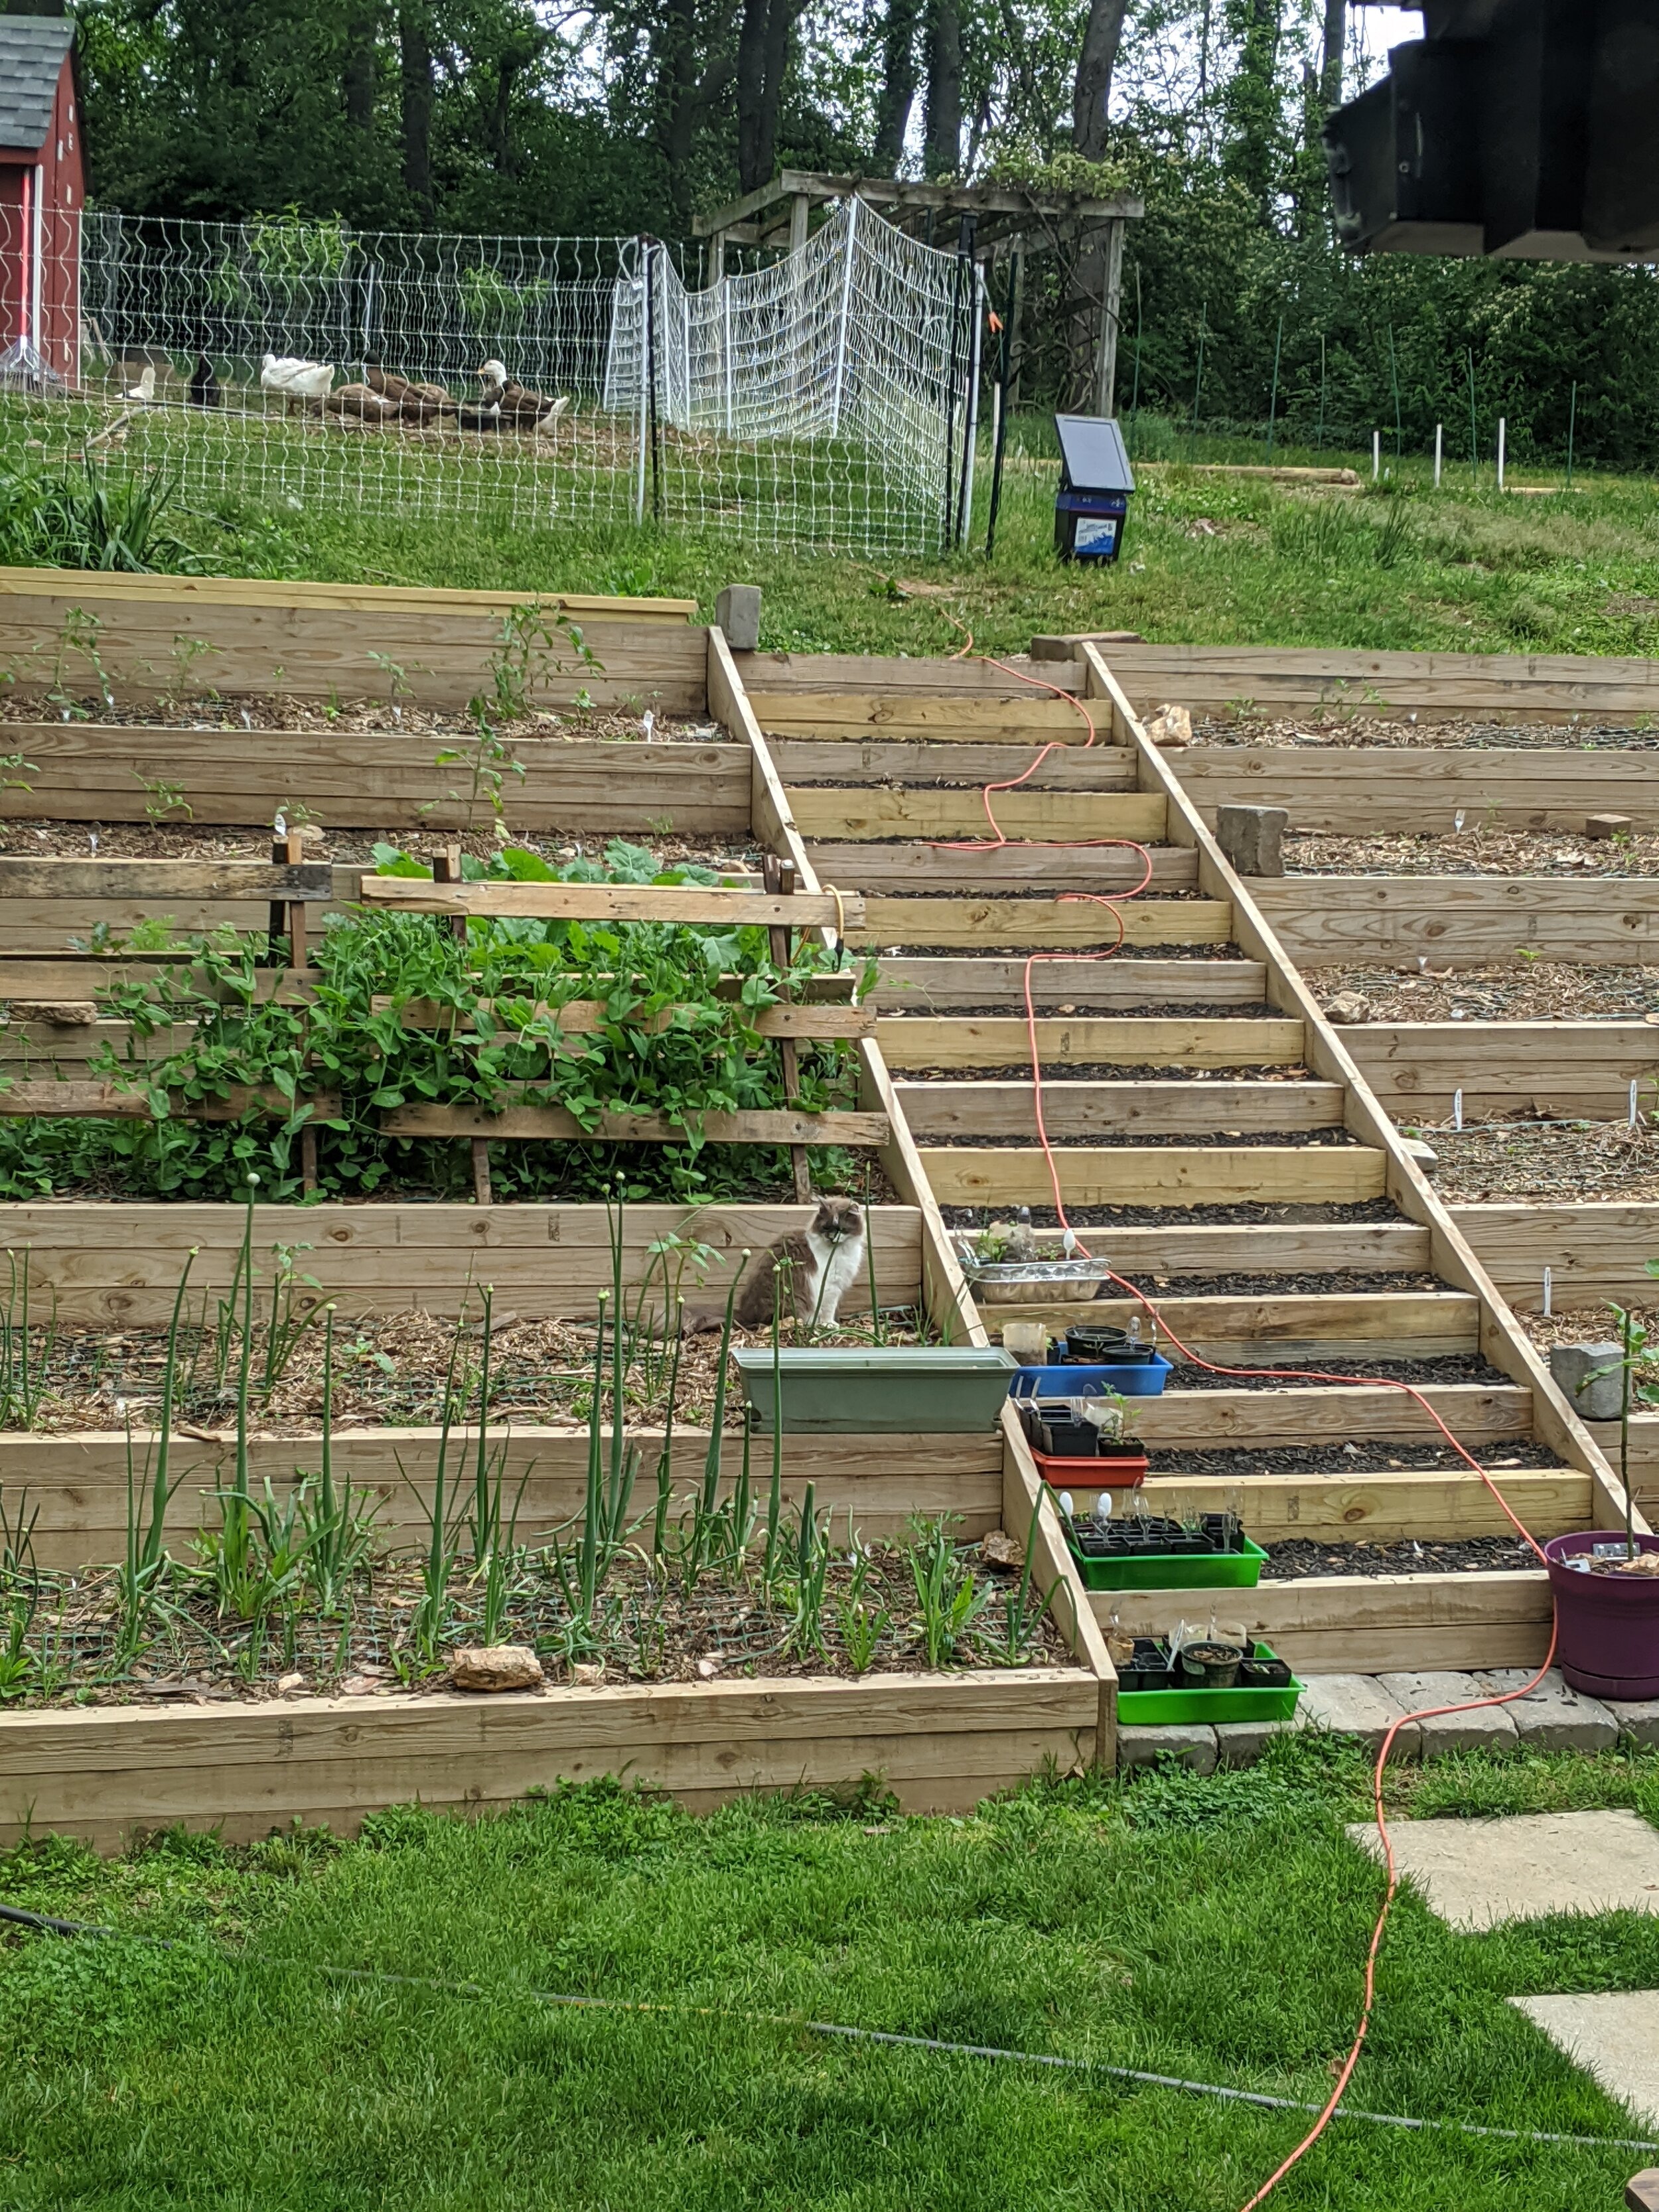
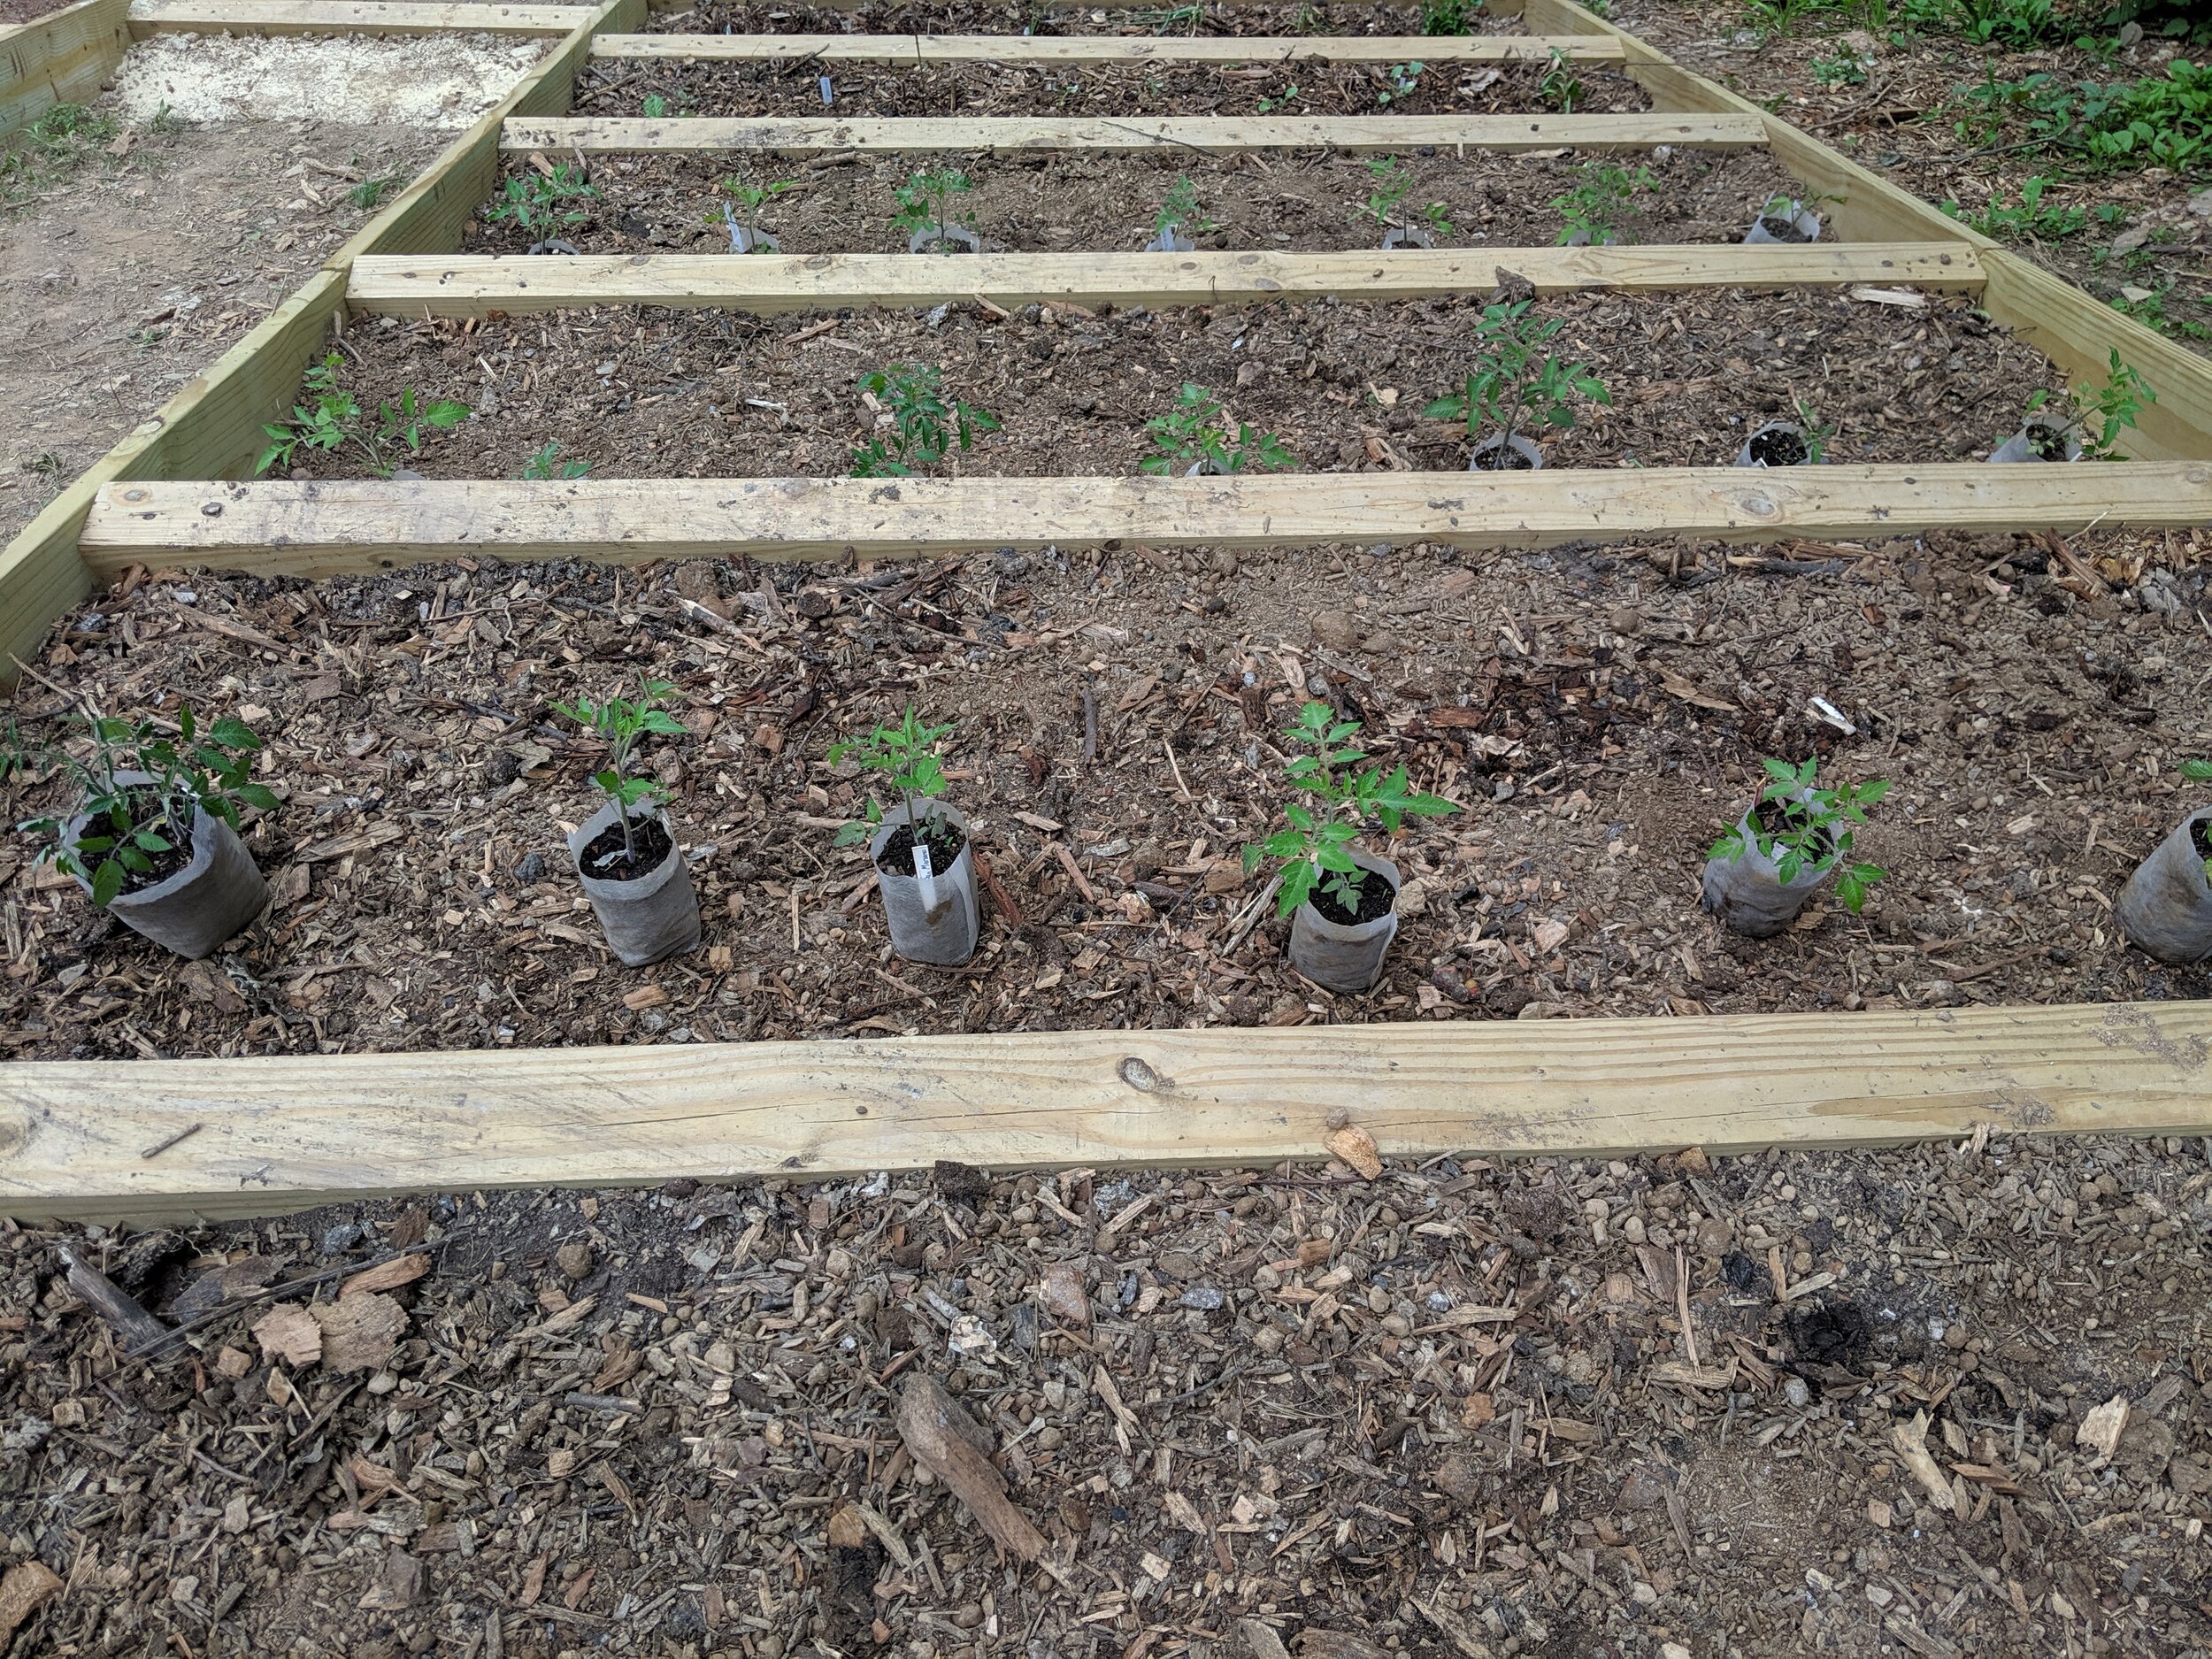
Clearing all the space and adding the raised beds also meant more dirt was required. We got a couple truck loads from local nurseries and dumped those as we had time. When the beds were up to level, some seedlings started getting set in place, just to start planning out the space. This back section had some snap peas, so they got some folding (and removable) trellises to help them grow nicely.

Finalize the Garden
Eventually, we realized the steps were too far apart so we added another step in between, so we had to buy a bit more wood and now there are about 14 steps.

A beautiful space
What was a mostly annoying space has turned into a fantastic and very efficient spot for herbs and veg! We add some 2x4s for the tomatoes and the tomatillos once summer hits. I’ve used jute, which broke, then last year I used random bits of hay string which held up beautifully, although it looked less than beautiful. I attached the stalks with plastic clips to the hay string, but I’m still experimenting with different methods. Most of our tomato plants grow taller than me, some were 6 ft tall, so we need to get more inventive with holding them up, some kind of wiring or fencing maybe.
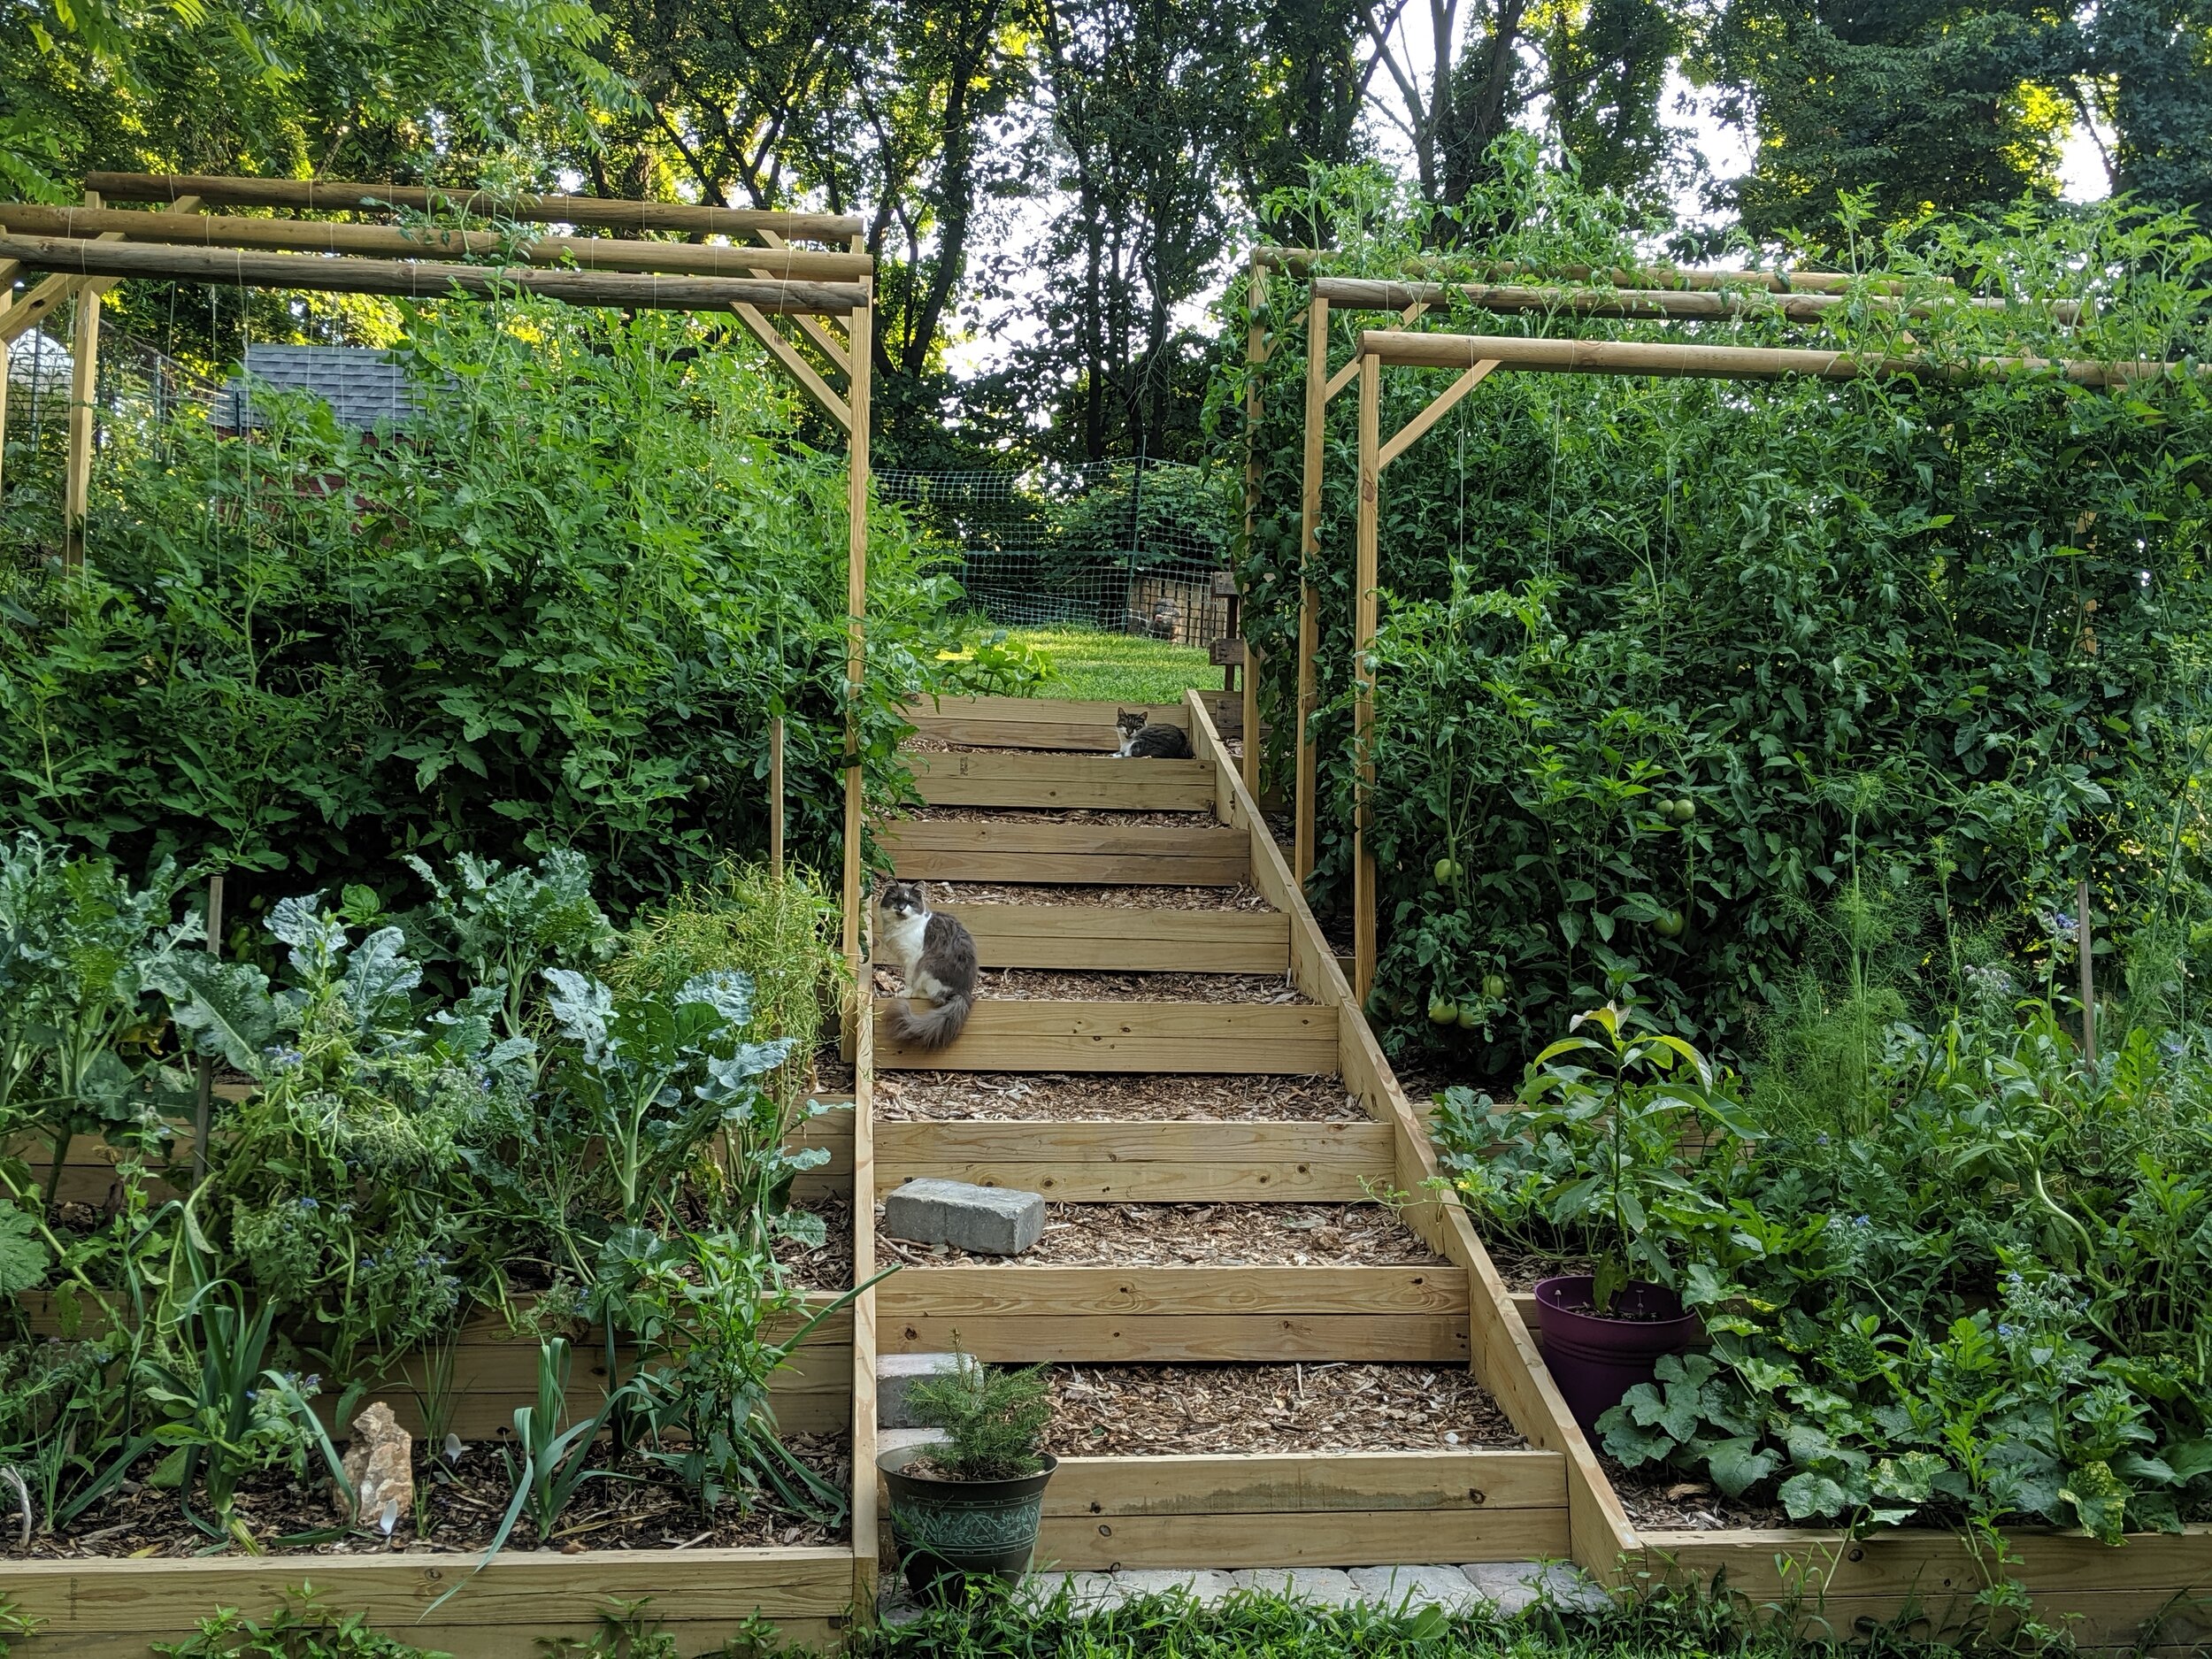
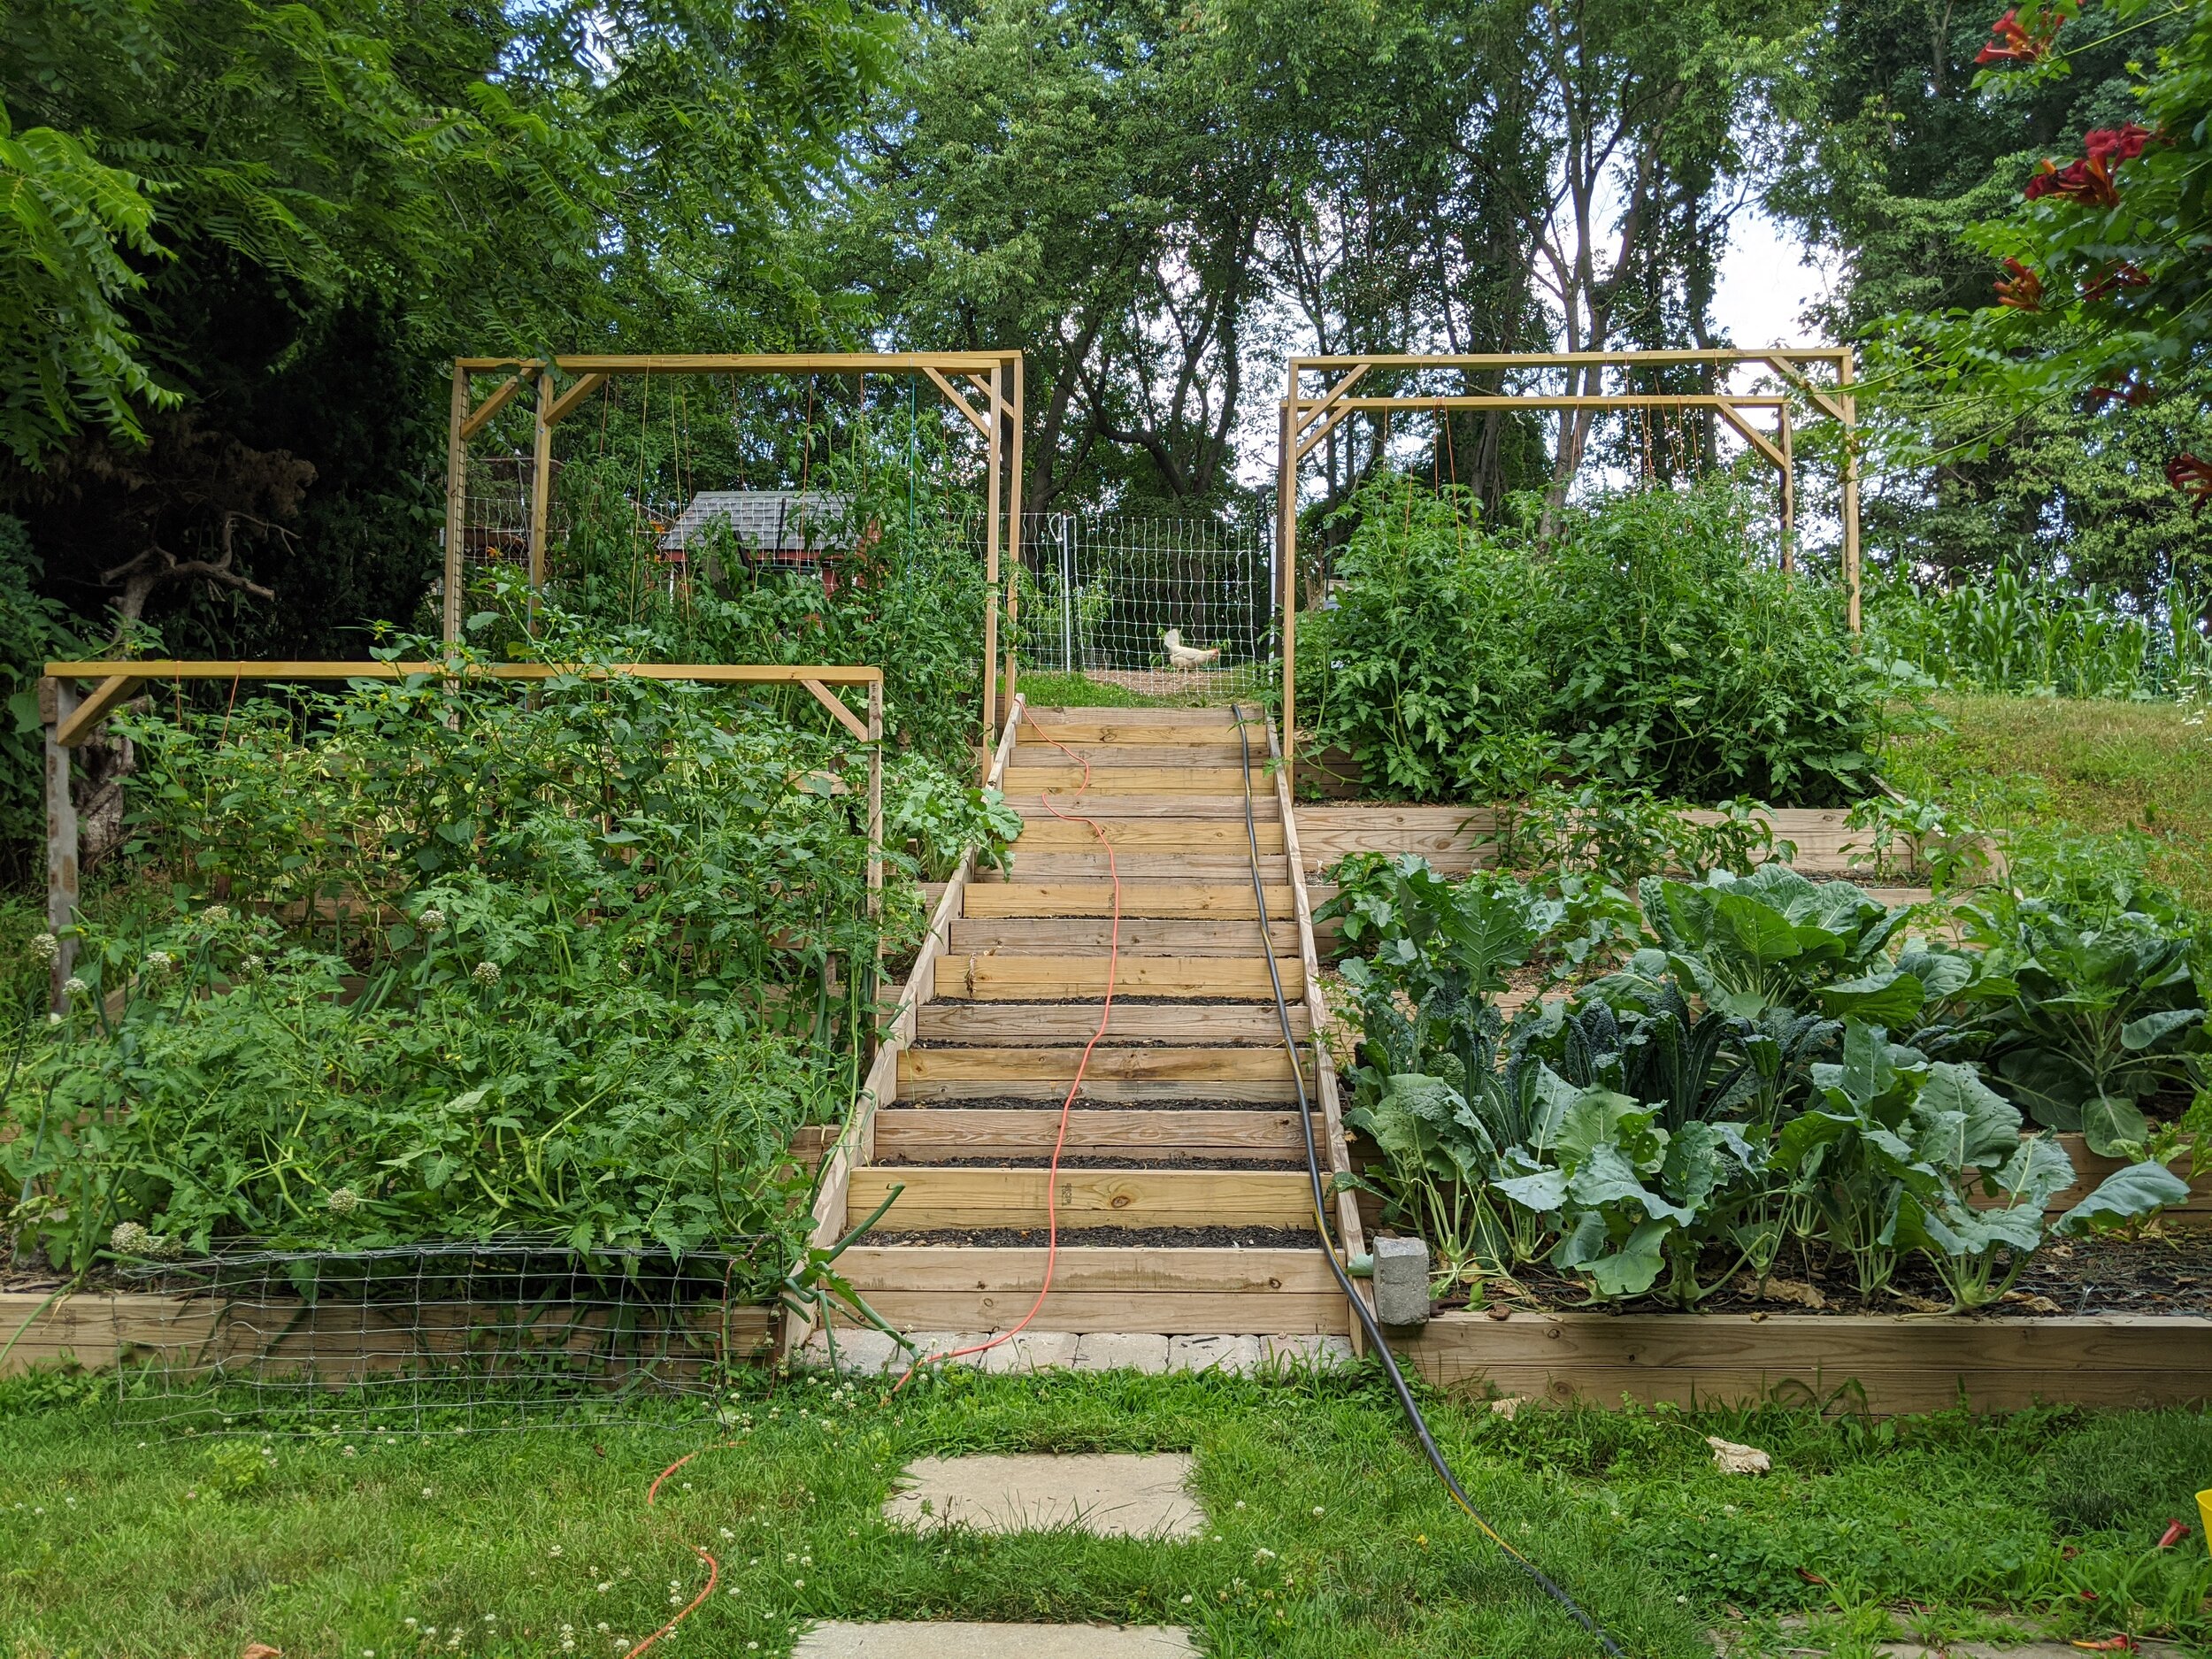
We had 6 garden sections of tomatoes the first year, then only 4 the next year, which was plenty for the 2 of us.
This year, we are going to start some cold weather varieties, like broccoli, kale, and cabbage in the early spring and see how that goes.
This will be our 3rd year using this terraced garden and it has held up nicely.
From There to Here
For half the year, the garden is just a staircase to get to the chickens, but it is definitely better than the previous wasp-laden option.

Buy the things
A pallet of 4x4’s from Lowe’s has 52 boards, so that worked perfectly for the first round of lumber (and then of course we had to buy more). I was a little worried about the weight, but the Lowe’s website estimate and our truck (Dodge V8) payload both looked like that would work out fine. Three trips just for wood.
2x10’s - 8
4x4’s Severe Weather 4-in x 4-in x 8-ft #2 Pressure Treated Lumber – @ 60
Rebar – @ 60 – 3/8 in x 2 ft long, 2 pieces in each section of 4x4s
1/2-in Woodboring Auger Drill Bit - 17” long – something with a larger diameter than the rebar
Deck Plus #10 x 3-in Ceramic Deck Screws
Hex Head Heavy-Duty Wood Screws – 50 count – 6 in and 8 in ( ~ $35 for 50, but worked beautifully for this project and many others)
Drill (we use RYOBI, an Impact Drill would be best)
Circular saw
Miter saw
Level
String
Hammer
Mallet
Patience…time…blood…sweat…tears…and a good attitude.

What are your gardening plans this year? We keep debating about adding a third section, but nah. :)
Please let us know your thoughts and any tips or tricks on tomato trellises!!